Ever stumble upon a weathered whiskey barrel and wonder if its glory days are truly over? Well, hold onto your hats, because with a bit of good old-fashioned effort and patience, you absolutely can breathe new life into it! Restoring an aged barrel is a rewarding project, allowing you to reclaim a piece of history and repurpose it as a unique decorative element or even for the exciting process of aging your own spirits. Sure, it’ll take some time and a little bit of sweat, but the result will be a revived barrel, ready for another chapter.
Assessing the Condition of Your Whiskey Barrel
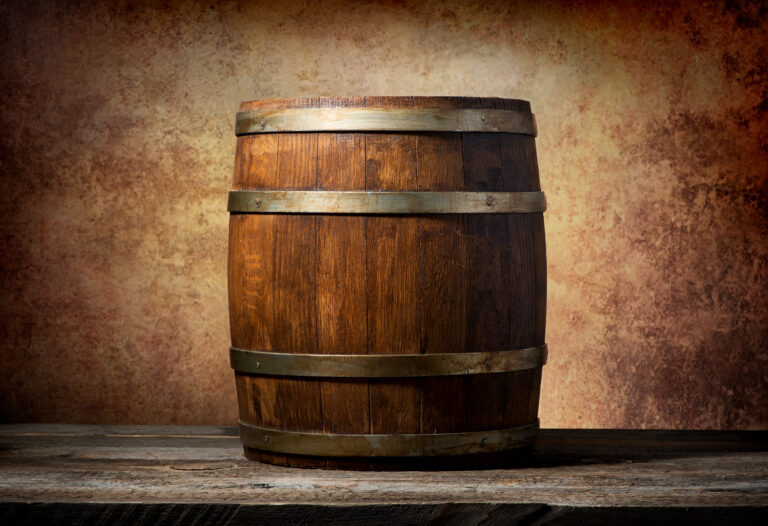
First things first, let’s get a good look at what we’re working with. How sound is the barrel? Carefully check for any cracks or holes in the wood staves or the metal hoops. Run your hands over every inch, paying close attention to the ends and where the staves meet. Small cracks might be repairable with sealant, but significant damage will likely require finding replacement pieces.
Take a good sniff inside. Any musty or moldy smells indicate it hasn’t been properly stored and will need a thorough sanitizing. Ideally, you’re looking for a charred, woody aroma. Inspect the interior for any loose bits or old residue. Give it a rinse with hot water and let it air dry completely.
Now, let’s examine those metal hoops or barrel bands. Are they loose, warped, or showing signs of significant rust? If so, they won’t provide the necessary support. You’ll need to either tighten them up or replace them entirely to ensure the barrel holds its shape.
Finally, set the barrel down and see if it sits evenly. An unlevel barrel isn’t just annoying; it can lead to leaks or even further structural damage over time. You might need to gently sand down a part of the base to even it out.
Once you’ve thoroughly assessed the condition and tackled any immediate repairs, your whiskey barrel will be well on its way to a second life. With some regular care, it can offer years of decorative charm or even contribute its unique character to your home-aged spirits. That extra bit of effort will definitely pay off!
Thoroughly Cleaning the Inside of the Barrel
To truly revive that old barrel, you’ll need to tackle any years of accumulated gunk. Fill it up with a mixture of hot water and either distilled white vinegar or a specialized barrel cleaner, and let it soak for at least a full 24 hours.
Grab a sturdy barrel brush and really scrub the inside, paying particular attention to the middle and bottom sections where residue often settles. Don’t ignore any stubborn stuck-on bits. Rinse it out thoroughly with water until the water runs completely clear.
For those really tough stains, try making a paste of baking soda and water. Apply it to the stain, let it sit for a bit, and then scrub it away. You might need to repeat this process a few times for the best results.
Once you’ve got it clean, give the barrel a final rinse with a disinfecting solution to eliminate any lingering bacteria before one last hot water rinse. Now, leave the barrel open to air dry completely. This might take several weeks, so patience is key!
A squeaky-clean barrel is crucial if you plan on using it for crafting great-tasting whiskey or other beverages. Put in the effort now, and you’ll be rewarded with a barrel that’s ready to go for years to come. With the right care and maintenance, that old barrel can be fully restored, continuing its legacy of perfectly aging spirits.
Sanding Down the Outside of the Barrel
To bring your whiskey barrel back to its former visual appeal, you’ll want to sand down the outside. This process smooths the surface and helps to open up the wood grain beautifully.
Work your way through progressively finer sandpaper grits. Start with a coarser 60-80 grit to tackle any loose splinters or significant imperfections, then move to 150 grit for further refinement, and finally finish with a 220 grit for a wonderfully smooth surface, ready for sealing. Make sure to wipe away the dust with a tack cloth as you progress through the grits.
Begin with the 60-80 grit sandpaper to remove any loose bits or chunks of wood and smooth out those major bumps and scrapes. Sand the barrel using small circular motions, always following the natural direction of the wood grain.
Next, switch to the 150 grit to further refine the surface. Use long, even strokes along the length of the barrel, repeating this on all sides.
Finally, use the 220 grit sandpaper to achieve that ultra-smooth surface, perfectly prepped for staining and sealing. Your barrel should now feel mostly even and free of splinters, with a slightly rough texture that will allow the finish to adhere properly.
With a bit of elbow grease, you’ll have that barrel beautifully sanded and ready to showcase its gorgeous wood grain, bringing back memories of its spirit-aging heyday. Keep at it, and that barrel will be ready for its close-up in no time!
Tightening and Replacing Any Loose or Damaged Pieces
Ensuring all the components are secure is vital when restoring a whiskey barrel.
Hoops: These metal bands are what hold the staves tightly together. If they’re damaged or loose, the barrel won’t form a proper seal. Hammer out any dents or consider replacing badly damaged hoops. To tighten loose ones, gently tap them further down the barrel using a mallet.
Staves: Carefully inspect the wooden staves for any cracks, holes, or signs of rot. Replace any damaged staves. Sand down any rough edges. To tighten loose staves, you can try dampening the wood to make it more pliable, then use barrel clamps to compress everything back into place as it dries.
Rivets: If you notice any leaks where the staves join, you might need to address the rivets. Drill out the old ones, apply some wood glue to the edges of the staves, and clamp them firmly. Once the glue is dry, install slightly oversized rivets and hammer them down to secure the joint.
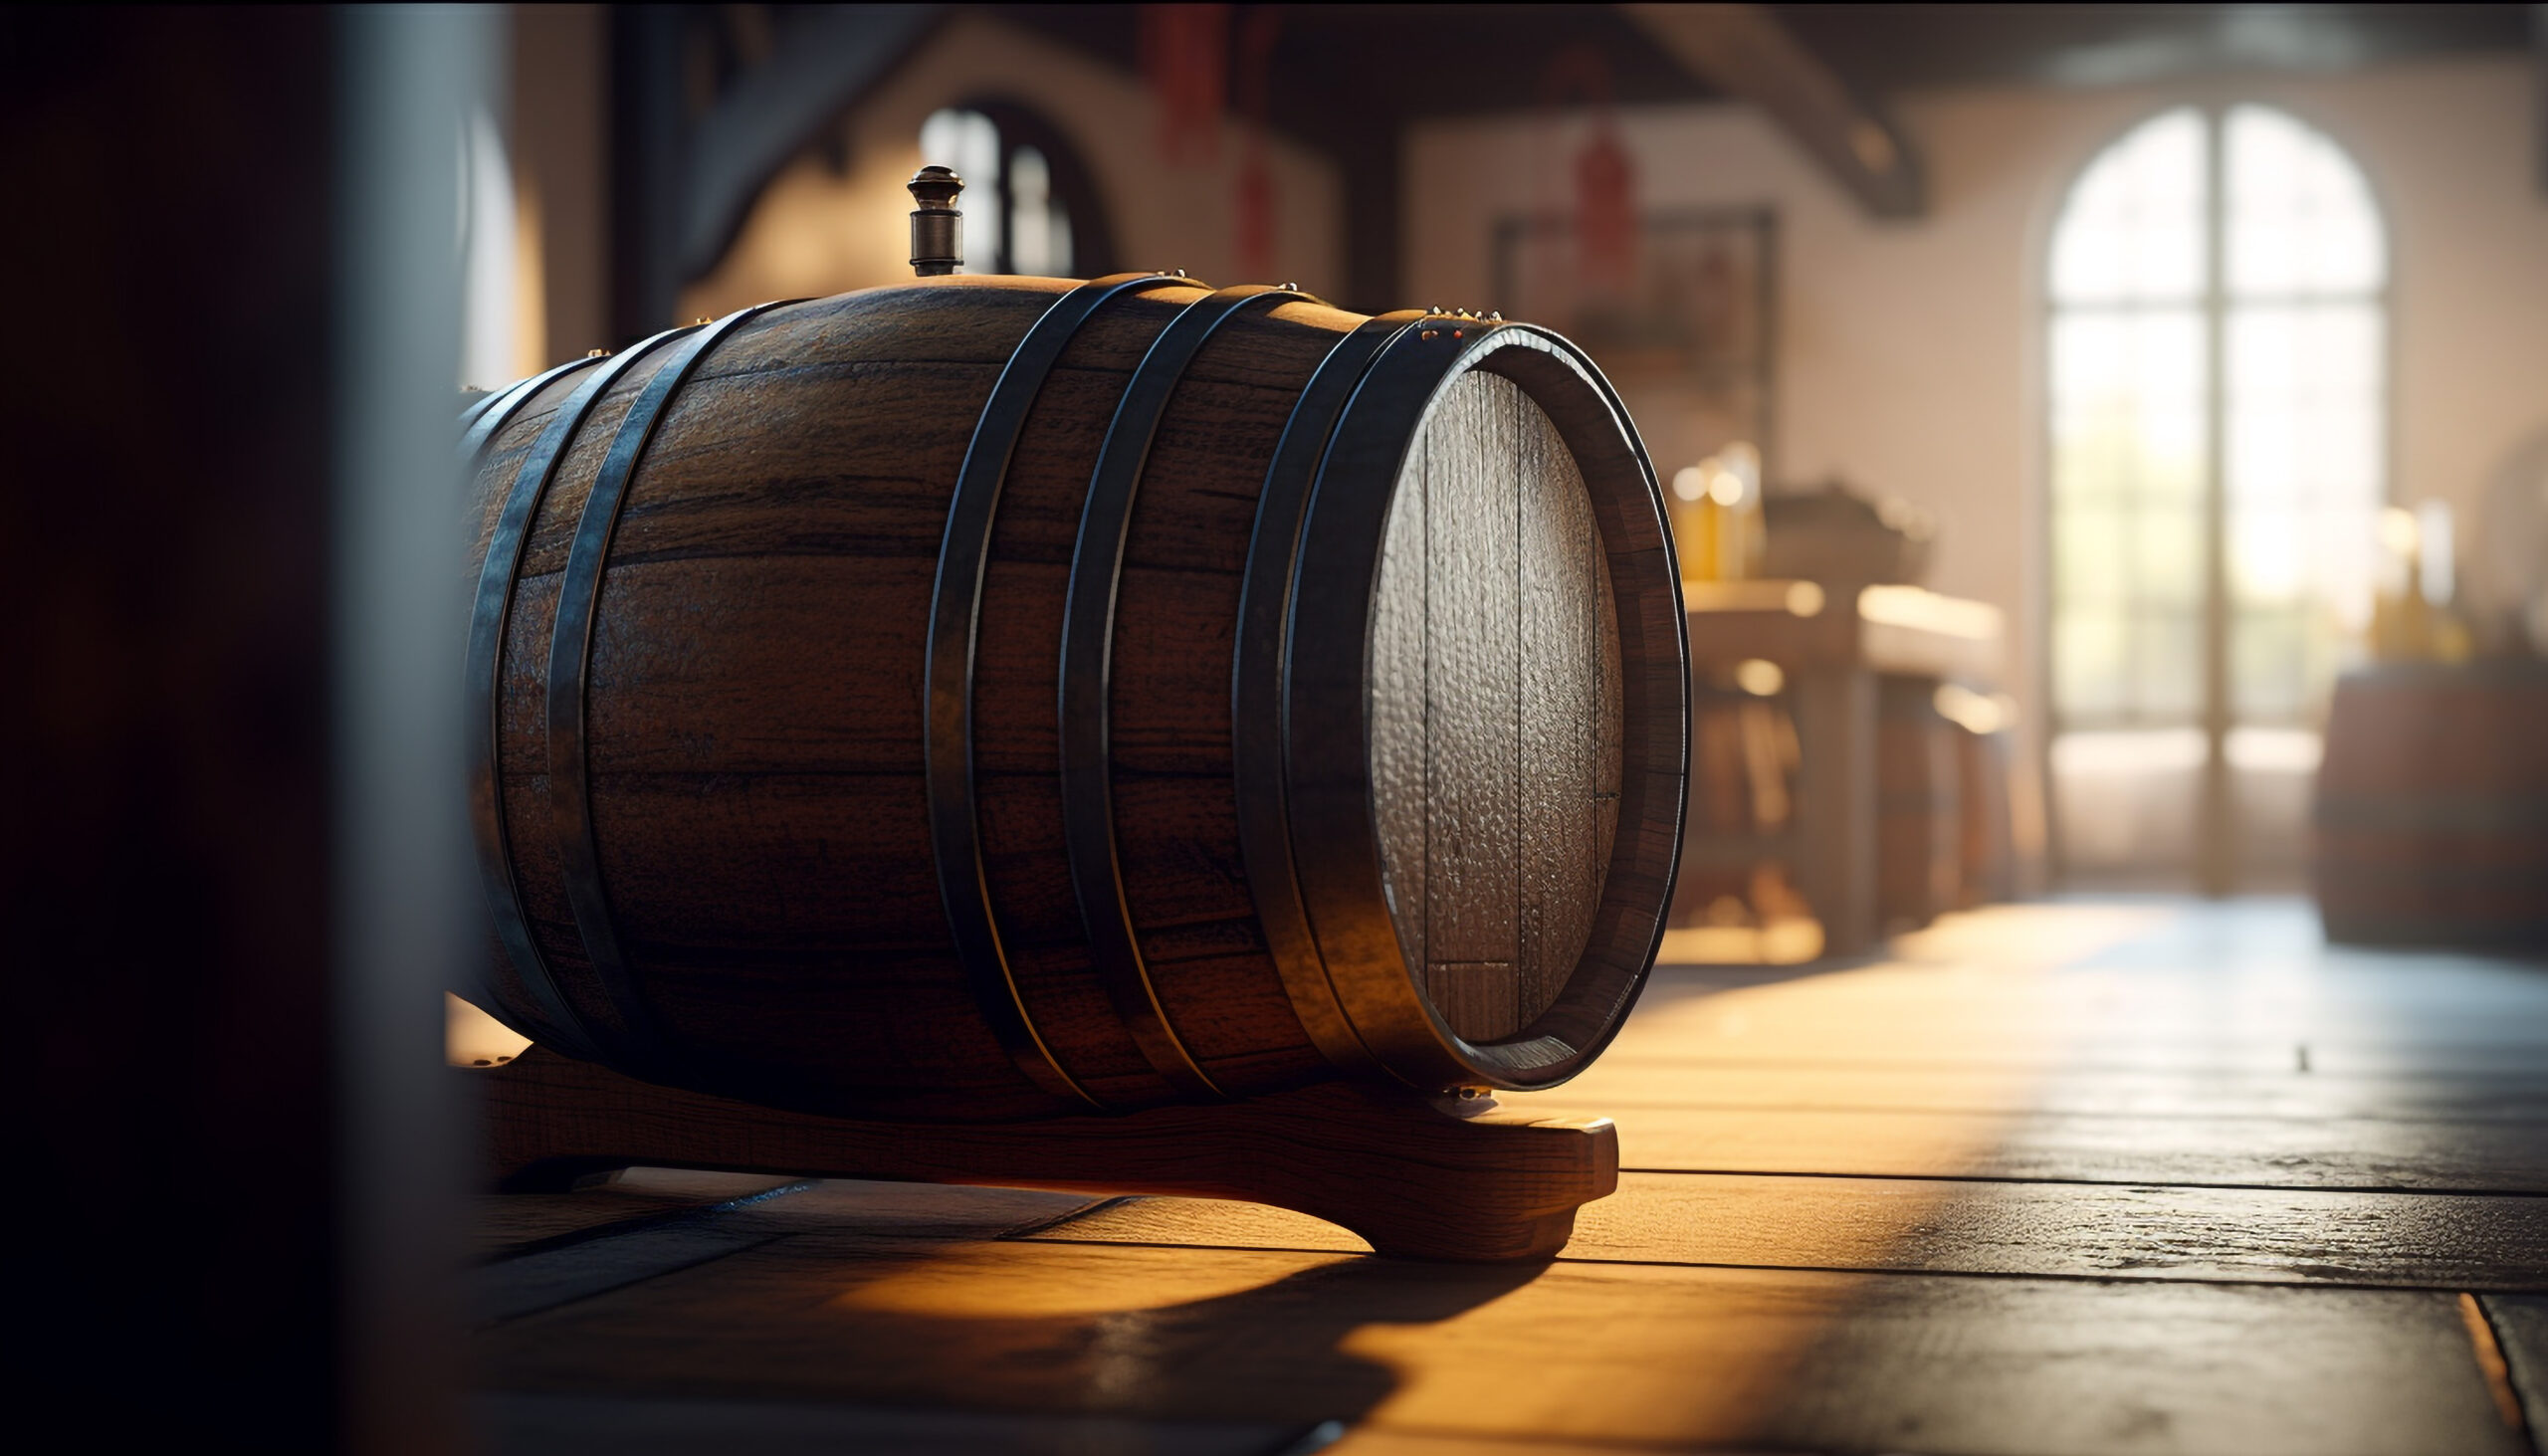
Bunghole: The bunghole, or the opening of the barrel, might need its threads recut. Use a tap and die set for this. If the bung (stopper) is damaged, replace it. A tight-fitting bung is essential for keeping air out.
With a little tender loving care – some tightening, loosening, and general attention – you can truly revive an old whiskey barrel and get it ready for another round of aging and mellowing fine spirits. Keeping everything in good shape will ensure many more years of enjoyment from your barrel.
Applying a Food-Safe Sealant to the Inside
Once the inside of your barrel is clean and (if necessary) sanded, it’s time to apply a food-grade sealant. This crucial step will help to waterproof the wood and prevent any future leaks.
Apply three coats of a food-grade epoxy, polyurethane, or lacquer sealant, allowing a full 24 hours of drying time between each coat. Ensure each coat is dry to the touch before applying the next. These types of sealants are non-toxic once fully cured and are approved for direct contact with food and beverages.
Wipe away any drips or runs with a clean, lint-free cloth as you go. For the best possible protection, especially if you plan on using the barrel for liquids, consider a marine-grade sealant, which offers excellent resistance to both water and alcohol. Always follow the specific directions provided on the product for proper mixing, application, and curing. Make sure the area is well-ventilated during application, and consider wearing gloves as some sealant fumes can be strong.
Once the sealant has fully cured, rinse the barrel with water to remove any potential residue. Your restored barrel is now ready for use, whether you plan on storing and aging whiskey, wine, beer, or any other handcrafted beverages. With proper care and maintenance, a restored barrel can provide many more years of service.
Staining or Painting the Outside of the Barrel
To bring back the visual appeal of your whiskey barrel, you’ll want to clean, sand, and refinish the exterior wood. Begin by thoroughly cleaning the entire outside of the barrel with water and a stiff brush to remove any dirt or debris.
Sanding Down the Wood: Once the barrel is dry, sand down the wood using progressively finer grits of sandpaper – starting with a coarser 80 or 100 grit and working your way up to a 220 grit. Always sand with the grain of the wood using small, circular motions. Wipe away the dust with a tack cloth as you go. The goal here is to create a smooth surface and provide a little “tooth” for the new finish to properly adhere.
Staining or Painting: Now you’re ready to apply a stain, paint, or a clear sealer. For a natural wood look, consider applying two to three coats of a medium brown wood stain, allowing each coat to dry as directed. For a more rustic, distressed appearance, you could apply a darker stain and then lightly sand back some areas. If you prefer color, apply two coats of primer followed by two coats of your chosen paint color – the possibilities are endless! For a durable clear finish that showcases the natural wood, apply two to three layers of polyurethane, ensuring each coat is completely dry before applying the next.
Whichever finish you choose, take your time and apply thin, even coats. Lightly sand between coats with 220 grit sandpaper for an ultra-smooth finish. Once you’re done, you’ll have a whiskey barrel ready for another lifetime of admiration! Allow the barrel to fully cure for several days before filling it with whiskey or other contents. Your patience will be rewarded with a gorgeous and durable finish.
Adding Decorative Hardware
Once your barrel is clean and sealed, adding some decorative hardware can really complete its restoration. Hardware not only serves a functional purpose in some cases but also enhances the rustic look of the barrel.
Hoops: These metal hoops, also known as barrel bands, are essential for holding the staves together. When adding decorative ones, ensure they match the size and shape of your barrel. While black hoops are traditional, you can also find them in copper, brass, or galvanized metal for a different aesthetic.
Spigot: If you plan on dispensing liquids from your barrel, a spigot or faucet is a must. Choose one with an antique brass or copper finish to complement the barrel’s rustic style. Install the spigot in a carefully drilled hole in the front center of the barrel, taking great care not to crack the wood during drilling.
Stand: To make dispensing easier and to display your barrel nicely, consider a custom wooden stand. These can be simple to build yourself or purchased pre-made. The stand should have a diameter slightly larger than the bottom of your barrel to provide a stable base.
With the right hardware in place, your restored whiskey barrel will make an impressive rustic décor accent in your home bar or pub. And if you decide to fill it with aged whiskey, it’s sure to become a fantastic conversation starter!
Moving the Barrel to Its Permanent Location
Now that your whiskey barrel is clean and any necessary repairs are complete, it’s time to move it to its final resting place.
Finding the Perfect Spot: Choose a location that is out of direct sunlight and sheltered from the elements. A garage, shed, or covered porch area often works well. You want to protect your barrel from rain, snow, and extreme temperatures.
Once you’ve found the ideal spot, ensure the floor is level. An unlevel barrel won’t sit correctly and could potentially cause damage. Use wooden shims placed under the rim to stabilize the barrel before you fill it.
Adding the Spigot: If your barrel didn’t come with a spigot and you intend to dispense liquids, now is the time to install one. Drill a hole near the bottom of the barrel, leaving at least an inch or two of clearance from the very bottom, and attach the spigot. Seal around the spigot with waterproof wood glue and allow it a full day to dry completely.
Starting Conditioning: If you plan to age spirits in your barrel, add a few gallons of warm water and let it sit for a couple of days. This allows the wood to swell and seal any small remaining cracks. Empty the water and refill it every few days for a couple of weeks. This conditioning process prepares the barrel for holding whiskey by ensuring the wood staves are fully swollen.
Once the conditioning is complete, you’re ready to fill ‘er up! Your revived whiskey barrel will be a fantastic conversation piece and a useful tool for aging spirits. With the proper care and maintenance, a refurbished barrel can provide many more years of service.
How to Restore a Whiskey Barrel FAQs
Got an old whiskey barrel that’s lost its charm? Bring it back to life with these simple steps.
Scrub the barrel inside and out with hot, soapy water to remove any dirt or debris. Rinse it thoroughly with clean water to remove any soap residue. Allow the barrel to air dry completely, which could take at least two to three days.
Lightly sand the outside of the barrel with fine-grit sandpaper to slightly roughen the surface. Wipe away any dust with a tack cloth. Apply two to three coats of a sealant, such as polyurethane, to the exterior of the barrel, allowing about two hours of drying time between each coat. This will protect the wood and help to restore the barrel’s natural reddish hue.
For stubborn stains inside the barrel, create a paste using baking soda and water. Apply the paste with a scrub brush and let it sit overnight. Scrub the area with the paste and then rinse with water. For persistent odors, fill the barrel with a mixture of water and either lemon juice, vinegar, or activated charcoal. Seal the barrel and let it sit for about a week. Rinse it well with water until the water runs clear.
Once the barrel is clean and sealed, you can use it as a decorative piece or even repurpose it into furniture like tables, chairs, or planters. A restored whiskey barrel adds a touch of rustic charm to any space. With a little effort, you can have that barrel looking almost brand new and ready for its second act.
Final Thoughts
So, there you have it – the knowledge and skills to bring an old whiskey barrel back from the brink. With some sanding, re-staining, and re-sealing, you can have a barrel looking almost as good as the day it was made. And once you’ve put in the work to restore it, just imagine the possibilities! Use it as a striking piece of decor in a man cave or she shed, transform it into a unique table or chair, or, if you’re feeling truly ambitious, use it to age and flavor your own homemade whiskey or wine. The opportunities are truly endless. A restored barrel is a beautiful object and a tangible piece of history, and now you have the ability to save a small part of the past and make it new again. Not a bad skill to have for any whiskey aficionado or DIY enthusiast. Here’s to breathing new life into old things!