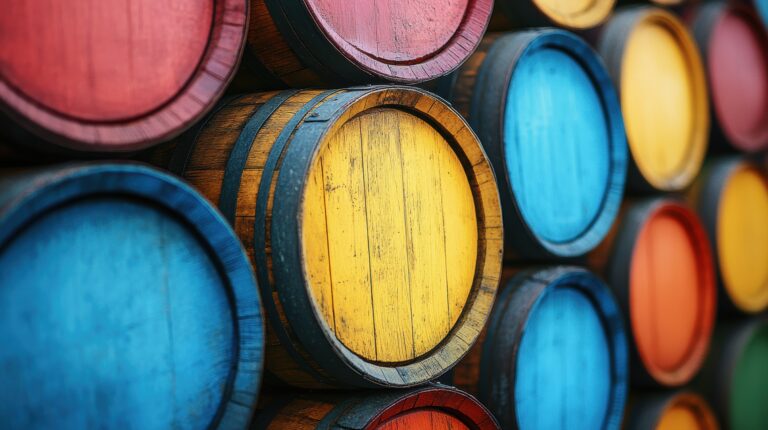
Have you ever looked at an old whiskey barrel and thought it would make a great rain barrel? You’re not alone. Whiskey barrels are built to last and their shape is perfect for collecting and storing rainwater. If you have an empty barrel taking up space, why not give it a second life as a rain barrel? It’s an easy DIY project that will save you money and help the environment.
In just a few simple steps, you can turn that old barrel into a fully functioning rain barrel to water your garden. Grab some basic tools and supplies, drill a few holes, add a spigot and overflow valve, and you’ll be collecting free rainwater in no time. Your plants will love the naturally alkaline rainwater, and you’ll love saving money on your water bill.
Next time it rains, you’ll be able to see your handiwork in action as the barrel fills up with fresh water. Feel good knowing you’re doing your part to conserve resources as you sip a glass of the barrel’s original contents. Now that’s what we call the perfect sustainable solution. Turning an old whiskey barrel into a rain barrel – it’s the ultimate recycling project. Your garden and wallet will thank you.
Intro: The Benefits of Collecting Rainwater With DIY Barrels
Collecting rainwater is an easy way to save money and help the environment. DIY rain barrels made from whiskey barrels are a stylish, sustainable option.
The Benefits
Rainwater is better for plants since it’s naturally soft and chemical-free. Using rain barrels can lower your water bill by up to 40% during peak summer months. It keeps rain out of storm drains, reducing pollution in lakes and streams.
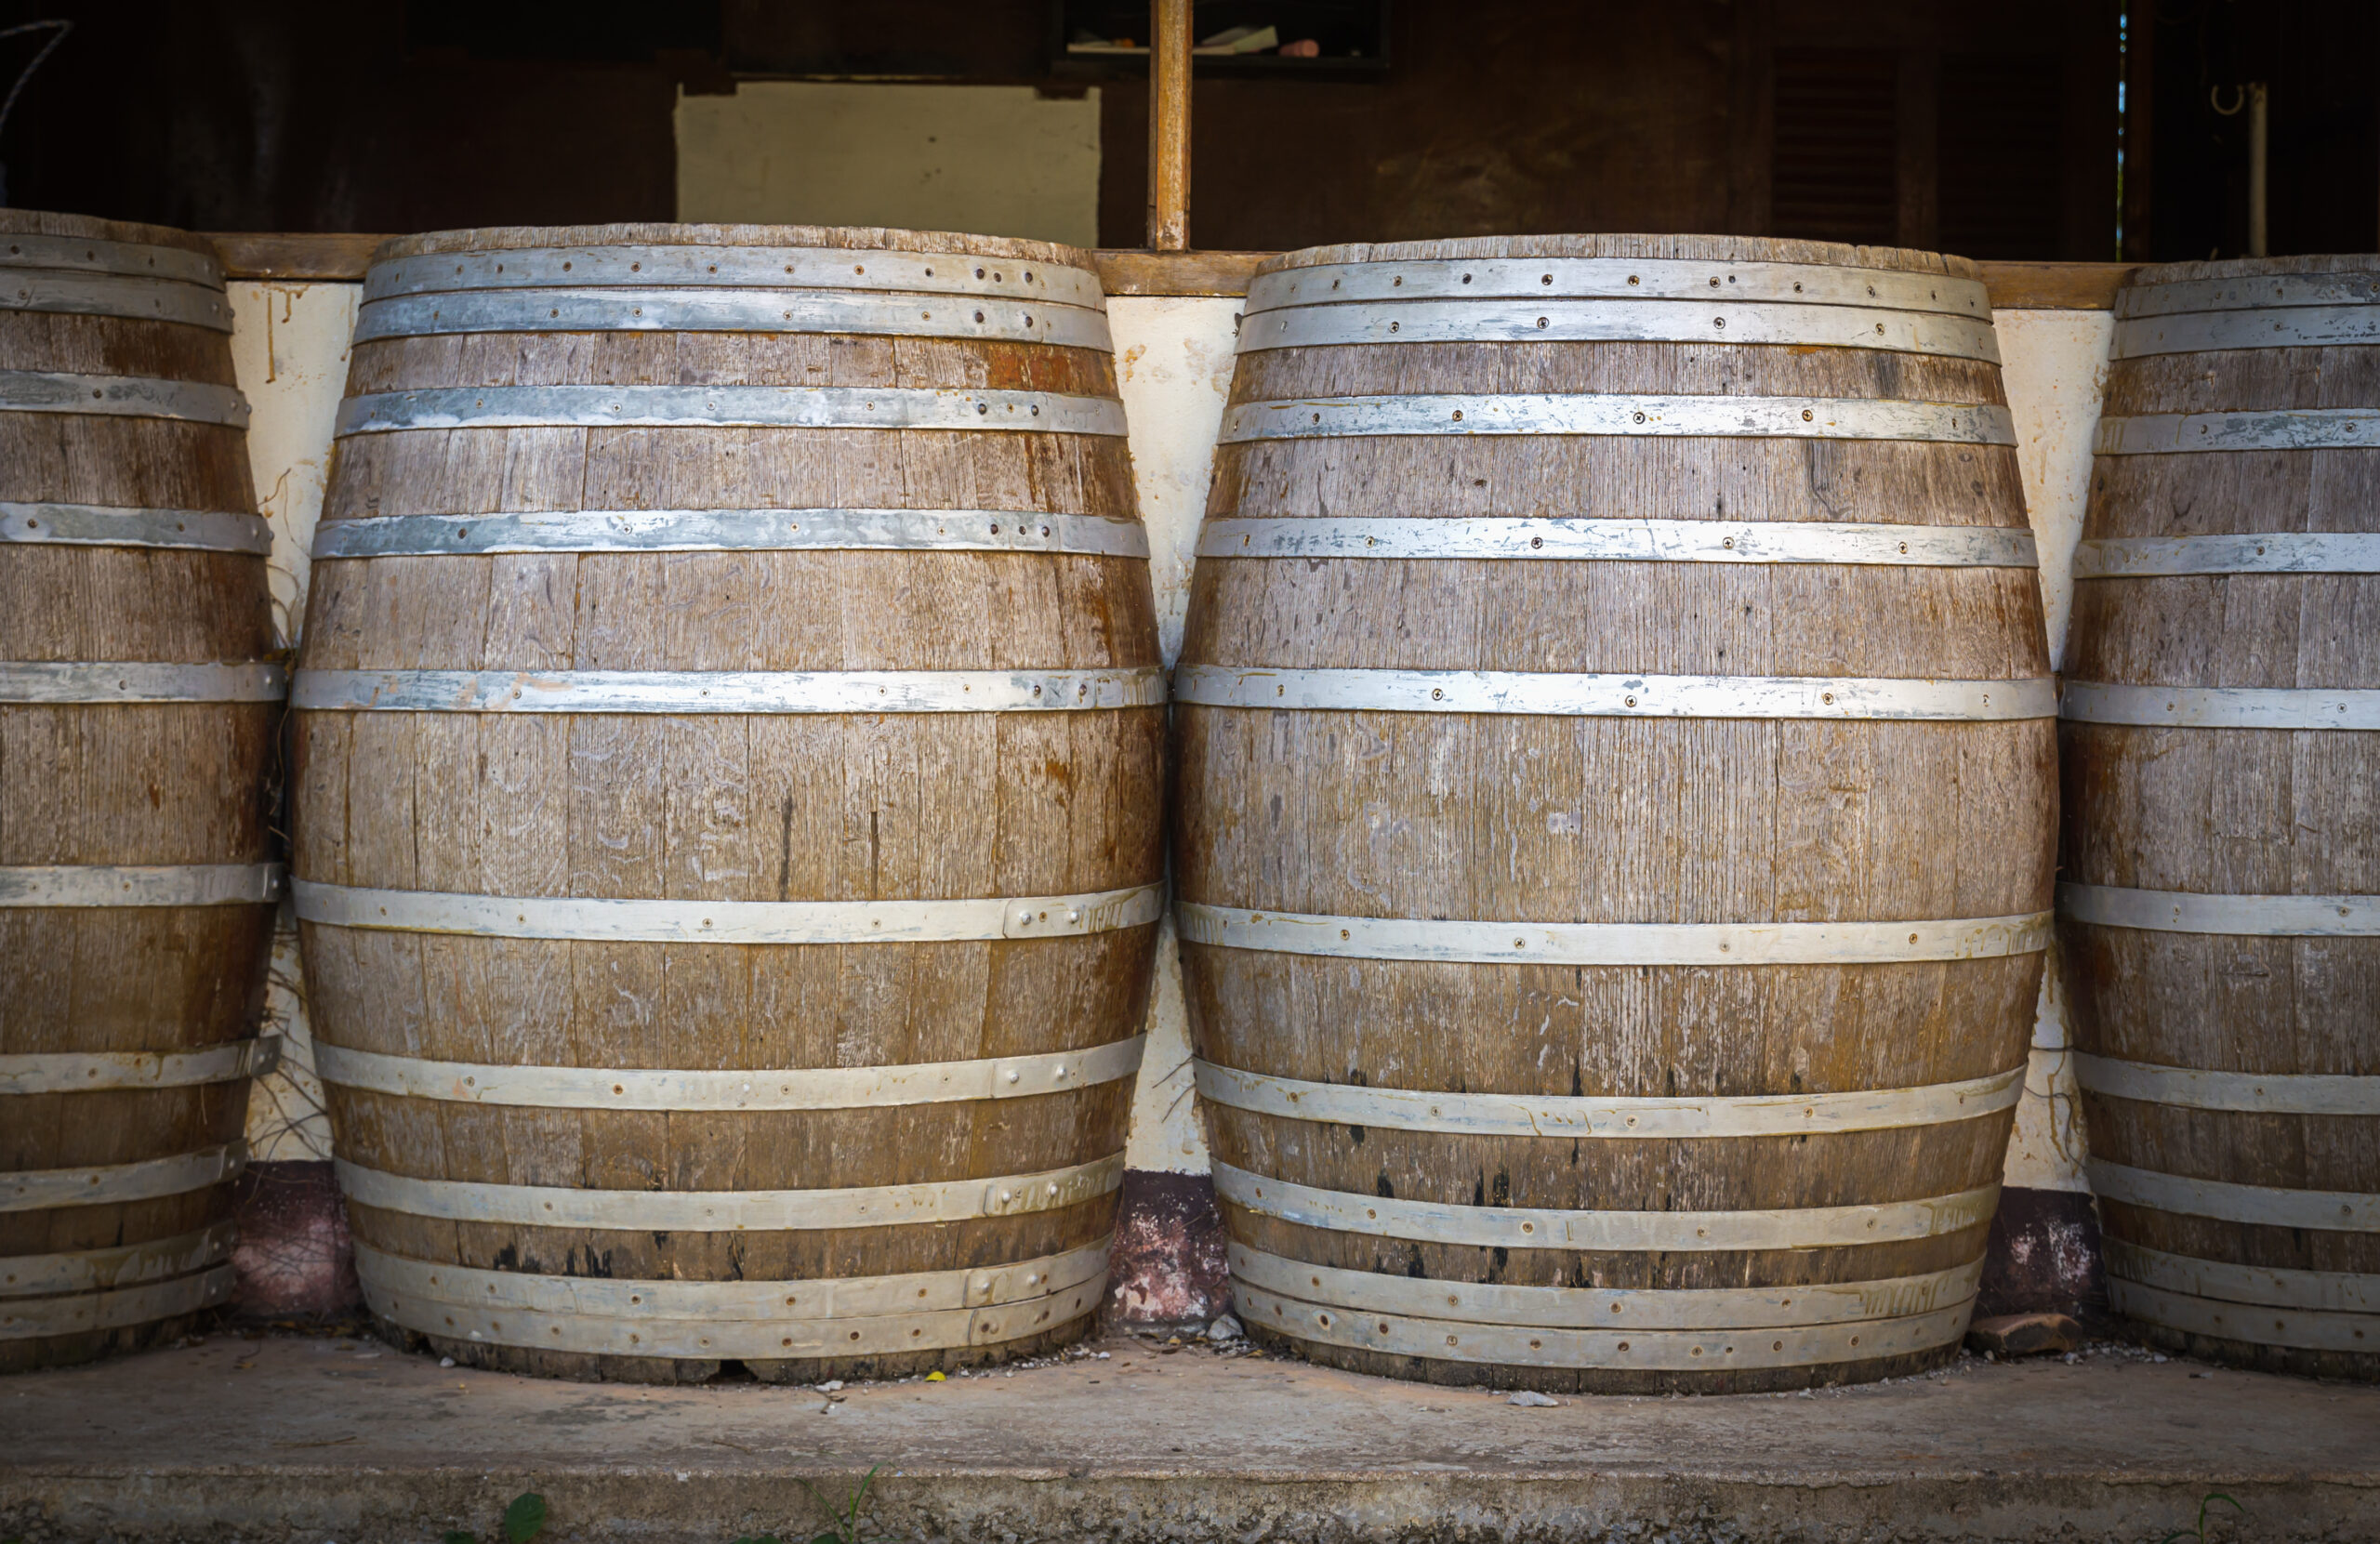
Whiskey barrels give rain barrels rustic charm that complements any garden. Their sturdy oak construction means they’ll last for years. Barrels that once aged bourbon or rum impart a subtle, mellow flavor to the rainwater that plants love.
Sourcing the barrels is easy. Many distilleries sell used barrels for a reasonable price, or donate them to local charities and gardens. With some basic tools and a free weekend, you’ll have a fully functioning rain barrel.
Drill a few holes in the bottom and lid for water flow, add a spigot, and place it on blocks to allow air flow underneath. Consider linking multiple barrels together for high-volume collection. Whiskey barrel rain barrels: stylish, sustainable and satisfying. Your garden will thank you.
What You’ll Need to Make a Rain Barrel From a Whiskey Barrel
To turn a whiskey barrel into a rain barrel, you’ll need a few basic supplies.
Tools
- Drill
- Spade bit (3-4 inches in diameter)
- Jigsaw
- Sandpaper
- Weather-resistant sealant
Parts
- Downspout diverter or connector: This redirects water from your downspout into the barrel. You’ll want one that fits your specific downspout size.
- Spigot: A spigot at the bottom of the barrel allows you to access the collected rainwater. Look for a brass spigot that is rated for use with liquids.
- Grommets (optional): Rubber grommets seal any holes you drill in the barrel and provide a water-tight barrier.
- Pea gravel or stones (optional): Place a few inches of gravel in the bottom of the barrel to help filter debris before the water enters.
With the right tools and parts on hand, you’ll be ready to start converting your whiskey barrel into an eco-friendly rain barrel. Follow a few simple steps to capture rainwater for your garden and help conserve this valuable resource. Your plants and the planet will thank you!
Preparing the Whiskey Barrel for Conversion
To prepare your whiskey barrel for conversion into a rain barrel, you’ll need to do some minor modifications.
Cleaning
First, you’ll want to clean out any remnants from its previous use storing spirits. Rinse the barrel several times with hot, soapy water. Scrub away any stuck-on residue inside with an abrasive sponge or scrubber. After cleaning, rinse thoroughly with plain water to remove any soap. Allow all parts to air dry completely before the next step.
Sealing
Once clean and dry, you’ll need to seal the barrel to make it watertight. Apply a sealant like silicone caulk, waterproof wood glue, or melted beeswax around the lid and all joints and seams. Spread evenly and wipe away any excess with a damp cloth. Allow 24 hours for the sealant to cure before testing to ensure there are no leaks. If it’s not sealing properly, you may need to apply additional coats.
Spigot
The final modification is installing a spigot near the bottom of the barrel so you can easily access the collected rainwater. Mark a spot about 3 to 4 inches above the bottom rim of the barrel. Drill a pilot hole, then widen it with a spade bit to the size of your spigot threads. Twist in the spigot and tighten to form a watertight seal. Place a bucket or pan under the spigot to catch any water released when opening it for the first use.
With some simple cleaning, sealing, and the addition of a spigot, an old whiskey barrel can be repurposed into a fully functioning rain barrel. Your garden will appreciate this eco-friendly solution to watering in no time!
Adding a Spigot and Overflow Valve
To get water from your rain barrel, you’ll need to install a spigot. You’ll also want an overflow valve to prevent the barrel from overflowing in heavy rains.
Attach a spigot to the lower 1/3 of the barrel. Drill a hole slightly smaller than your spigot base and secure the spigot in place with plumber’s putty, caulk or a rubber washer.
Add an overflow outlet higher up, around 2/3 from the top. Again drill a hole and attach a pipe or hose to redirect excess water away from the foundation of your home. You can also connect multiple barrels together for more storage capacity, with the overflow from the first barrel emptying into the second barrel.
With a spigot and overflow valve installed, your rain barrel will be ready to collect rainwater for use in your garden and provide an eco-friendly water source for your home. You’ll be reusing rain that would otherwise go down the storm drain, saving money and natural resources. Your plants and the planet will thank you!
Connecting Your Rain Barrel to Your Gutters
To get the rain from your gutters into your whiskey barrel rain barrel, you’ll need to make a connection between the two. Here are the steps:
Attach a Spigot to Your Barrel
Attach a spigot or faucet to the lower side of your rain barrel. This allows you to easily access the collected rainwater. You can find rain barrel spigots at most hardware stores.
Install an Overflow Outlet
Drill a hole a few inches below the rim of your barrel and install an overflow outlet. This outlet allows excess water to exit the barrel so it does not overflow. Attach a hose to the outlet to divert water away from the building foundation.
Connect Your Gutters to the Barrel
Place your rain barrel on blocks to allow for easy access to the spigot and overflow outlet. Once positioned, you can attach a downspout adapter to the end of your existing downspout to divert water into the barrel. The adapter attaches with brackets to the top rim of the barrel with a flexible tube to carry water from the downspout into the barrel.
Consider a Diverter
For larger harvest systems, you may want to install a diverter in your downspout. The diverter allows you to control whether water flows into the barrel or bypasses it. This allows you to prevent overflowing the barrel during heavy rains. You can find downspout diverters at home improvement stores with other rain harvesting equipment.
With these connections made, you are ready to start collecting rainwater in your DIY whiskey barrel rain barrel. Check it regularly and make any needed adjustments to ensure optimal operation. Once full, you’ll have a supply of water for gardening and other outdoor uses.
Painting or Staining Your Rain Barrel
Painting or staining your rain barrel is optional, but it can help make it blend into your yard and prevent algae growth. Choose a color to match your home exterior or garden theme.
You’ll need to clean and lightly sand the barrel to rough up the surface so the paint adheres better. Wipe away dust with a tack cloth. Apply a coat of primer, then two coats of your chosen paint or stain, waiting for each coat to dry in between.
For paint, use an outdoor acrylic or enamel. Stains in earthy tones like rust, moss, or bark work well for a natural look. Seal the finish with a weather-resistant sealant to protect your rain barrel from the elements.
Let your rain barrel cure for several days before installing the spigot, overflow tube, and placing it in your intended spot. The paint or stain needs time to fully harden to avoid scratches or dents during handling and set up.
With a fresh coat of color and sealant, your rain barrel will look attractive and be protected from weathering and algae growth for years to come. You’ve extended the lifespan of your barrel and made it an eye-catching part of your garden decor.
Choosing a Location for Your Rain Barrel
The ideal location for your rain barrel depends on several factors. Think about:
- Accessibility: Place the barrel near the downspout where it will collect water, but also where you can easily access the spigot to fill watering cans or attach a garden hose.
- Level ground: Choose a spot that is level and sturdy enough to support the weight of a full rain barrel. If the ground isn’t level, you may need to elevate the barrel on concrete pavers or a wooden platform.
- Aesthetics: While rain barrels are extremely useful, they aren’t always the most attractive addition to your yard. If possible, tuck the barrel discretely behind shrubs or on the side of your house. You can also paint it to match or complement your home.
- Overflow: Make sure you have a plan for any overflow from your rain barrel. Place it in a spot where excess water can flow away from the base of the barrel onto a lawn or garden bed. You may also want to install an overflow spout to direct water away from the foundation of buildings.
- Winter considerations: If you live in an area with freezing winters, choose a spot that will allow you to disconnect and drain the barrel. Bring it inside or turn it upside down when not in use during winter.
Choosing the right location for your rain barrel with accessibility, stability, and esthetics in mind will ensure it’s both functional and an attractive part of your sustainable yard setup. With the proper placement and some basic maintenance, a rain barrel can provide you with a free source of water for your garden for many years to come.
Maintaining Your DIY Rain Barrel
Now that you have your whiskey barrel rain barrel set up and collecting water, it’s important to properly maintain it. Neglecting maintenance can lead to issues like leaks, overflowing, and unwanted pests.
Inspect Regularly
Check your barrel regularly for any signs of damage or leaks. Make sure all parts are securely fitted and the spigot is turned off when not in use. If you notice any drips or cracks, seal them up right away with waterproof caulk, sealant, or weatherstripping tape.
Clean the Mesh Screen
The mesh screen fitted over the top opening prevents debris and pests from entering your barrel. Remove the screen at least once a month to scrub off any dirt or algae buildup. Rinse the screen with a hose to dislodge any trapped particles before re-securing it to the barrel.
Empty and Refill
For the best water quality and to prevent the growth of algae or bacteria, empty and refill your rain barrel every few months. Scrub the inside with a diluted bleach solution or white vinegar to sanitize before refilling. This is also a good time to inspect the barrel for any damage or leaks needing repair.
Winterize (Optional)
If you live in an area with freezing winters, empty and disconnect your rain barrel during the colder months to prevent cracking. Store the barrel upside down and protected from the elements until the weather warms up again in spring.
Following these simple maintenance tips will help ensure your DIY rain barrel provides clean, usable water for a long time. Stay on top of any needed repairs right away to avoid major issues down the road. With regular care and attention, your whiskey barrel rain barrel can provide an eco-friendly water source for years to come.
Rain Barrel FAQs: Frequently Asked Questions About Whiskey Barrel Conversions
Do I need a spigot or valve? Yes, you’ll want a spigot or valve at the bottom of the barrel to control water flow.
What size rain barrel should I get? For a typical home, a 50 to 100 gallon barrel is good size. Larger barrels may require a pump to move the water.
How do I prevent mosquitoes? Install a fine mesh screen or netting over the top opening and seal around the spigot and overflow outlet. This prevents mosquitoes and debris from entering.
How do I prevent algae growth? Place the barrel in a shady area away from direct sunlight. Algae needs light to grow. You can also add a lid.
How do I prevent the barrel from overflowing? Install an overflow outlet a few inches from the top of the barrel. Attach a hose to redirect excess water away from the foundation of your home.
How do I raise the barrel to increase water pressure? Place concrete blocks, a wooden platform or a metal stand under the barrel to increase height and water pressure.
What maintenance is required? Inspect and clean the mesh screen, spigot and overflow outlet regularly. Also check that the barrel is level for proper drainage. Replace or repair any damaged parts. Empty and clean the barrel once a season.
Do rain barrels require a permit? In some areas, rain barrels may require a permit to use rainwater collection systems. Check with your local water authorities for any regulations in your city or county.
Final Thoughts
So there you have it – a step-by-step guide to transforming used whiskey barrels into fully functional rain barrels. Now when the rain starts pouring, you’ll be ready to collect every last drop to use in your garden. Not only will you be conserving a precious resource, but you’ll also have a stylish yard accessory and a little piece of history to boot. Who knew those old barrels could get a whole new life and purpose? With some elbow grease and the right tools, you’ve turned trash into treasure. Your plants will surely thank you, and your neighbors will be green with envy. So grab yourself an old barrel, roll up your sleeves, and get crafting. The rewards will be well worth the effort.