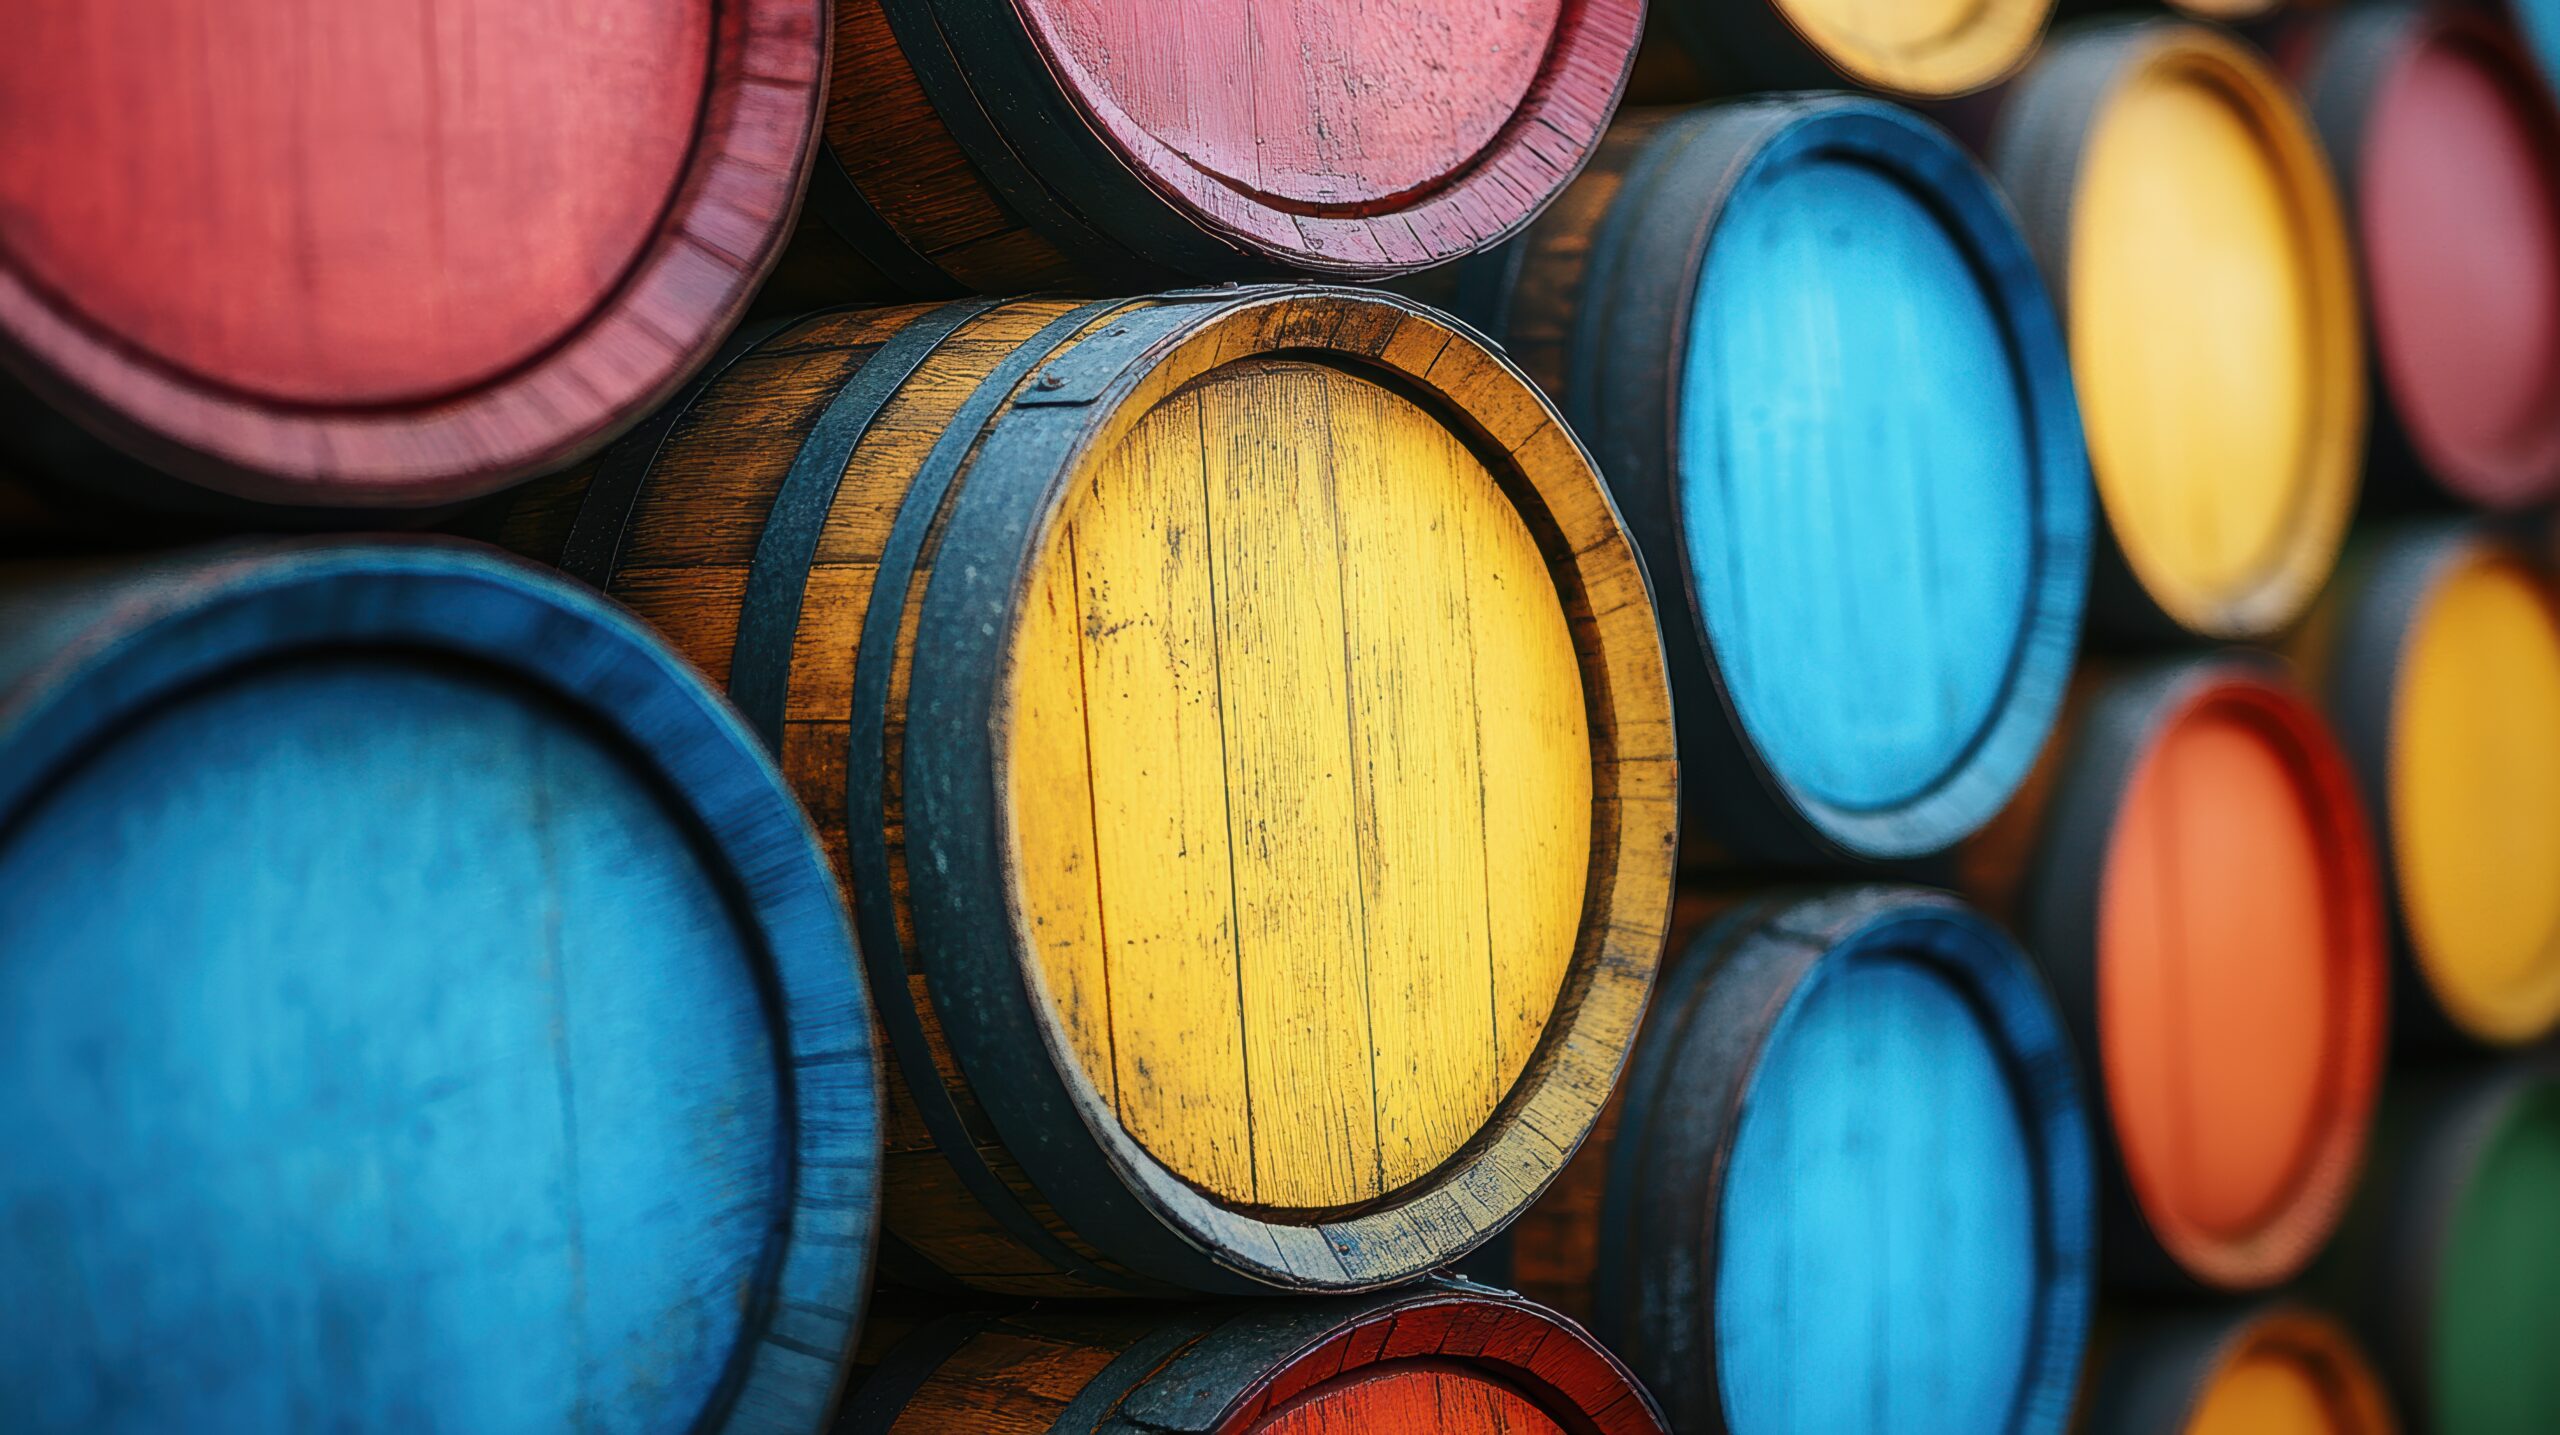
You’ve been racking your brain trying to come up with a cool DIY project for your backyard this summer when it hits you – why not paint some old whiskey barrels? Those leftover barrels from your favorite distillery would make perfect planters or tables with a fresh coat of paint. Before you start dreaming of colorful barrel designs, though, you probably have a few questions about how to properly paint whiskey barrels. Have no fear, we’ve created this comprehensive guide to walk you through the entire process from start to finish. By the time you’re done reading, you’ll be a pro at painting whiskey barrels and ready to transform those old barrels into a stunning backyard feature. So grab your painting supplies and let’s get started!
Introduction to Painting Whiskey Barrels
Painting whiskey barrels is easier than you might think. All you need are a few basic supplies and the right technique.
First, clean the barrel thoroughly. Use soap and water to remove any dirt or residue. Rinse and dry completely.
Next, lighty sand the outside of the barrel with fine-grit sandpaper. This will rough up the surface so the primer and paint adhere better. Wipe away dust with a tack cloth.
Apply a coat of primer designed for wood. Let it dry as directed. Then apply two coats of acrylic latex paint in your color of choice, waiting for each coat to dry in between. For a rustic look, consider a matte finish in earthy tones like burnt umber or forest green.
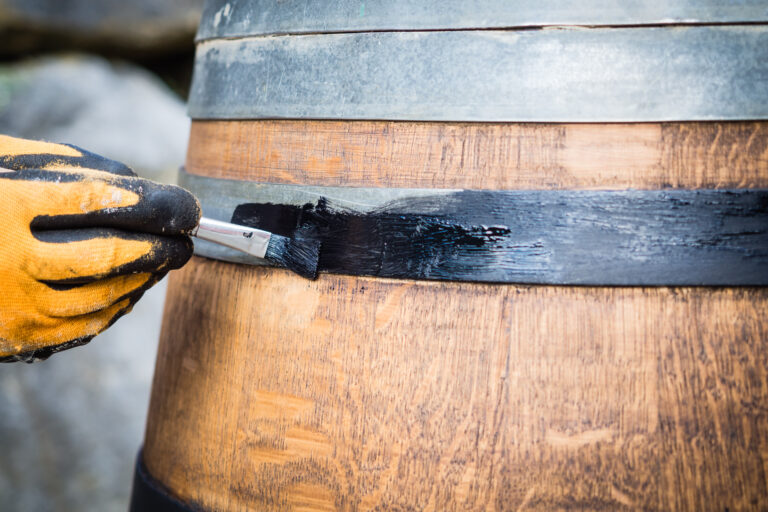
Use a paintbrush to apply paint around the barrel hoops and rim. For large flat areas, use a foam roller for quick, even coverage.
Once the paint is dry, you can distress the barrel by rubbing away some of the paint with the sandpaper to create a weathered patina. Or leave as is for a solid, vibrant look.
With some easy prep work and the right tools, you’ll have a custom whiskey barrel planter or table in no time. Now that calls for a toast!
Reasons You Might Want to Paint Your Whiskey Barrel
Painting a whiskey barrel is a fun DIY project that allows you to customize it to match your decor. Here are a few reasons you might want to paint your barrel:
- You can match it to your bar or man cave theme. A rustic barrel pairs well with a western saloon look, while a brightly colored barrel could complement a tiki bar.
- It protects the wood. A coat of primer and paint helps seal the barrel and prevents damage from spills and splatters. This is especially important if you’re using the barrel as a bar table or stand.
- It gives new life to an old barrel. Breathing new color into a used barrel is an easy way to repurpose it into a decorative piece. You can find inexpensive used barrels at home and garden stores that make perfect candidates for a DIY paint job.
- It’s a chance to get creative! There are so many colors and techniques you can use to give your barrel a custom look. Try stenciling, distressing the paint for a rustic feel, or adding decorative accents. The possibilities are endless.
Painting a barrel is the perfect weekend project. With some sandpaper, primer, paint and a little imagination, you’ll have a one-of-a-kind whiskey barrel in no time. Why not give it a shot? The results could be pretty intoxicating!
Supplies You’ll Need to Paint a Whiskey Barrel
To paint your whiskey barrel, you’ll need a few basic supplies. Gather the following:
- Primer – A primer helps the paint adhere better to the wood. Look for a primer specifically meant for painting wood or barrels. Apply 2 coats of primer and let it dry completely between coats.
- Paint – For barrels, an enamel or acrylic paint works well. These provide good coverage and durability. Choose a paint meant for outdoor use, as barrels are often displayed outside. Opt for a satin or semi-gloss sheen for a subtle shine. Get at least 2 quarts of paint to properly cover a barrel.
- Brushes – Have on hand a few brushes in different sizes – a 2-inch angled brush for the rim and any detailing, a wider 4-inch brush for the middle, and a 6-inch brush for the bottom of the barrel. Natural bristle brushes work best for applying primer and paint to wood.
- Paint tray – A tray will make it easy to pour and distribute the paint as you work. Look for a tray with several wells so you have spots for your different paint colors.
- Painters tape – Use tape to protect the rim of the barrel and achieve crisp edges and lines. Apply tape, then paint over it and remove once dry for a neat finish.
- Sealant (optional) – For added protection, apply 2-3 coats of polyurethane or acrylic sealant over the final coat of paint. This protects from scratches and weathering. Let the paint dry for at least 24 hours before applying the first coat of sealant.
With the right supplies and a little patience, you’ll be well on your way to a freshly painted whiskey barrel. Let your creativity flow and have fun with this DIY project!
Prepping the Barrel Before Painting
First, you’ll want to clean the barrel thoroughly. Scrub the inside and outside with hot, soapy water and a stiff brush to remove any dirt or debris. Rinse well with water to remove any remaining residue. Let the barrel air dry completely before moving on to the next steps.
Next, lightly sand the barrel to rough up the surface and provide “tooth” for the paint to grip onto. You can use fine-grit sandpaper, around 220 grit. Wipe away dust with a tack cloth.
Apply a primer specifically meant for painting wood, like Kilz Original Primer. This will seal the wood and provide a good base for your topcoat of paint. Apply with a brush, roller, or sprayer and let dry as directed.
Finally, apply 2-3 coats of your chosen paint, waiting for each coat to dry in between applications. For the best results, use a paint specifically meant for painting wood, like latex or acrylic paint. Oil-based paints can work too, but require mineral spirits for cleanup and have strong fumes, so ventilation is a must.
Once your final coat of paint is dry, you’ll have a freshly painted whiskey barrel ready to use as decor or to plant flowers and herbs. With some TLC and the proper prep, you can give new life to an old barrel. Let your creativity flow and don’t be afraid to add stencils, designs or a faux wood grain for extra flair!
Painting Techniques for Whiskey Barrels
There are a few techniques you can use to paint your whiskey barrel. The most common are:
- Brush painting. Use a high-quality brush to apply 2-3 coats of primer followed by 2 coats of your topcoat paint. Make sure to sand lightly between coats. This works well for stenciling and distressed looks.
- Spray painting. For an even coat, use spray primer and spray paint. Place the barrel on a stand to allow you to rotate it easily. Spray in light coats, waiting 5-10 minutes between each coat. Spray painting is best for solid colors.
- Stenciling. If you want to add lettering or a design, stencils are a great option. Apply 2 coats of primer, then position and adhere your stencil. Apply 2 coats of paint over the stencil, waiting for it to dry in between. Carefully remove the stencil to reveal your design.
- Distressing. For a rustic look, you can distress your painted barrel. Use sandpaper to rough up edges and create wear marks. Or, paint a base color, then a second contrasting color on top. Once dry, use steel wool to rub away some of the top color and reveal the base color underneath. Wipe away dust with a tack cloth.
- Sealing. Apply 2-3 coats of sealant like polyurethane over your final paint job. This protects the paint from scratches, moisture, and weathering. Allow each coat to dry as directed before applying the next. Sealing is especially important if your barrel will be used outdoors.
With the right techniques and some patience, you’ll have a professional-looking painted whiskey barrel in no time! Take your time—the results will be worth it.
Paint Color Ideas for Whiskey Barrels
Painting whiskey barrels a fun DIY project that allows you to customize them to match your decor. Here are some color ideas to consider:
- Rustic reds and browns: For a rustic look, paint your barrel in earthy tones like brick red, burnt umber or chocolate brown. These colors complement the natural wood tones and evoke a cozy, cabin vibe.
- Coastal blues: For a nautical theme, shades of blue like navy, sea blue or light blue are perfect. You can also distress the paint to make the barrel look weathered. Add details like a rope handle, starfish or anchor accents.
- Forest greens: Deep green shades like hunter green, forest green or olive green give barrels an woodsy feel. Stencil on leafy vine details or woodland animal silhouettes to complete the look.
- Warm metallics: Metallic paints like copper, pewter or bronze create an elegant, upscale look. The metallic sheen dresses up the rustic barrel shape and makes it a stunning decorative accent piece.
- Crisp black or white: For a clean, contemporary look, paint your barrel matte black or glossy white. The simple, minimalistic color allows the barrel’s shape and wood grain to shine through. Black barrels work well for Halloween or pirate-themed décor while white barrels have a beachy, coastal vibe.
Whatever color you choose, be sure to sand, prime and seal the barrel properly so your new paint job lasts. Two coats of paint and a clear topcoat should do the trick. Get creative and happy painting! Your custom whiskey barrel will make a fantastic decorative planter, end table or bar cart.
Sealing the Paint on Your Whiskey Barrel
Now that your barrel is painted, you’ll want to seal the paint to protect it from scratches, fading, and weather. Apply 2-3 coats of sealant, waiting for each coat to dry in between applications.
Choose a Sealant
For outdoor use, an acrylic sealant works well and comes in matte, satin or glossy finishes. For indoor use, a polyurethane sealant will provide the most protection. Water-based sealants are easy to clean up and low odor. Oil-based sealants provide the most durable protection but have strong fumes – only use in a well-ventilated area.
Clean the Barrel
Wipe down the entire barrel with a tack cloth to remove any dust before sealing. Vacuum the inside of the barrel to remove any debris.
Apply Sealant
Stir the sealant thoroughly. Use a high quality brush to apply the sealant, brushing with the grain using smooth, even strokes. Work in sections starting at the top of the barrel. Apply at least two coats, waiting 2-3 hours between coats. More coats provide better protection.
Cure Time
Allow the barrel to cure for at least 24-48 hours before handling. The sealant needs time to fully harden. Cure time depends on factors like temperature, humidity and sealant used. Check the product details for specific recommendations.
Maintenance
Re-seal your barrel every 1-2 years to maintain protection. Scratches or damage to the sealant reduces protection and allows moisture to penetrate the wood. Lightly sanding before re-sealing provides the best adhesion for new coats of sealant.
Your freshly painted and sealed barrel is now ready to use as a planter, storage container or decoration. Following these steps will keep it looking its best for years to come.
Decorating Ideas for Painted Whiskey Barrels
Once you have your whiskey barrel prepped and ready, it’s time for the fun part—decorating! Here are some ideas to make your barrel a decorative focal point.
Stenciling
- Use stencils to paint shapes, letters or patterns onto the barrel. Things like leaves, vines, your name or street address work great.
Distressing
- For a rustic look, distress the barrel by roughly sanding edges and high points, then rub on a dark glaze or paint to make grooves and scratches stand out.
Chalkboard paint
- Apply 2-3 coats of chalkboard paint to the entire barrel or just one side. Let it dry, then you’ll have a giant chalkboard to write on with chalk. Change up the message or drawing whenever you like.
Banding
- Paint decorative bands around the middle or at either end of the barrel. Vary the width and color of bands for a custom look. Thin bands, thick bands, triple bands—get creative!
Hardware
- Attach hardware like handles, locks, spigots or hoops to transform your barrel into furniture like a table, chair or planter. Paint the hardware to match or contrast with your barrel color.
With some paint and a little imagination, an old whiskey barrel can become a true work of art. Pick one or combine multiple ideas for a barrel that reflects your personal style. Once complete, find the perfect spot to display your creation outdoors or in!
FAQ – Answers to Common Questions About Painting Whiskey Barrels
Do I need to sand or prime the barrel before painting? Yes, sanding and priming the barrel before painting is recommended for the best results. Lightly sand the barrel to rough up the surface and provide “tooth” for the paint to adhere to. Then apply a primer designed for raw wood. Let it dry as directed.
What kind of paint should I use? An exterior paint designed for wood is best for painting whiskey barrels. Oil-based or acrylic latex paints work well. For a rustic look, consider a satin or matte sheen. Glossier paints may not adhere as well to the curved barrel surface.
How many coats of paint do I need? Two to three coats of paint provide good coverage for most DIY barrel painting projects. Apply thin, even coats, letting each coat dry in between applications as directed by the paint product details. The final coat will provide protection from weather and sealing the barrel.
Do I need to seal the barrel after painting? Yes, applying a sealant over the final coat of paint is recommended to protect the barrel from moisture and weather. A polyurethane sealant, tung oil or lacquer all work well for sealing painted barrels. Two to three coats of your chosen sealant provide the best protection for your newly painted barrel.
Let the barrel cure for several days before placing items inside or moving the barrel. This allows the paint and sealant to fully harden and prevents scratches or dents to the fresh finish. Your newly painted and sealed barrel is now ready to use as decor or storage!
Final Thoughts
You’ve now got all the info you need to transform an old whiskey barrel into a decorative planter or table in your backyard. By sanding, cleaning, and priming the barrel, then adding a coat of paint in your color of choice, you’ll be well on your way to a custom piece of furniture that will be the envy of all your friends. Once the paint is dry, you can further customize it by adding a sealant for protection or stenciling on designs. The possibilities are endless. So grab that barrel you’ve had sitting around, roll up your sleeves, and get to painting. Before you know it, you’ll be sitting with a glass of your favorite whiskey enjoying the fruits of your labor. Cheers!


