Have you ever wondered if you can stain an old whiskey barrel to use as decor in your home? The short answer is yes, you absolutely can. Staining a whiskey barrel is actually pretty straightforward and makes for a fun DIY project. You’ve probably seen those rustic barrels used as planters or side tables and thought, “I’d like one of those.” Before you go dropping big bucks at some fancy home decor store, know that you can easily transform an old barrel into a stylish accent piece yourself.
All you need is a little patience, the right supplies, and a free afternoon. If you’ve got an artistic eye, you can even customize the barrel in your own signature style. A stained whiskey barrel adds warmth and character to any space. Your friends will be stunned when you tell them you did it yourself. The best part is, no two barrels look exactly alike, so you’ll end up with a truly one-of-a-kind item. Ready to roll up your sleeves and get started? Here’s everything you need to know about staining your very own whiskey barrel.
What Is a Whiskey Barrel?
A whiskey barrel is a charred oak barrel used to age and flavor whiskey. Barrels give whiskey its distinctive brown color and much of its flavor through a chemical reaction with the wood. After aging in the barrel, the harsh, clear spirit transforms into a smooth, amber-colored whiskey with notes of vanilla, caramel, and smoke.
Types of Barrels
Barrels come in different sizes, the most common being the standard bourbon barrel that holds 53 gallons. For Scotch whiskey, sherry casks and port pipes are often used, imparting fruitier flavors. Some distillers experiment with barrels that previously held brandy, rum, or wine.
The oak and level of char determine how quickly the whiskey ages and develops flavor. American white oak is commonly used, with medium char being typical. The more heavily charred the barrel, the more pronounced the smoky flavor notes become.
Whiskey barrels require care and maintenance to prevent leaks. As whiskey ages, about 2% is lost each year to evaporation – this is known as the “angel’s share”. After several years, most barrels are retired as they become too leaky. But some continue aging whiskey for up to 50 years, creating intensely flavored spirits that command a high price.
With the proper care and aging, whiskey barrels transform raw spirits into refined, complex whiskeys. The type of oak, level of char, and length of aging all contribute to creating a whiskey’s distinctive aroma, taste, color, and character.
Reasons You Might Want to Stain Your Whiskey Barrel
Staining your whiskey barrel gives it a rustic, aged look and protects the wood. Here are a few reasons you might want to stain yours:
Adds Character
A stain will enhance the barrel’s natural wood grain and give it an antiqued patina. Dark walnut or oak stains are popular for a traditional bourbon barrel look.
Protection
Stain seals the wood to prevent drying and cracking. Since barrels are porous, a sealant helps keep air and moisture out so your barrel stays intact.
Customization
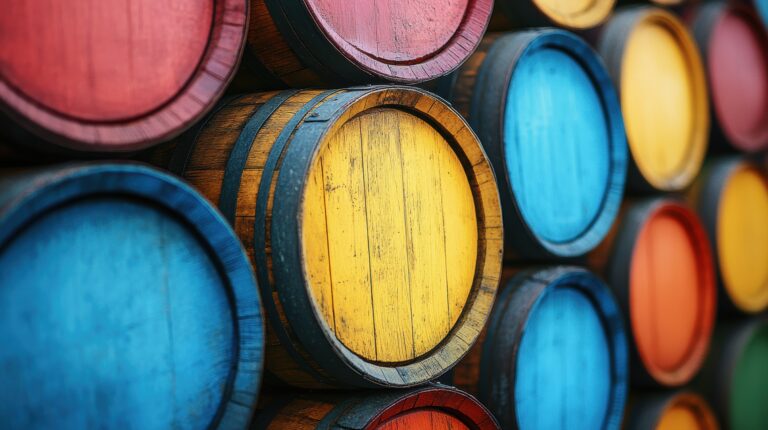
You can match a stain to your decor or personal style. A red mahogany or ebony black stain creates a dramatic look. For a natural wood hue, try a fruitwood or maple stain.
DIY Project
Staining a barrel yourself is a simple weekend project. All you need is sandpaper, stain of your choice, polyurethane sealant, and basic tools like a paintbrush, gloves, and rags. Lightly sand, apply 2-3 coats of stain, seal, and you’ve got yourself a custom whiskey barrel!
Staining your barrel may require a little elbow grease, but the end result will be a beautiful, long-lasting centerpiece you can appreciate for years. What are you waiting for? Get staining!
Prepping and Cleaning the Barrel Before Staining
To prepare your whiskey barrel for staining, you’ll want to clean and sand it thoroughly. Start by rinsing the barrel with water to remove any dirt or debris. Scrub the inside with a barrel brush and then rinse again.
Sanding the Barrel
Lightly sand the outside of the barrel with fine-grit sandpaper (around 220 grit) to rough up the surface and provide “tooth” for the stain to grip onto. Wipe away dust with a tack cloth. For a distressed look, you can sand more aggressively around the edges and rings.
Sealing the Barrel
Apply a sealant, like paraffin wax or beeswax, to the inside of the barrel to prevent leaking. Melt the wax and brush it on with a paintbrush, focusing on the joints and seams. Let dry completely.
Optional: Char the Inside (for decoration only)
If you want to use the barrel for decoration and want an authentic charred interior, you can carefully char the inside of the barrel with a blowtorch. Move the torch slowly back and forth until the inside is evenly charred. Wipe out any charred bits and then seal and sand the outside as directed above before staining.
Once prepped, your whiskey barrel is ready for you to apply a stain and sealer. With some TLC, you’ll have a barrel that looks like it came straight from a distillery! Let the staining begin!
Choosing the Right Stain for a Whiskey Barrel
When it comes to staining a whiskey barrel, you have a few options to consider. The stain you choose depends on the look you want to achieve.
A darker walnut or espresso stain will give your barrel an aged, rustic appearance. These deeper, richer stains enhance the wood grain and patina. For a lighter, more natural look, try a fruitwood or oak stain. These stains allow more of the wood’s natural beauty to show through.
Oil-based stains tend to penetrate deeper into the wood. They provide good protection and durability. However, oil stains have strong fumes, take longer to dry and clean up requires mineral spirits. Water-based stains are more environmentally friendly, with low odor and easy soap and water cleanup. They don’t penetrate as deeply but provide decent protection.
For the best protection, apply 2-3 coats of your chosen stain, waiting 24 hours between coats. Once stained, you’ll want to seal the barrel with a clear topcoat like polyurethane. A satin or matte sheen is a good choice for a natural wood look. The topcoat will help protect the stain and your barrel from damage.
With the right stain and some patience, you’ll have a whiskey barrel with a beautiful finish in no time. The results will be well worth the effort!
Stain Colors and Finishes to Consider
When staining a whiskey barrel, you have many color and finish options to choose from. Consider the overall look you want to achieve. Do you prefer a rustic, natural wood tone or a bolder color? Matte, satin, or high-gloss sheen?
- Natural wood tones like maple, oak, and walnut allow the wood grain to show through for a rustic look. Apply a matte or satin sealant.
- Medium brown, mahogany and espresso are popular, darker color choices. Pair with a satin or semi-gloss finish.
- For a pop of color, try brick red, forest green or navy blue. Use a semi-gloss finish which helps the color stand out while still protecting the wood.
- A black stain is a bold option for a striking look. A high-gloss finish enhances the dramatic effect.
- Distressed gray and weathered wood tones are on-trend. Apply a matte sealant to complete the rustic, timeworn appearance.
- Top it off with a clear sealant for a natural wood finish. The wood grain remains visible while being protected. Satin or matte sheens work well for a subtle look.
The possibilities are endless when it comes to staining and finishing a whiskey barrel. Have fun with it and choose a combination that fits your personal style! With the right prep and application, you’ll be enjoying your custom barrel furniture or decoration in no time.
How to Apply Stain to a Whiskey Barrel
To apply stain to a whiskey barrel, you’ll want to thoroughly clean and sand the barrel first. After cleaning, sand the barrel with fine-grit sandpaper to rough up the surface and provide “tooth” for the stain to grip onto. Wipe away dust with a tack cloth.
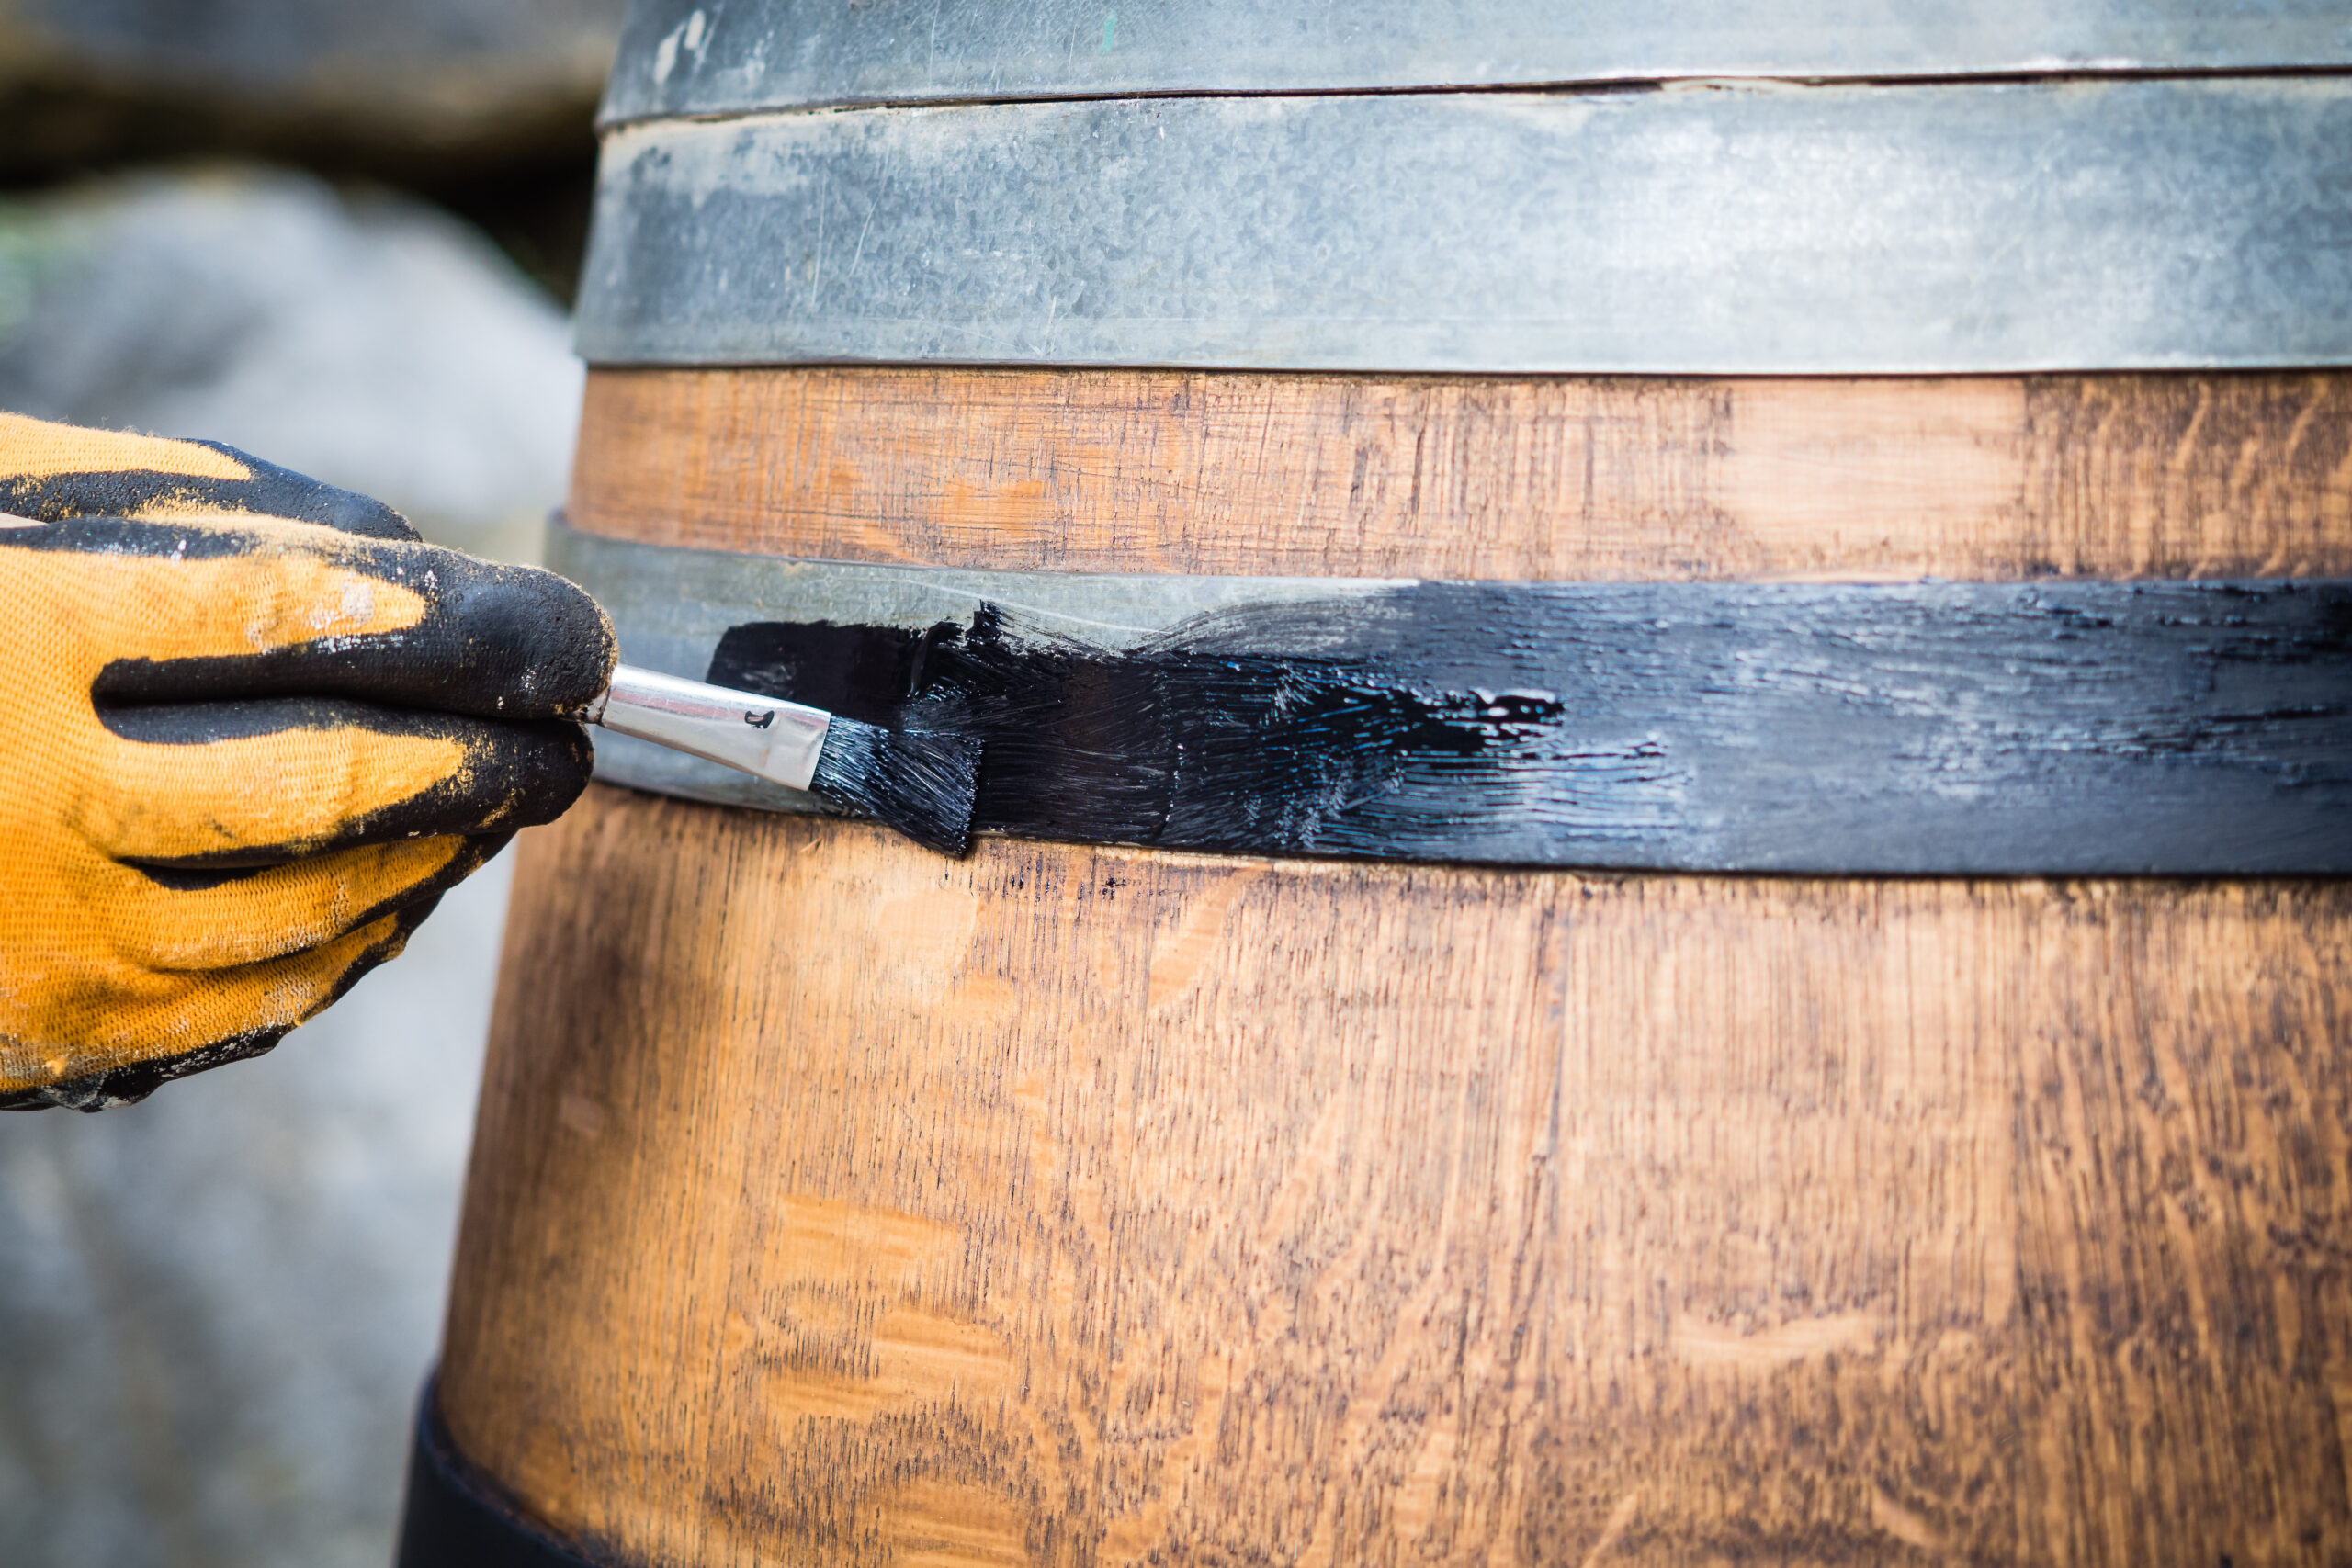
Applying the Stain
Apply a coat of stain with a brush, wiping away any drips or uneven areas with a rag. Let the first coat dry as directed, usually 2-3 hours. Lightly sand any rough spots and dust off again.
Apply a second coat of stain, waiting the recommended time between coats. Two to three coats of stain are typically needed for good coverage and color on a whiskey barrel. Make sure to sand lightly and wipe away dust in between coats.
Once the final coat is applied and dry, you’ll want to seal the barrel to protect the stain. Apply 2-3 coats of sealant, waiting for it to dry in between coats. A polyurethane sealant works well for this. The sealant will help prevent the stain from fading, scratching or water damage.
Your newly stained whiskey barrel is now ready to use as décor or furniture! Place it on its side to use as a table, or upright as a decorative planter. With the proper cleaning, sanding, staining and sealing, your barrel can provide years of use while showing off a rustic, custom look.
Allowing Time for the Stain to Cure
Allowing the stain on your whiskey barrel adequate time to cure is an important final step. As tempting as it may be to start using the barrel right away, patience is key.
- Seal the barrel. Place the lid on the barrel and seal all cracks and gaps thoroughly with wood glue, silicone caulk, or waterproof wood filler. This prevents air exposure while curing and helps the stain penetrate the wood.
- Find an ideal curing spot. Choose an area out of direct sunlight and away from extreme heat or cold. Normal room temperature, around 65 to 75 F, is perfect.
- Cure for at least 3 to 7 days. The longer the better. As the stain cures, it soaks deeper into the wood and hardens. Check on your barrel periodically. If the wood still feels tacky, continue curing.
- Test the seal. Once cured, do a water test by filling the barrel with a few inches of water. Check for leaks over 12 to 24 hours. If water spots appear, re-seal before aging whiskey.
Congratulations! Your barrel is now ready to age and mellow whiskey to perfection. The time and care you took in the finishing stages will result in an attractive, long-lasting barrel. Savor the first batch of aged whiskey – your patience and hard work have truly paid off!
Sealing and Protecting the Stained Barrel
Now that your whiskey barrel has been stained to perfection, it’s important to seal and protect the wood to prevent damage.
Seal the Barrel
Apply 2-3 coats of sealant, waiting 24 hours between coats. A polyurethane or lacquer sealant works well for barrels. Brush it on evenly with a paintbrush, wiping away any drips. The sealant protects the stain and wood from water damage, scratches, and general wear and tear.
Once the final coat is dry, you’ll want to wax the barrel to protect the sealant. Use wax or paste wax, rubbing it on with 0000 steel wool in small sections. Buff off the wax with a soft cloth as you go. Waxing the barrel will protect the sealant and add a durable topcoat. Your barrel is now ready to use for decoration or storage!
With the proper sealing and protection, a DIY stained whiskey barrel can last for many years. Be sure to re-wax the barrel every 6-12 months to maintain its finish. Avoid placing the barrel in direct sunlight or extreme heat/cold which can cause the wood and sealant to deteriorate more quickly.
By taking your time to properly seal and protect your whiskey barrel, you’ll be enjoying it for years to come. The rich stain and handcrafted look is well worth the extra effort. Your stained barrel will become a treasured decorative piece that only gets better with age.
FAQ: Common Questions About Staining Whiskey Barrels
Can I Stain an Already Assembled Barrel?
Yes, you can stain an assembled barrel. You will need to thoroughly clean and sand the barrel first. Apply a wood conditioner, then apply at least two coats of stain, waiting for each coat to dry in between applications. Use a sponge brush to get into all the cracks and crevices.
Do I Need to Seal the Barrel After Staining?
Applying a sealant like polyurethane after staining is highly recommended. A sealant will protect the stain and wood from damage. Apply at least two coats of sealant, waiting for each coat to dry completely.
How Long Does It Take for Stain and Sealant to Dry?
Drying times will vary depending on factors like humidity and temperature. In general, expect stain to dry within 4 to 6 hours and sealant to dry within 6 to 8 hours between coats. Wait a full 24 hours after the final coat before handling the barrel.
Will the Stain or Sealant Affect the Barrel’s Aging Ability?
As long as you properly clean, sand, and dry the barrel before applying any products, staining and sealing should not affect its ability to age spirits. However, it’s best to stain and seal the barrel before charring. The charring process can damage the stain/sealant.
How Often Should I Re-stain a Barrel?
Re-staining a barrel typically needs to be done every 2 to 3 years to maintain an even color and protect the wood. Lightly sand the barrel, wipe away dust, and apply 1-2 coats of stain. Re-sealing may be required more often, every 6-12 months.
What’s the Best Way to Care for a Stained Barrel?
Proper care for a stained barrel includes:
- Keep out of direct sunlight when possible. UV exposure can fade the stain over time.
- Wipe barrel down regularly with a damp cloth to remove dirt and debris.
- Re-seal the barrel every 6-12 months to protect the stain and wood.
- Store the barrel in a dry location away from extreme heat or cold.
- Avoid submerging the barrel in liquid which can damage the stain and sealant.
Final Thoughts
So there you have it, a step by step guide to staining your own whiskey barrel. While the process does take some patience, the results can be very rewarding. You’ll end up with a custom barrel aged spirit and a great conversation piece for your home. The next time you’re enjoying a glass of your homemade whiskey with friends, you can proudly tell them you did it all yourself – from selecting the barrel to customizing the stain. Not bad for an amateur distiller! If you do decide to take on this DIY project, be sure to share photos of your progress and final results. We’d love to see how your custom creation turns out. Happy barrel staining and cheers to your new hobby!