Ever wanted to age your own whiskey? It’s easier than you might think. All you need are a few basic supplies, a little patience, and the willingness to wait at least a couple of years to sample the results. You start with a barrel, of course – charred oak is traditional. Once you’ve filled it with distilled spirit, the key is properly sealing it up so oxygen can’t get in. If air leaks in, your whiskey can oxidize and lose flavor. Follow these steps and you’ll be well on your way to aging whiskey like a pro.
Selecting the Right Barrel for Aging Whiskey
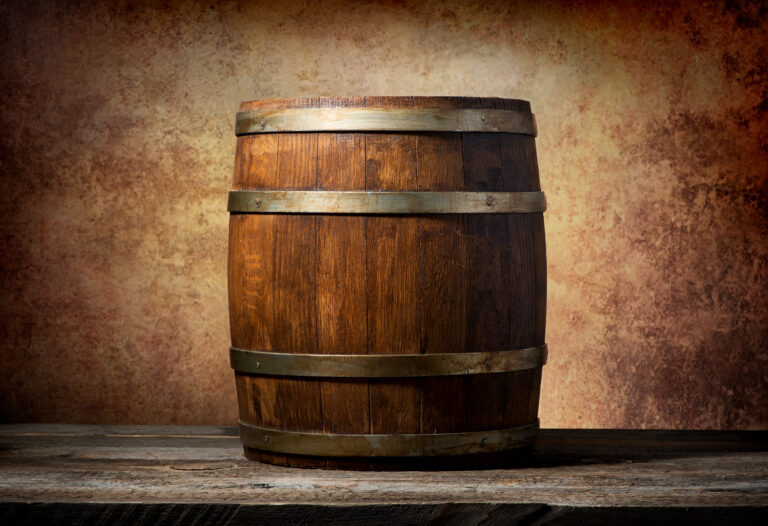
The first step is finding a barrel that was previously used to age bourbon or whiskey. Barrels that held wine or sherry won’t impart the same flavor. Look for charred white oak barrels. The char helps filter and mellow the whiskey.
Check that the barrel is watertight. If it’s not sealed properly, your whiskey will evaporate – you’ll lose both volume and flavor. Give the barrel a splash test to ensure there are no leaks before filling.
Consider the barrel’s size. Standard sizes are 15, 30, 53 and 60 gallons. For home use, 5 to 15 gallons is ideal. The smaller the barrel, the quicker the aging process. In a small barrel, whiskey can be ready in just a few months.
Once you have a barrel, scorch and swell it. Lightly char the inside of the barrel and add water to swell the wood. After a day, empty and rinse the barrel so it’s clean before filling with whiskey.
With the right barrel selection, preparation, and care, you’ll be enjoying homemade aged whiskey in no time. The aging and flavoring process may be complex, but achieving an artisanal result is very rewarding. Savor and appreciate each sip of your handcrafted whiskey.
Prepping the Barrel Before Filling
To get your barrel ready for aging whiskey, there are a few important steps to take.
First, make sure the barrel is clean and free of any debris. Give it a good rinse with hot water to remove any dust or residue. Let it air dry completely, usually 7 to 14 days.
Next, toast the inside of the barrel over an open flame to caramelize the wood and open up the pores. Keep the fire moving at all times and never leave it unattended. The level of toasting, from light to heavy, will affect the flavor of your aged whiskey.
Then, char the inside of the barrel over an open flame. The charring helps filter and mellow the whiskey. Again, keep the fire in motion. For most whiskeys, a medium char level works well.
Finally, fill ‘er up! Add your distilled spirit to the barrel. For aging, fill no more than 75% of the barrel volume. Seal it up to create an anaerobic environment.
With the proper prep, your barrel will impart oaky vanilla and caramel notes to the whiskey as it ages into an amber elixir. Sip and enjoy! Your patience will be well rewarded.
Filling the Barrel With Whiskey
Now that your barrel has been prepared, it’s time to fill it up with whiskey! This is an exciting part of the process, as the aging of the spirit in the barrel is what gives whiskey its distinctive flavor, aroma, and color.
Filling the Barrel
- Pour the distilled spirit into the barrel using a funnel to avoid spills. For aging whiskey, use a corn-based distillate of at least 160 proof.
- Seal the barrel by placing the bung (stopper) firmly in the bunghole (opening).
- Ensure the barrel is completely filled to maximize contact between the whiskey and the wood. Any remaining air space could lead to oxidation and evaporation.
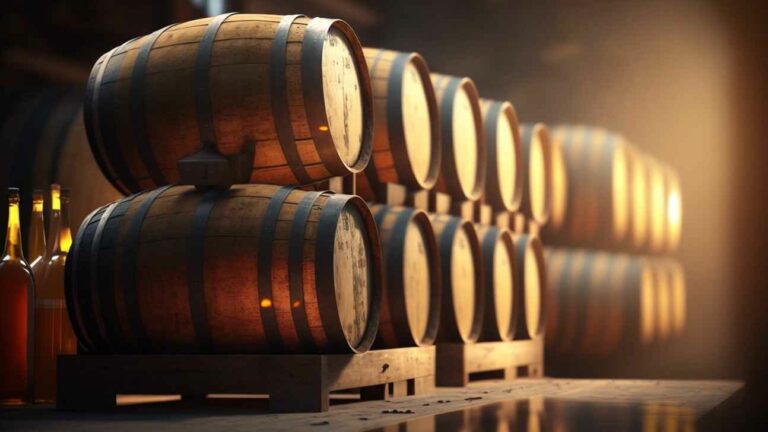
- Once filled and sealed, store the barrel in a cool area away from direct heat or sunlight. A basement or garage often works well.
The whiskey will remain in the barrel for at least 2 years to absorb the oak flavors and aromas. Many distillers age their whiskey 3 to 5 years for more complex notes, while some premium whiskeys are aged 10 years or more. Check on your barrel regularly to ensure the bung remains securely in place and the barrel is still filled. After aging, bottle and enjoy your homemade aged whiskey! The wait will be well worth it.
Monitoring and Tasting During Aging
Once you have your whiskey barrel sealed, the aging process begins. Over time, the whiskey will take on characteristics from the barrel like color, aroma, and flavor. The key is patience.
Checking on your barrel periodically is important. Make sure the bung or lid is still securely in place. Give the barrel a sniff to check for any off odors that could indicate a leak or contamination. If anything smells funky, it’s best to empty the barrel.
After a few months, take a small taste to see how the flavor is developing. Insert a barrel thief or copper tube through the bung hole to extract a sample. The whiskey should be mellowing and notes of the barrel wood coming through.
As aging continues, tastes and aromas intensify. Flavors evolve into vanilla, caramel and dried fruit. The color deepens to amber. Take samples every 3-6 months to monitor progress. The aging is done when you reach your desired smoothness and complexity.
When it’s ready, bottle and enjoy your homemade aged whiskey! The patience required will be well rewarded. Sip and savor the flavors imparted by your handcrafted aging process.
Cheers!
Deciding When the Whiskey Is Ready
Deciding when your whiskey is ready for bottling is more art than science. As a general rule of thumb, the longer it ages the smoother and more complex the flavor becomes. But at some point, the barrel effects and flavors start to overpower the whiskey’s natural characteristics.
Check the Color
Open the barrel and check how much the whiskey’s color has deepened to an amber or copper. This shows how much of the barrel’s wood compounds have infused into the spirit. If still quite pale, it likely needs more time.
Sample the Aroma
Give the whiskey a sniff to detect notes of vanilla, caramel or oak. Swirl the glass to release more aromas. The more you can pick up, the more developed the flavor has become.
Taste and Record
Take a small sip and let it roll over your tongue. Note how smooth, rich and complex the flavor has become. If harsh or one-dimensional, continue aging. Keep written records of each tasting to compare improvements over time.
In the end, you have to determine when the whiskey has reached a point of peak maturity and flavor for your tastes. The beauty of aging your own whiskey is you get to decide when it’s ready to be enjoyed! Keep in mind though, you can always age longer but you can never age shorter. Patience is key.
Removing the Whiskey From the Barrel
Once the aging process is complete and you’re ready to bottle your whiskey, it’s time to remove it from the barrel.
Removing the Whiskey
First, make sure to have sterilized bottles or containers on hand to transfer the whiskey into. You’ll also want a siphon or pump to move the whiskey from the barrel into the bottles.
Carefully drill a hole into the barrel at the bottom center. This will allow you to siphon out the majority of the whiskey from the barrel. Place your siphon tube into the hole and begin pumping or siphoning the whiskey out into your sterilized containers.
- Don’t forget to label and date your bottles so you know when the whiskey was barreled and bottled.
- Be very careful not to overfill the bottles. Leave some headspace for air.
Once you’ve removed all but about an inch of whiskey from the barrel, you’ll need to tilt and maneuver the barrel to get the remaining whiskey out. Rock and gently roll the barrel, then prop one end up on something to allow the remaining whiskey to collect at the hole for siphoning.
Repeat this process, rocking and tilting the barrel in different positions, until no more whiskey flows from the barrel. Your aged whiskey is now ready to enjoy! Be sure to seal up the bunghole and any holes drilled in the barrel to prevent oxidation if you plan to reuse the barrel.
How to Seal Up the Barrel for Storage
Now that your whiskey barrel has aged the spirits to your desired flavor, it’s time to seal it up for storage.
Preparing the Barrel
Give the barrel a final rinse with water to remove any residue. Let it air dry completely. This prevents mold or bacterial growth inside the barrel.
- Check that the barrel is still structurally sound. There should be no cracks or leaks. Small repairs can be made with waterproof wood glue and clamps.
- Ensure the barrel hoops are tight. Give them a tap with a mallet to tighten if needed. The hoops help the barrel hold its shape.
Sealing the Barrel
- Place the barrel on its side. This creates more surface area for the sealant to adhere to.
- Apply two coats of food-grade sealant or wax to the inside of the barrel opening and around the outside rim. Let each coat dry as directed. Popular options include bee’s wax, linseed oil, or a commercial barrel sealant.
- Once the sealant is dry, place a barrel bung or stopper in the opening and tap it in with a mallet until snug.
- Seal around the bung with more wax or sealant for an airtight fit.
- Clearly label and date the barrel. Note the contents and any other details that may be useful for future reference.
- Store the barrel in a cool area away from direct sunlight. Check it periodically to ensure the seal remains intact before opening.
Your barrel is now properly sealed and ready for long term storage. When you’re ready to reopen it, simply remove the bung and enjoy the aged spirits inside! The longer it’s sealed, the more complex the flavor can become.
Storing a Sealed Whiskey Barrel Properly
Now that you’ve sealed up your whiskey barrel, proper storage is key to developing the flavor and aroma compounds that will make your aged whiskey unique.
Keep it upright
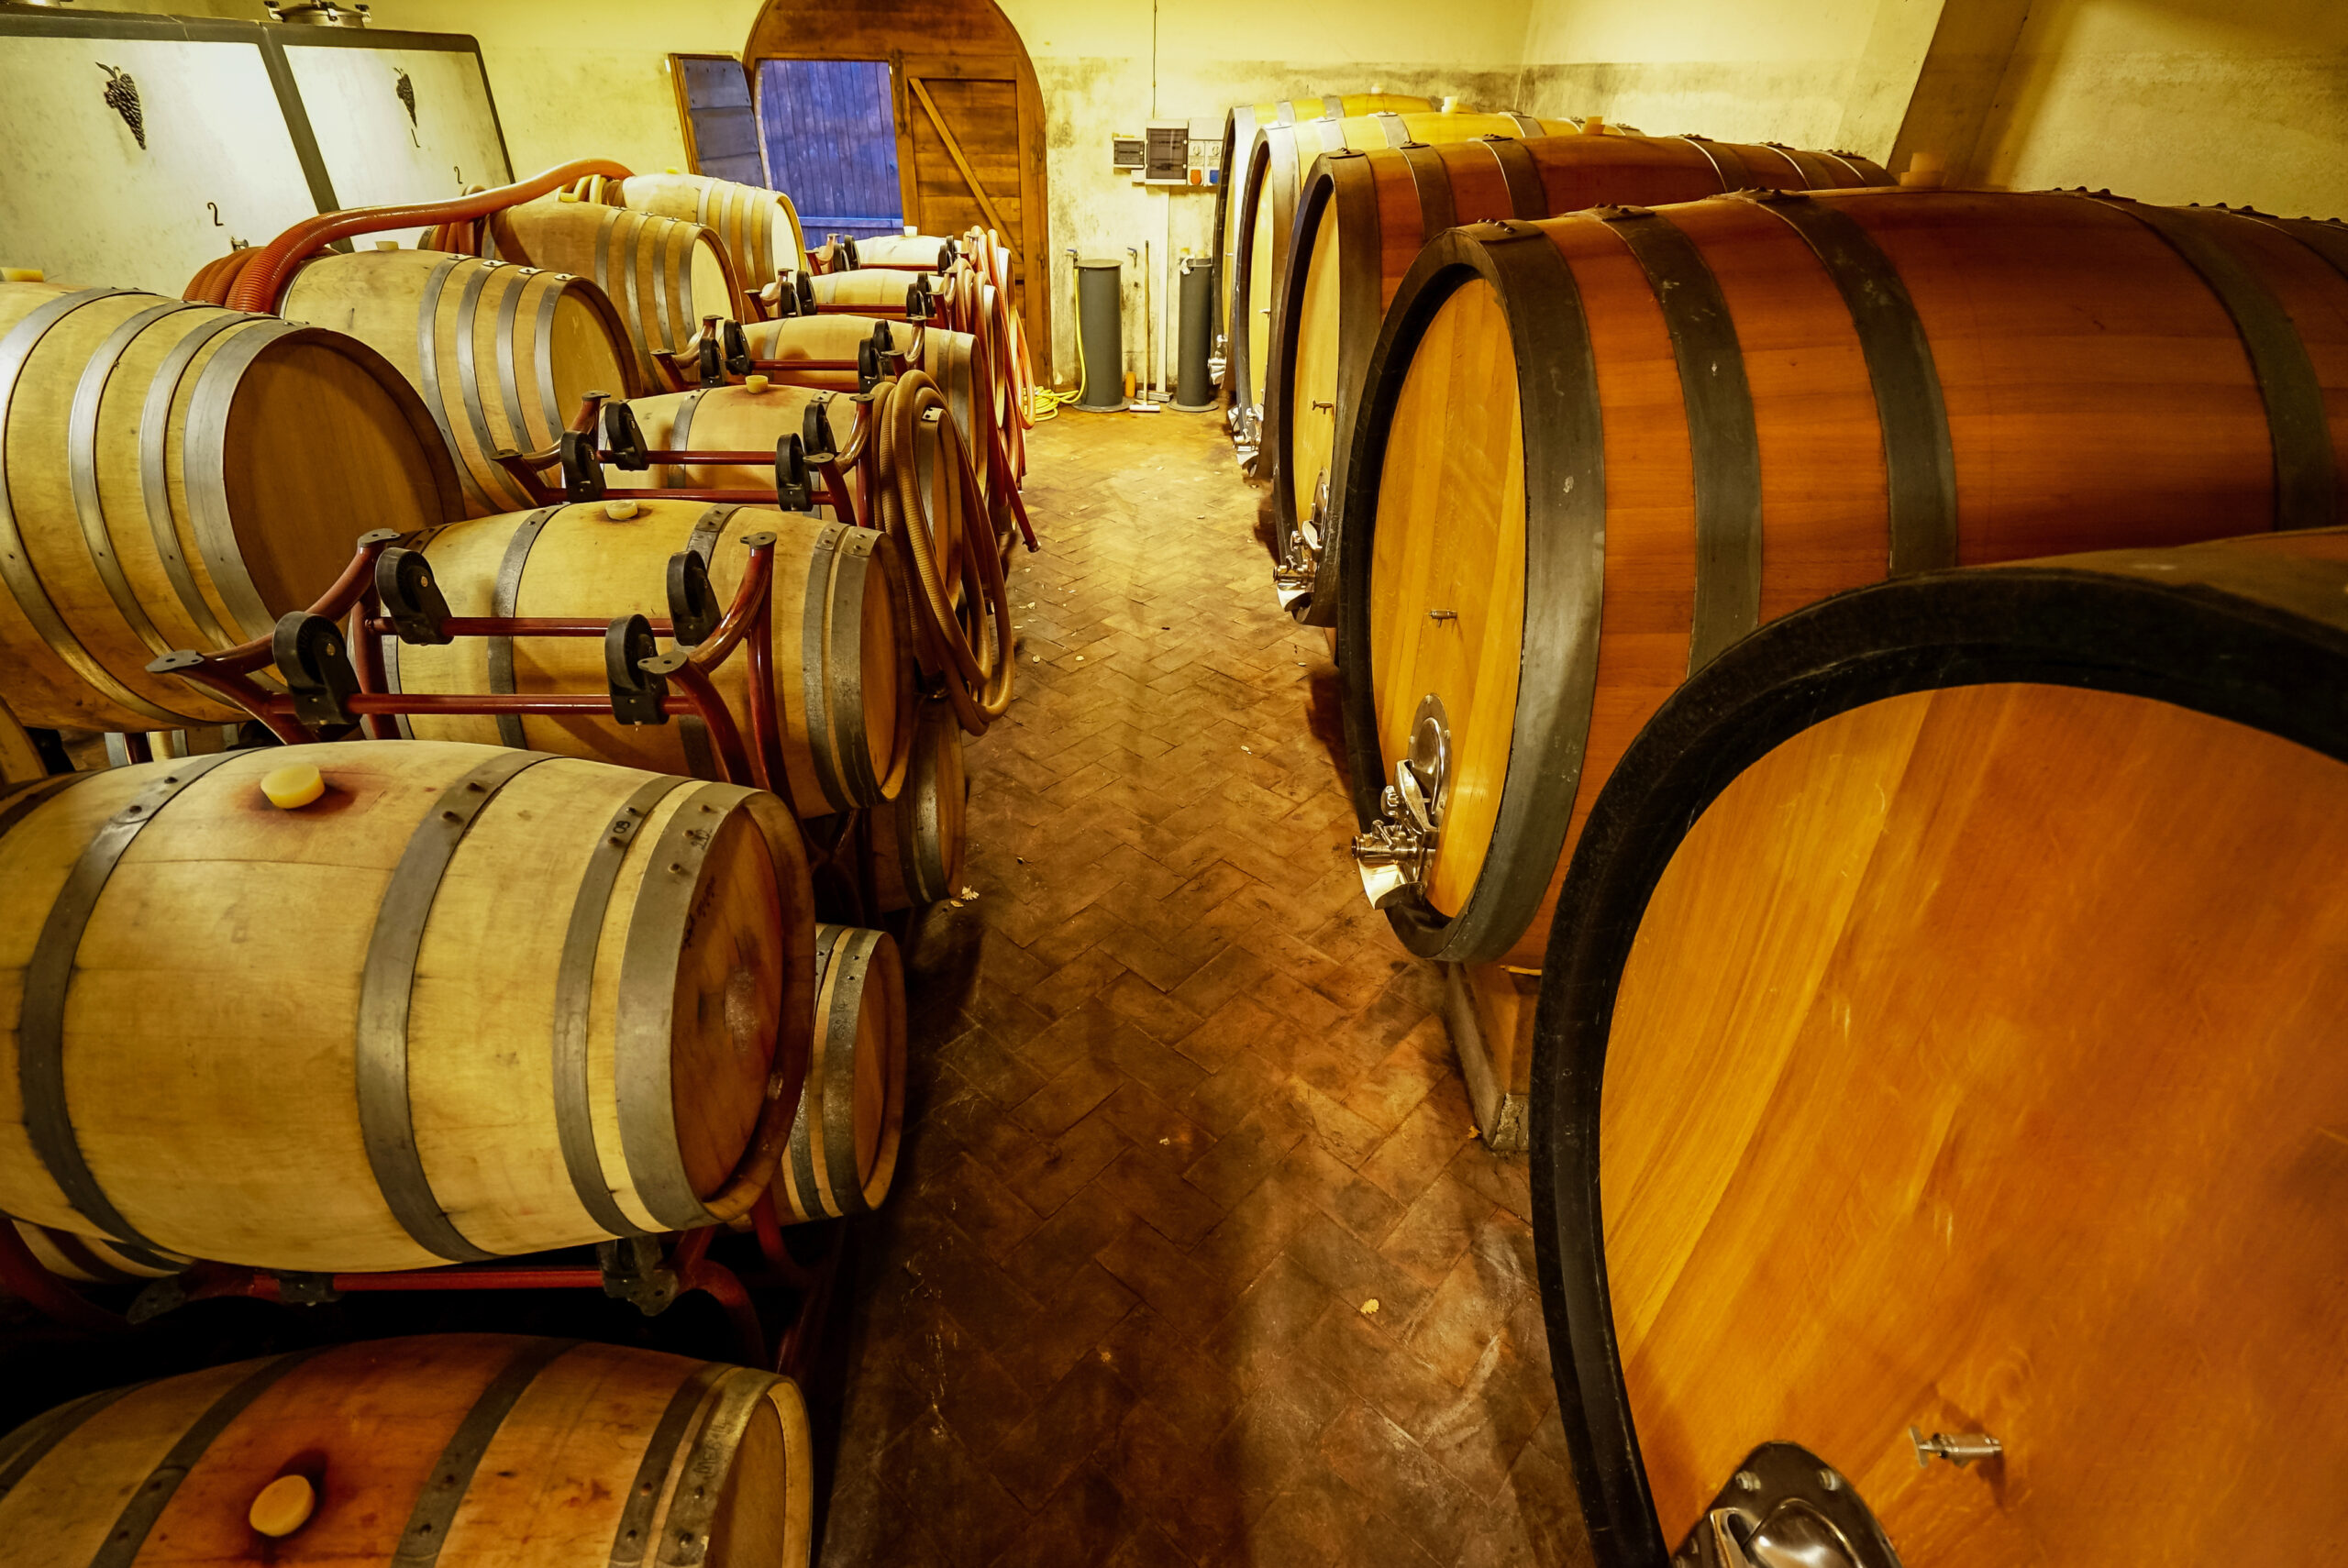
Store your barrel upright at all times. This keeps the whiskey in contact with the charred oak interior. If laid on its side, the barrel staves can dry out and the whiskey won’t interact with the wood as much.
Moderate temperature
Keep the barrel in an area with a consistent, moderate temperature. The ideal range is between 45 to 65°F. Colder or warmer temperatures will slow down or speed up the aging process. The aging happens as the whiskey expands and contracts with temperature changes, moving in and out of the wood.
Minimize light exposure
Keep your barrel out of direct sunlight or bright light. Light exposure can affect the chemical reactions happening between the whiskey and the oak, and may cause off-flavors to develop. Store the barrel in a dark, shady spot.
Patience is key
Resist the urge to open your barrel early! Leave it sealed for at least 3-5 years for best results. Opening earlier will disrupt the aging process. Your patience will be rewarded with a smooth, complex flavor that only time can achieve.
Storing your barrel properly during aging is well worth the effort. Follow these tips and in a few years you’ll have a custom aged whiskey to enjoy for years to come!
FAQ: Answers to Common Whiskey Barrel Aging Questions
Once you’ve sealed your whiskey barrel, you likely have some questions about the aging process. Here are the answers to a few common queries.
How Long Does Whiskey Have to Age?
There’s no set time period for aging whiskey. Many distillers age their spirits for at least 2 years for bourbon and rye. However, some whiskies can age for 10-20 years or more. As a rule of thumb, the longer it ages the more complex the flavor becomes.
Should I Rotate or Move the Barrel?
Rotating and moving barrels during aging helps ensure even exposure to the charred wood inside the barrel. Flip or rotate your barrel every 6-12 months. You can also move the barrel to a different part of your aging area.
When is My Whiskey Ready?
Your whiskey is ready when it reaches your desired flavor profile. You’ll need to sample it regularly to check its progress. Look for notes of vanilla, caramel and oak along with a amber color. The whiskey should taste balanced without any harsh alcohol heat.
Can I Reuse Barrels?
Barrels can typically be reused a few times before the wood is spent. With each use, less flavor and color will be imparted to the whiskey. Most distillers get 3-5 uses from a barrel before it’s retired. You’ll need to re-char and re-swell the barrel before reusing.
Does Temperature Affect Aging?
Temperature has a significant impact on how quickly whiskey ages. Warmer temperatures speed up the aging process while cooler temps slow it down. The ideal range is between 55 to 70 F. Keep your aging area away from direct heat and sunlight. Consistent, moderate temperature is key.
Final Thoughts
So there you have it, the basic steps to seal up your own whiskey barrel for aging and creating a custom spirit. While it may seem complicated, if you follow each step carefully and take your time, you’ll have a barrel ready for filling in no time. And remember, aging whiskey is a long game – you’ll need to find a cool, stable place to store your barrel for at least a few years as the flavors develop and mellow. But when you’re finally ready to bottle and share with friends, you’ll have a one-of-a-kind whiskey to enjoy that you made yourself from start to finish. How’s that for a satisfying DIY project!