Have you ever scored some old whiskey barrel rings thinking you’d make them into a fun décor project, only to realize you have no idea how to prep the wood? Don’t worry, you’ve got this. We’ll walk you through how to sand, stain, seal, and style those rings in no time. Grab your supplies and let’s get started. You’re just a few easy steps away from turning those rustic rings into a showpiece for your home. Pour yourself a glass of your favorite spirit, put on some tunes, and let’s dive in. By the time you’re done, you’ll be sitting back admiring your handiwork and planning where to display your new whiskey barrel masterpiece.
What Are Whiskey Barrel Rings and Where Do They Come From?
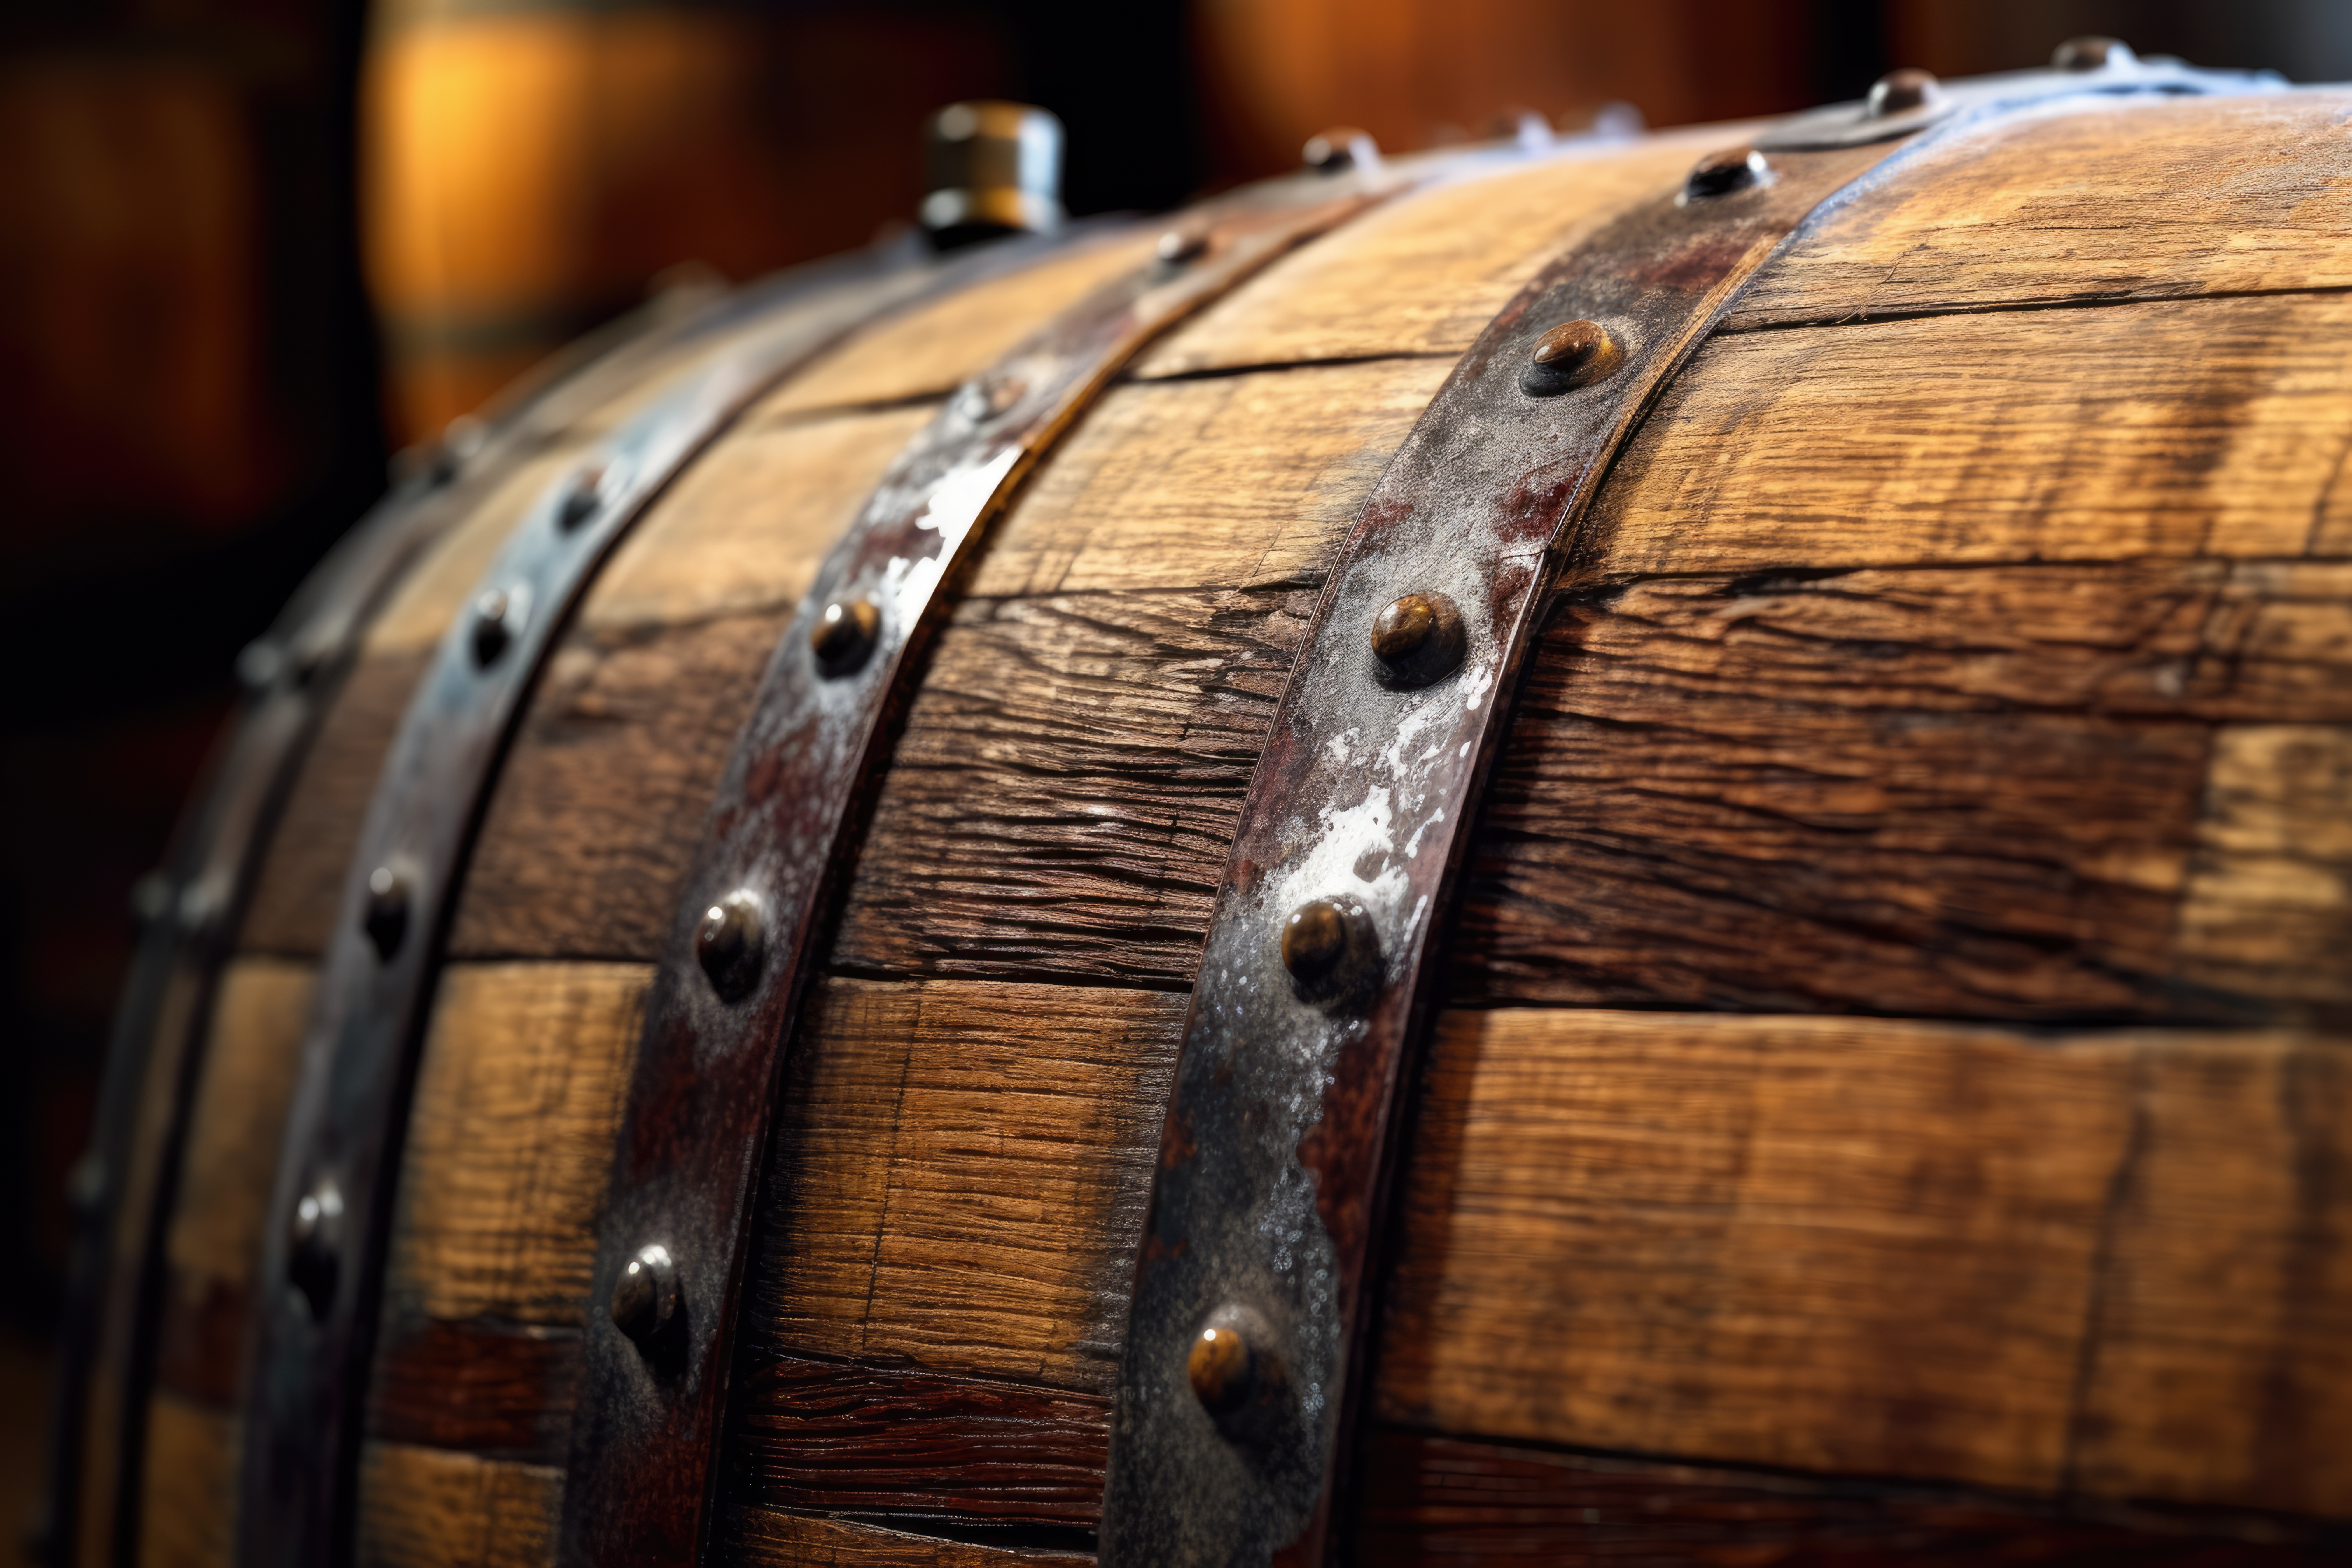
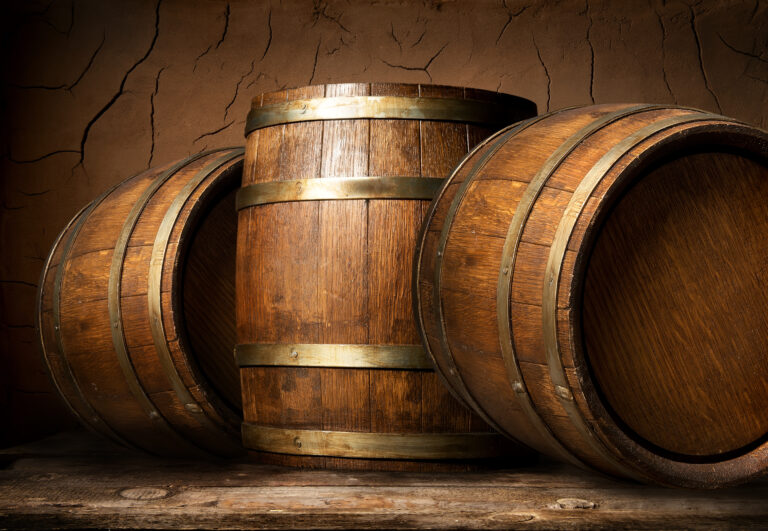
Whiskey barrel rings are the circular wooden bands that hold whiskey barrels together. As barrels age whiskey, the wood expands and contracts, requiring sturdy rings to prevent leakage. Once barrels are discarded, the rings remain.
Craftsmen salvage these rings and repurpose them into decor and furnishings. The aged wood has a rustic, weathered patina from years of use that lends character to the rings. Their worn, rounded edges and patina give the rings a charming, vintage look.
The rings vary in size depending on the barrel, typically ranging from 10 to 30 inches in diameter. Larger rings work well as tabletops, while smaller ones make rustic candle holders or plant stands. The rings are usually made of oak, which stands up well to decades of use.
With some sanding and sealing, the rings clean up nicely while retaining their aged charm. Rubbing them with steel wool or sandpaper smoothes the surface. Apply a sealant like polyurethane or wax to protect the wood. For a polished look, you can paint or stain the rings.
Those whiskey barrel rings have a storied past, so give them a second life and new purpose. A little elbow grease can turn someone else’s trash into your treasure. With the right treatment, they’ll last for generations.
Common Issues and Damage to Whiskey Barrel Rings
Those whiskey barrel rings have been through a lot over the years. It’s no wonder they start showing some wear and tear. A few common issues you might notice are:
Splits and Cracks
Don’t worry, splits or cracks in the wood don’t mean the barrel is beyond repair. You can fill them in with wood glue and clamps. Let it dry completely, then sand smooth.
Loose or Missing Bands
The metal bands holding the staves together can come loose over time. Tighten them with a socket wrench and you’re good to go. If bands are missing, you’ll need to replace them. Measure the circumference of your barrel and purchase pre-made bands.
Warped or Rotten Staves
If staves are warped, gently hammer them back into place. For rotten staves, you’ll need to replace them. Remove the bad stave completely and take it to a lumberyard to find a match. Install the new stave, secure with wood glue and bands.
With some TLC, your whiskey barrel rings can last for years to come. Don’t hesitate to ask an expert for help with any major repairs. And remember, those imperfections are what give your barrel its character and charm. Keep fixing it up – that barrel’s got stories left to tell!
Supplies You’ll Need to Repair Whiskey Barrel Rings
To repair those whiskey barrel rings, you’ll need a few basic supplies.
Tools
A hammer, chisel, and wood glue are must-haves. You’ll also want clamps to hold the rings in place as the glue dries.
- Hammer: Use a hammer to gently tap the rings back into shape. Be careful not to crack the wood.
- Chisel: A chisel can help remove any splinters or wood shards from the area you’re repairing.
- Wood Glue: Apply wood glue to bond cracks, splinters and breaks in the wood. Wipe away any excess that squeezes out.
- Clamps: Place clamps around the rings to hold the wood firmly in place as the glue dries.
Wood Pieces
For more severe damage, you may need to replace certain wood sections. Have spare pieces of wood, like oak or ash, on hand that match your barrel. Cut them to size so they fit snugly into the spot you need to patch or reinforce.
Sandpaper
Lightly sand down the area around cracks or breaks before applying wood glue. This roughs up the surface so the glue has something to grip onto. Fine-grit sandpaper, around 220 grit, works well for this.
With some patience and these basic supplies, you’ll have those barrel rings fixed up in no time. Regular maintenance and repair will keep your whiskey barrel rings lasting for years to come.
Cleaning Whiskey Barrel Rings Prior to Repairs
Cleaning your whiskey barrel rings before attempting any repairs is key. Over time, built-up grime, residue and stains can accumulate in the wood grain and any imperfections.
Scrub Away Surface Dirt
Use hot, soapy water and scrub the rings with an abrasive sponge or scrub brush to lift away caked on messes. For tough stains, make a paste from baking soda and water and scrub vigorously with the paste using a scrub brush. Rinse well with water to remove all traces of the paste when done scrubbing.
Sanitize
After scrubbing, sanitize the rings to kill any bacteria. Create a sanitizing solution of equal parts white vinegar and water. Submerge the rings in the solution and let them soak for at least 30 minutes. Remove and rinse with water. Allow rings to air dry completely before proceeding to the next step.
Sand Out Imperfections
Once the rings have dried, inspect them for any cracks, splinters or imperfections and sand them out with fine-grit sandpaper (around 220 grit). Wipe away dust with a tack cloth. Your whiskey barrel rings should now be clean as a whistle and ready for repairs or reassembly.
With some elbow grease and the proper cleaning techniques, those whiskey barrel rings will be spic-and-span in no time. Cleaning and prepping the wood is a small job that yields big results. Your barrel will look as good as new!
Filling in Splits and Cracks in the Wood
Once you’ve cleaned and sanded your whiskey barrel rings, it’s time to fill in any splits, cracks or holes in the wood. This step is important to prevent leakage and ensure your barrel rings last.
Supplies
For this step, you’ll need:
- Wood filler or wood putty
- Paintbrush or putty knife
- Sandpaper (150-grit)
Instructions
- Wipe away any dust from sanding and clean the cracks and splits.
- Apply the wood filler or putty over the cracks and splits, forcing it into the wood with your putty knife or paintbrush. Spread it slightly wider than the crack.
- Let the filler dry as directed. Once dry, use 150-grit sandpaper to sand flush with the wood surface.
- Wipe away dust with a tack cloth. Your barrel rings are now ready for staining and sealing.
By filling in any imperfections, splits, cracks or holes, you’ll have a smooth surface ready to stain and your barrel rings will be watertight. Take your time with this step to ensure an even, professional-looking result. Your efforts will be well worth it for rings that last.
Sanding Down Rough Areas and Splinters
Sanding down those rough whiskey barrel rings and smoothing out any splinters is an important step before staining and sealing the wood.
Supplies Needed
To sand down the barrel rings, you’ll need:
- 150, 220 and 400 grit sandpaper
- Electric sander or sanding block
- Dust mask
- Safety goggles
Start With Coarse Grit
Begin with the lower grit, around 150. This will quickly smooth out any major imperfections in the wood like splinters or dents. Work slowly in small sections, wiping away dust with a tack cloth as you go.
Move to Finer Grits
Once the entire ring has been sanded with the coarsest grit, move on to the 220 grit. This will further refine the surface and smooth out scratches left behind from the first pass. Finish with the finest 400 grit for an ultra-smooth surface.
Sand by Hand for Tight Spots
Use a simple sanding block or wrap sandpaper around a wood block to sand any curved edges or tight spots the power sander can’t reach. Wipe away dust and check your work with your hands to ensure an even, sanded surface all over.
Final Wipe Down
Give the entire barrel ring one final wipe down with a tack cloth to remove any remaining dust before moving on to staining and sealing the wood. Your rings should now have an smooth, even surface ready to accept a finish. Take your time with this important prep step—the results of your staining and sealing efforts will only be as good as the surface underneath!
Staining and Sealing the Wood
Staining and sealing the wood on your whiskey barrel rings helps protect them from weathering and improves their appearance. You’ll want to start with a light sanding to rough up the surface. This helps the stain penetrate the wood better.
Cleaning
Wipe down the entire ring with a tack cloth to remove any dust before staining. For stuck-on debris, you may need to scrub gently with fine-grit sandpaper. Make sure the wood is clean and smooth for the best results.
Apply a wood stain with a brush, wiping away any drips or runs with a rag. Let the stain soak in as directed, then wipe off any excess with a clean cloth. Two coats of stain provide the best protection and color. Seal the wood with at least two coats of sealant, waiting for each coat to dry in between applications. The sealant protects the wood from moisture and weathering.
For a rustic look, you can distress the wood before or after staining. Use coarse sandpaper, wire brushes, or chisels to rough up edges and create dents and scratches. Wipe away dust and debris when done and proceed with staining and sealing as desired. The imperfections will show through, giving the barrel rings a timeworn patina.
With the proper prep, staining and sealing, your barrel rings will look as good as new. Protect them from the elements to enjoy for years to come. Re-staining and re-sealing every 2-3 years will keep them looking fresh.
Optional Decorative Touches to Personalize Your Rings
Once you have your whiskey barrel rings assembled, you can add some decorative touches to personalize them and make the space your own.
Paint or Stain the Wood
Applying a fresh coat of paint or stain is an easy way to change the look of your barrel rings. You can paint them a bold color to make a statement or stain them a natural wood tone. Be sure to lightly sand the wood first to provide “tooth” for the paint or stain to adhere to. Wipe away dust before painting.
Add Accent Details
Little details go a long way in decorating. Consider adding:
- Metal bands or straps around the top and bottom of the rings for an industrial look.
- Faux greenery like eucalyptus stems or olive branches tucked between the rings.
- String lights wrapped around the rings to provide ambient lighting.
- A wooden board secured to the top ring to make a rustic table surface.
Decoupage Paper or Fabric
For a whimsical touch, decoupage colorful tissue paper, maps, sheet music or fabric onto the rings. Apply a layer of decoupage medium over the top to seal. This works great for breathing new life into damaged or weathered barrels.
Display Accessories on Top
Once your barrel rings are installed, you can use the flat surface on top to display a variety of accessories. Some ideas include:
- A tray to corral items like candles, books or plants
- A collection of decorative bottles, jugs or jars
- Framed family photos, art prints or mirrors leaning against the wall
- Lanterns, baskets or other rustic containers holding natural elements like pine cones, berries, seashells, etc.
The options for customizing your whiskey barrel rings are endless. Have fun with it and make the space reflect your personal style!
Displaying Your Refurbished Whiskey Barrel Rings
Once your whiskey barrel rings are refinished, it’s time to put them on display. Here are a few simple ways to showcase your handiwork:
As Table Tops
Barrel rings make excellent rustic table tops. Simply place a round piece of glass over the top and you’ve got an instant table. The glass protects the wood while still allowing the beautiful grain to show through.
As Wall Art
Mounting the barrel rings on a wall creates a focal point in any room. You can arrange them in a cluster or stagger them for a gallery wall effect. Attach them directly to studs for stability using sturdy mounting brackets.
As Plant Stands
The open center of the barrel rings is perfect for displaying potted plants. The wood provides an organic base that complements live greenery and flowers. Group three or more rings together at varying heights for a cascading plant stand.
As Accent Pieces
A single barrel ring can make a statement when used as an accent piece. Place one on the floor in an entryway to catch keys, or on a mantle, table or buffet to corral smaller items like candles, books or decorative bowls. The possibilities are endless.
Your refurbished whiskey barrel rings have a beauty and character all their own. Putting them on display in your home is a great way to showcase a piece of history and add rustic warmth to any space. With some imagination, these repurposed rings can serve many decorative and functional purposes for years to come.
Final Thoughts
And there you have it, a few simple steps to get those whiskey barrel rings looking good as new in no time. Once you’ve cleaned, sanded, and stained or painted the rings to your liking, you’ll be ready to put them to use as decorative accents in your home. Who knew those old barrels you had lying around could get a stylish second life with just a little elbow grease? Now when friends come over and ask where you got such cool industrial-chic decor, you can proudly say you salvaged and spruced them up yourself. Not too shabby for a DIY project and a great way to save some cash while adding rustic charm to your space. Time for an admiring stroll around the house to appreciate your handiwork! You’ve earned that glass of whiskey. Cheers!


