Ever gazed at those pristine whiskey barrels and wondered how they keep their gleam? Well, wonder no more! Bringing those whiskey barrel hoops back to life is a hands-on task, but with the right gear and know-how, you’ll have them sparkling in no time. This guide is your go-to for everything you need to know about getting your whiskey barrel bands to look their absolute best. So, roll up those sleeves, grab your heavy-duty degreaser, some steel wool, and a few other bits, and let’s get those barrel rings shining. By the time you’re done, your barrel hardware will be squeaky clean, and you’ll have picked up a seriously useful skill. Who knows, you might even impress your pals the next time they swing by for a dram of your latest barrel-aged creation.
The Lowdown on Whiskey Barrel Hoops
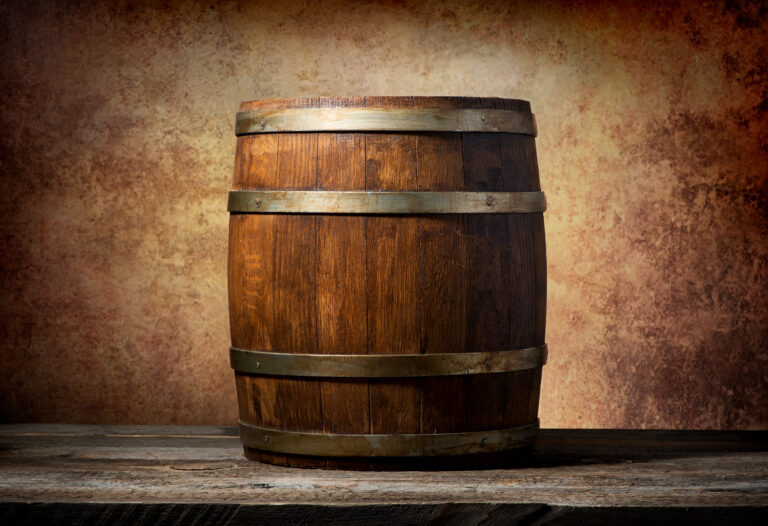
Those metal bands on a whiskey barrel aren’t just there for show; they’re vital! These barrel hoops are the backbone, holding the wooden staves together and keeping your barrel solid as the wood expands and contracts during the aging process.
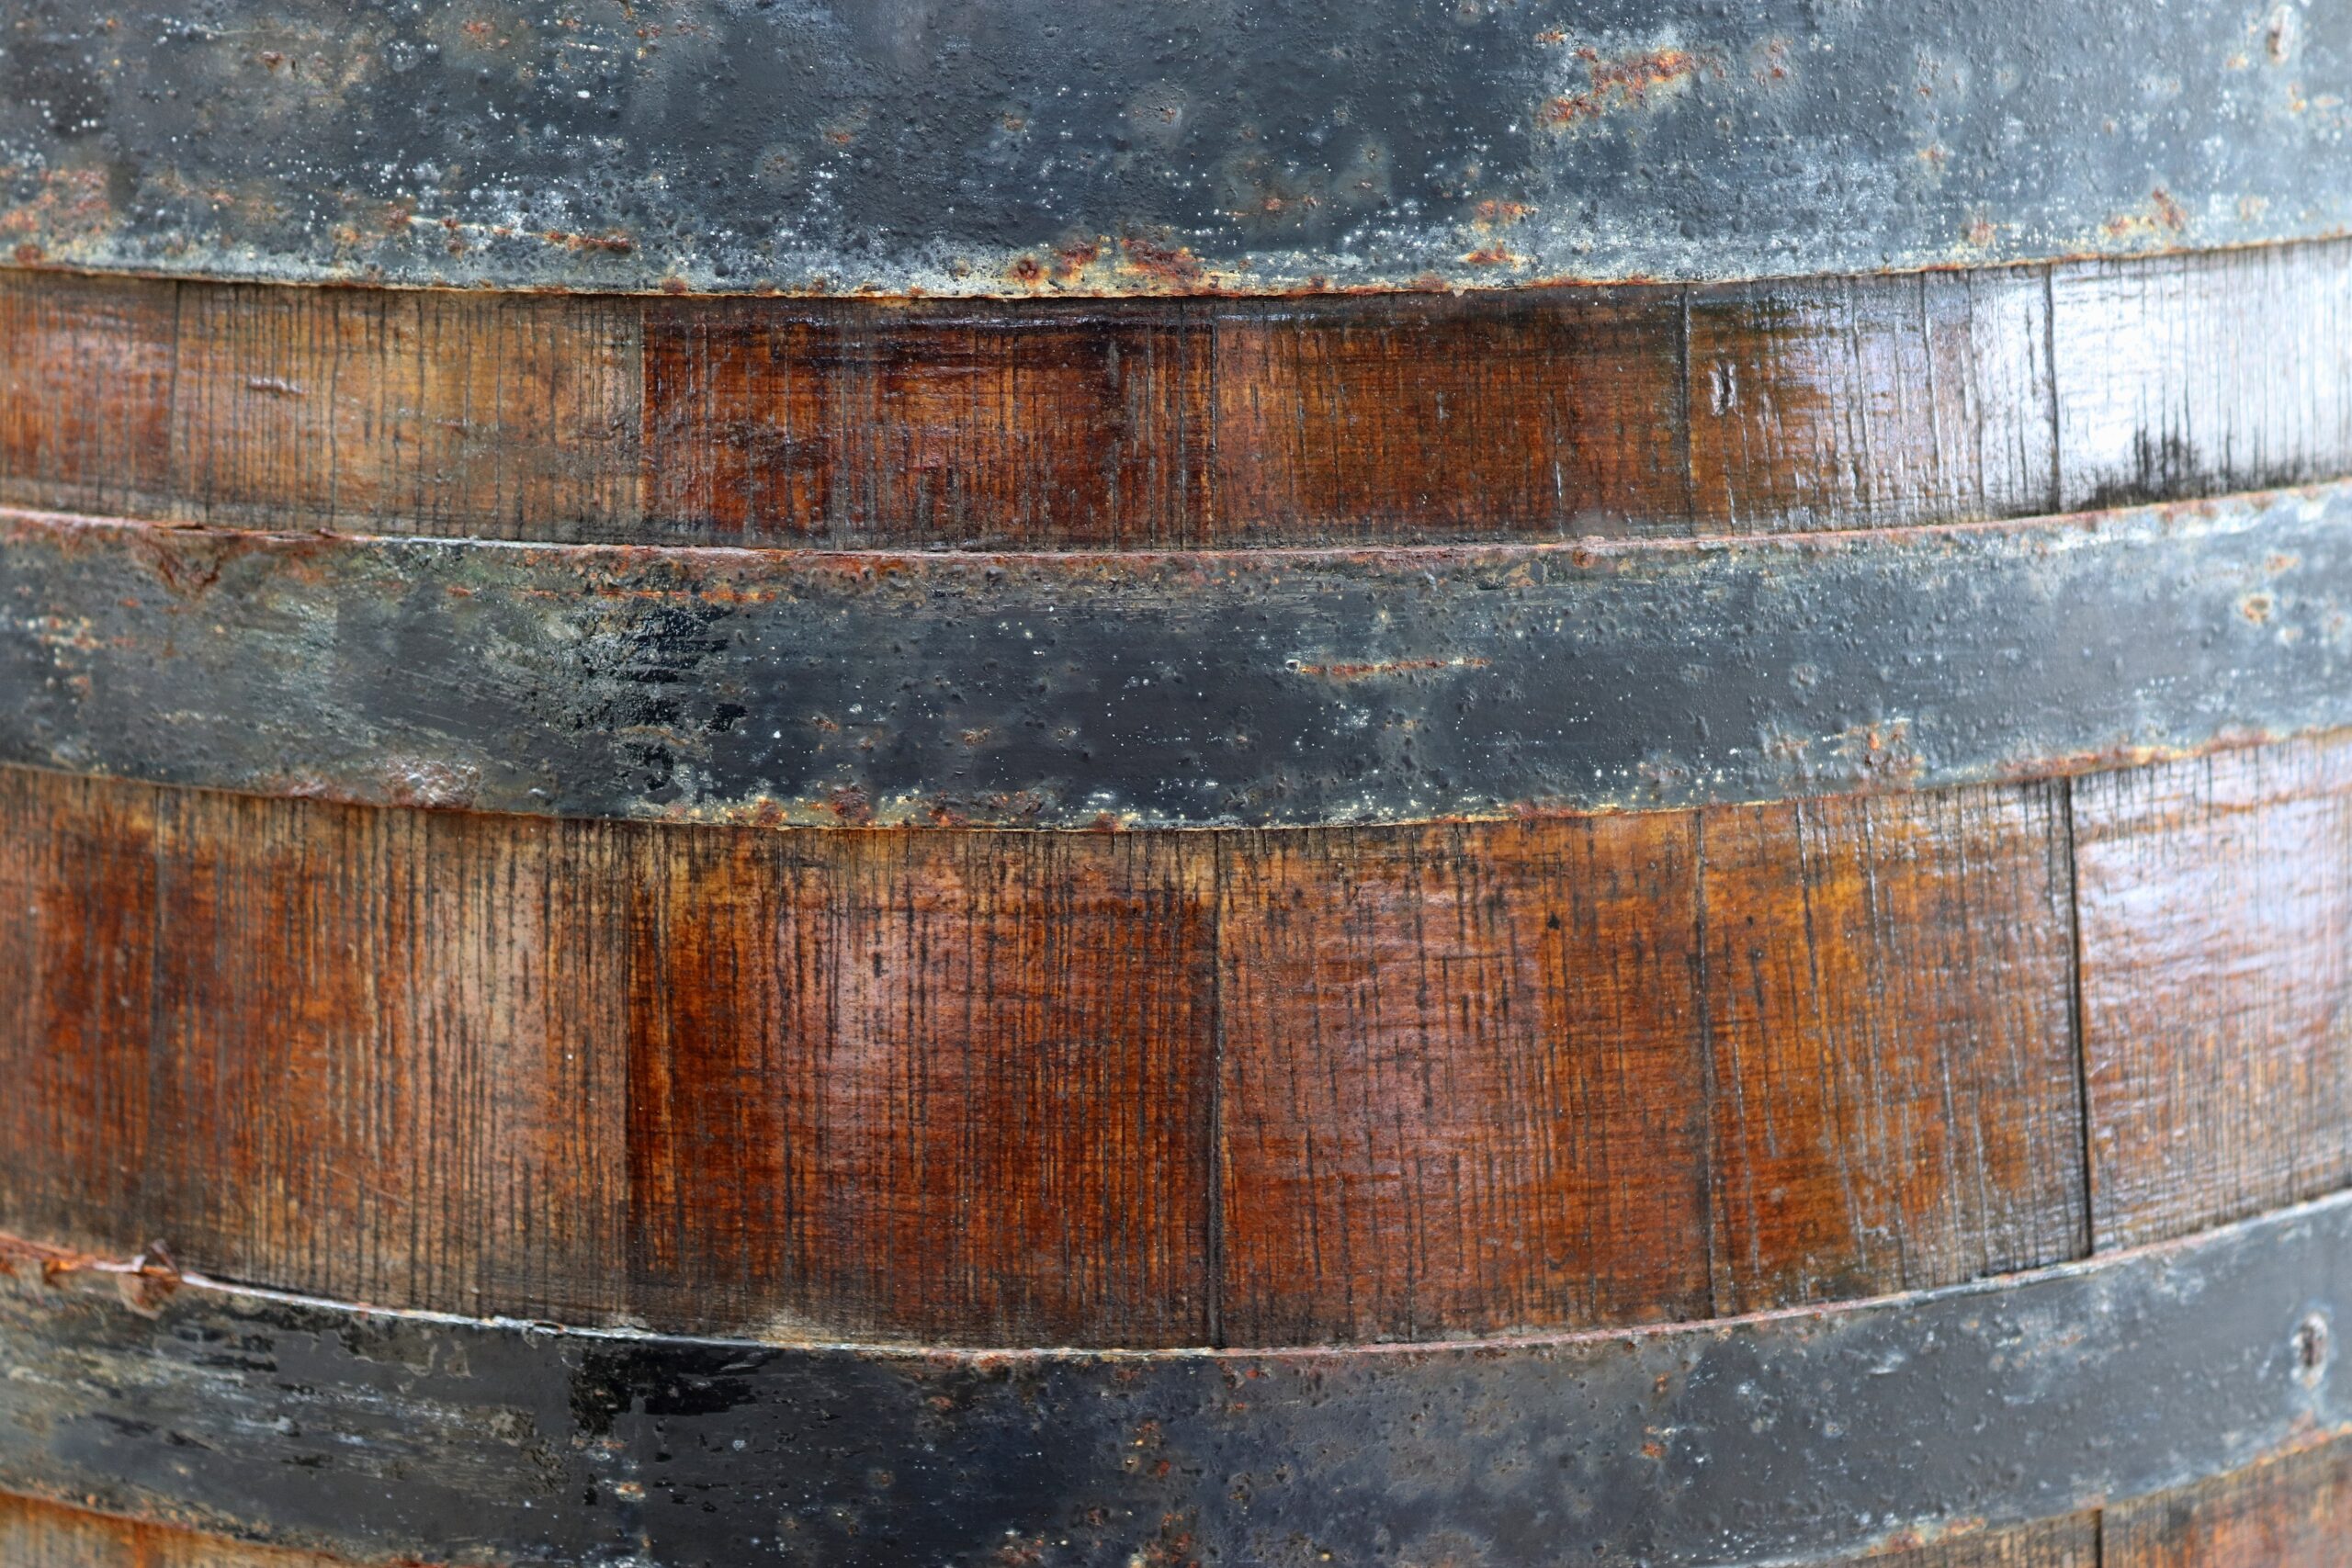
As a barrel matures, the hoops can loosen or get damaged. It’s smart to check them regularly and tighten or replace them when needed. To tighten, you’ll need a hoop driver (or a trusty hammer) and a block of wood to cushion the blow behind the hoop.
When replacing hoops, fully remove the old, damaged one. Measure your barrel’s diameter to get the right replacement hoop size. Hoops usually come in half-inch increments. Secure the new hoop with a hoop driver, tapping evenly around the barrel’s circumference. Make sure the new hoop is level and snug – you want it tight enough to hold, but not so tight it digs into the barrel wood.
Tight hoops are crucial for a well-functioning whiskey barrel. With regular checks and upkeep, these humble barrel rings play a massive part in crafting excellent whiskey. Keeping them in top shape ensures your barrel stays watertight and your whiskey continues its perfect aging journey.
Gear Up: What You’ll Need to Clean Whiskey Barrel Hoops
To get your whiskey barrel hoops sparkling, you’ll need a few essential supplies.
Cleaning Arsenal
- Heavy-duty degreaser or detergent: This is your secret weapon for cutting through stubborn grime and residue. Make sure it’s safe for metals.
- Scrub brushes: Grab some soft-bristled brushes to really get into every nook and cranny of the hoops, inside and out. Don’t forget to tackle any grooves or etchings!
- Steel wool: For those extra tough, stuck-on messes, Grade #0000 ultra-fine steel wool is a lifesaver. Just be gentle to avoid scratching the hoop surface.
- Bucket: A big one! You’ll want a bucket large enough to dunk an entire hoop.
- Dust mask: Over time, barrel hoops can collect all sorts of airborne gunk. A dust mask will protect you from inhaling anything unpleasant during your cleaning spree.
- Work gloves: Thick rubber gloves are a must to shield your hands from harsh chemicals, dirt, and scrapes.
- Drying rags: Absorbent rags, towels, or a chamois are perfect for drying and buffing your hoops after they’re clean and rinsed.
- Sealant (optional): Want to protect your hoops from tarnish and make future cleanings a breeze? A sealant, wax, or lacquer applied after the hoops are completely dry can do the trick.
With the right supplies and a bit of elbow grease, those barrel hoops will be looking like new in no time. Happy cleaning!
Whip Up Your Cleaning Solution
To get those whiskey barrel hoops gleaming, you’ll need to mix up a simple solution of equal parts water and white vinegar. The acid in vinegar is fantastic for cutting through built-up grime and residue.
Supplies for Your Solution
- 1 gallon white vinegar
- 1 gallon warm water
- Bucket or container for mixing
- Scrub brush
- Steel wool (optional, for tougher spots)
Instructions
- Pour the vinegar and water into your bucket and mix them well. Remember, it’s an equal-parts blend!
- Give the hoops a good scrub with your brush to loosen any caked-on dirt or debris. For those truly stubborn bits, bring in the steel wool.
- Let the hoops soak in the solution for at least 30 minutes. For really stubborn stains and residue, an overnight soak can work wonders.
- Pull the hoops out and scrub them again with your brush. Rinse them thoroughly with clean water to get rid of all the solution.
- Allow the hoops to air dry completely before putting your barrel back together.
This vinegar solution is a natural, eco-friendly way to get your whiskey barrel hoops sparkling clean without harsh chemicals. Just be sure to rinse and dry them completely afterward to prevent the solution from affecting the wood. With regular cleaning, your barrel hoops will stay looking brand new.
Banish Excess Dirt and Debris
Now for the satisfying part: getting rid of all that built-up dirt and debris on your barrel hoops. Grab a scrub brush, maybe one you’d use for veggies, to loosen up any caked-on bits. An old toothbrush is also brilliant for tackling those tiny crevices. Pay extra attention to where the hoops meet the barrel; that’s where dirt loves to hide.
Wipe away the loosened dirt with a damp rag or sponge. For those stubborn, stuck-on messes, whip up a paste from baking soda and water, then scrub with it using your brush. Rinse thoroughly with water afterward to remove all traces of the baking soda.
For a deeper clean, use a hose or a pressure washer on a low setting to spray down the entire barrel and hoops. Start from the top and work your way down, making sure to hit every single nook and cranny. The force of the water will blast away any remaining dirt or debris, leaving your barrel hoops sparkling clean.
Once you’re done cleaning, dry the hoops and barrel completely to prevent water spots. Your barrel hoops should now be prepped and ready for a fresh finish, if you choose. With regular cleaning and maintenance, your barrel hoops will provide many more years of service, ensuring the structural integrity of your whiskey barrel.
Scrub-a-Dub-Dub: The Hoops Get a Scrub
After that nice soak to loosen the grime, it’s time to give those hoops a good scrub. For any lingering residue, reach for your heavy-duty scrub brush. Scrub each hoop individually over a bucket to catch all the dirty water.
Rinse the hoops with water as you go to wash away any loosened dirt and debris. For those truly stubborn bits, mix up a paste of baking soda and water and scrub with it using your brush. Remember to rinse thoroughly when you’re done.
Make sure you scrub every inch of each hoop – the rim, the middle, and any engraved text or markings. Really focus on any areas with built-up grime. Keep scrubbing until the water runs clear and the wood looks visibly clean.
Give the hoops another good rinse with clean water to get rid of any remaining dirt or baking soda paste. Then, set them aside to air dry completely before you reassemble your barrel.
With a bit of elbow grease and some patience, scrubbing the hoops will erase years of built-up dirt and grime, leaving the wood looking fresh, clean, and ready for another fill of whiskey. The effort will absolutely be worth it. Cheers!
Rinse, Rinse, Rinse!
Once your barrel hoops have had their long soak, it’s time for a thorough rinse. This step is crucial for removing any remaining dirt or debris and ensuring no chemical residue is left behind before you put your barrels back together.
Run each barrel hoop under warm water, either with a hose or in a utility sink. Use an abrasive sponge or scrubber to work off any stuck-on grime. Pay special attention to any engraved or stamped areas, as dirt loves to collect there.
Rinse the entire surface of each hoop – inside and out, top and bottom. Flip the hoops a few times to drain the water and ensure every side gets a good rinse. Keep rinsing with fresh, clean water until the water runs clear.
Carefully inspect each hoop. Run your hands along the surface to feel for any rough or dirty spots. Visually check that no dirt or stains remain before allowing the hoops to air dry completely.
Once dry, your barrel hoops will be sparkling like new and ready to be reassembled onto your whiskey barrels. With regular cleaning and maintenance, your barrels will be good for many more years of use. Keeping those barrel hoops in great shape is key to maintaining an airtight seal and ensuring quality barrel aging of spirits.
The Optional Deep Clean: Second Cleaning
This second cleaning is completely optional but highly recommended for those stubborn stains or lingering smells in your barrel hoops. Think of it as a spa day for your hoops!
What You’ll Need
- Scrub brush
- Baking soda
- Dish soap
- Water
- Spray bottle
- Scrub pad (optional, for extra tough spots)
Let’s Get Deep Cleaning!
- Make a paste from baking soda and water. Apply this paste to any stained or smelly areas of the hoop with your scrub brush.
- Let the paste sit for at least 30 minutes. The longer it sits, the better it will work to lift tough stains and odors.
- Rinse the hoop with water to remove the paste. If any stains remain, scrub them with your scrub pad.
- Fill your spray bottle with water and a few drops of dish soap. Give it a good shake to mix.
- Spray the hoop with the soapy water. Use your scrub brush to loosen any dirt or debris still clinging to the hoop.
- Rinse the hoop again with clean water until the water runs completely clear.
- Allow all parts to air dry completely before putting your barrel back together.
Once dry, your hoops should be stain-free and smelling fresh. For extremely dirty hoops, you might need to repeat this deep cleaning process. With regular maintenance, deep cleans should only be an occasional necessity.
Patience is a Virtue: Let Hoops Dry Completely
Now that you’ve thoroughly cleaned your whiskey barrel hoops, it’s crucial to give them ample time to dry completely before you even think about reassembling your barrel.
The Art of Air Drying
The best way to dry your hoops is simply to leave them in a well-ventilated area, away from direct sunlight. Lay them flat or stand them upright, ensuring they don’t touch each other. Air drying can take anywhere from 24 to 48 hours for the hoops to be fully dry. Resist the urge to rush the process with heat; it can actually damage the wood.
Patience really is key here. While waiting for the hoops to dry, try to avoid handling them as much as possible. Only check on them periodically to make sure they’re drying evenly on all sides. Once the hoops feel dry to the touch and the wood no longer looks damp, they should be ready for reassembly.
To confirm they’re completely dry, wipe your hand along the inside and outside of a hoop. If your hand comes away clean without any oil or moisture, your hoops are good to go back on your barrel. It’s best to handle the hoops gently when reassembling to avoid scratching the wood or stripping any previous treatment.
With proper cleaning and thorough drying time, your whiskey barrel hoops will be rejuvenated and ready to stand the test of time. Following these simple steps will help ensure your barrel remains watertight for years to come, securing your barrel’s longevity.
Keeping Them Shipshape: Storing and Caring for Clean Hoops
Once your whiskey barrel hoops are sparkling clean and bone dry, proper storage is paramount to keeping them in top condition until their next use.
Check on hoops regularly: Periodically check your stored hoops to make sure there’s no warping, cracking, or other damage, and that the area remains dry. Rotate or move the hoops around a bit to avoid compression dents. With proper care and storage, your clean barrel hoops should stay in great shape for many years.
- Keep hoops dry: Moisture is the sworn enemy of wood, inviting warping, cracking, and rot. Store your hoops in a dry area, far away from extreme heat or humidity. An attic, garage, or shed usually makes for an ideal spot.
- Elevate hoops off the ground: Don’t let your hoops sit directly on the ground, concrete, or soil. Instead, place them on a wooden pallet, rack, or shelf to allow for airflow underneath and prevent moisture buildup.
- Protect from sunlight: While drying, keep your hoops out of direct sunlight, which can cause fading. Once dry, continue to store them in a shady area away from intense light that might damage the wood over time.
- Re-seal hoops (optional): If you’re looking for an extra layer of protection, you can apply a sealant, wood wax, or tung oil to further guard your cleaned hoops against moisture and UV damage during storage. Just be sure to follow the product directions and ensure proper ventilation and drying.
- Store upright or stacked: To save space, hoops can be stored upright, leaning against a wall, or neatly stacked on top of each other. Just be careful not to dent or scratch the wood, and consider padding between hoops when stacking.
Final Sips of Wisdom
There you have it – the whole process for cleaning your whiskey barrel hoops and making them shine like new! With a bit of elbow grease and the right tools, you’ll have those metal barrel bands gleaming in no time. The results are truly worth the effort; not only will your whiskey barrels look fantastic again, but you’ll also gain a new appreciation for the incredible craftsmanship that goes into making them. The next time you enjoy a sip of that perfectly aged whiskey, raise your glass to the cooper who built that barrel and the long, storied journey it’s been on. Your barrel hoops have tales to tell, so take pride in keeping them clean and sharing that history with others. Now go forth and make those whiskey barrels sparkle!