If you’ve been dabbling in home whiskey distilling and are ready to elevate your craft, you’re probably dreaming of those rich, nuanced flavors that only come with barrel aging. But let’s be real, full-sized oak barrels can be pricey, and for a home setup, your production volume might not justify the cost. That’s where customizing your own small whiskey barrels comes in! It’s the perfect sweet spot, allowing you to age your spirits just right without breaking the bank. This guide is packed with practical tips and clever tricks for getting your hands on and preparing used barrels, or even building your own from oak staves, so you can achieve that perfect oak-infused whiskey tailored to your taste and budget. Think of whiskey aging as an art, one that, with a little patience and the right know-how, will have you sipping your own smooth, deeply flavored creations in no time.
Introduction to Customizing Whiskey Barrels
So, you’re keen on customizing your own whiskey barrel? Fantastic idea! Barrel aging whiskey at home is an incredibly satisfying and fun hobby. But before you fill ‘er up, you’ll need to get your whiskey barrel prepped and ready for its important job.
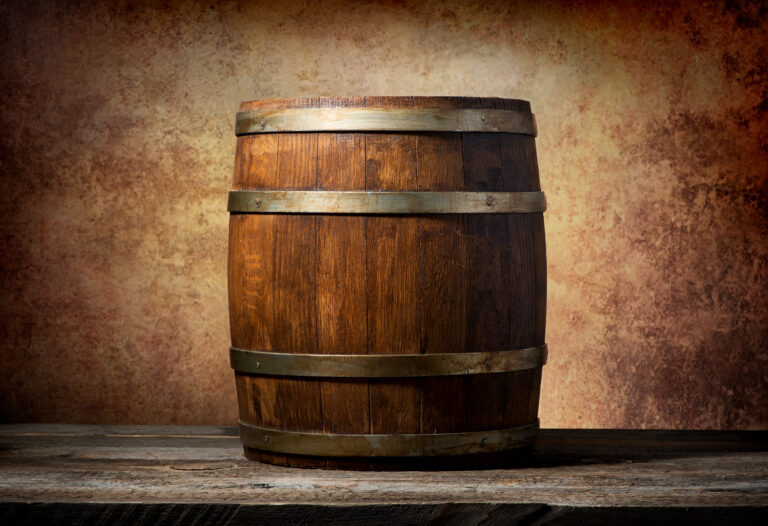
Selecting a Barrel
When it comes to whiskey barrels, you’ve got a choice: new oak barrels or used whiskey barrels. New oak barrels will impart a more intense wood flavor, while used barrels often contribute delightful smokey and spicy notes. Oak barrels are the traditional go-to, known for delivering classic vanilla and caramel hints to your bourbon or whiskey. If you’re aiming for bourbon, specifically, you’ll definitely want to use charred new oak barrels.
Cleaning and Sealing
First things first, give the inside of your barrel a good scrub with hot water to get rid of any lingering residue. Next up, you’ll need to swell and seal the barrel. Fill it up with hot water and let it sit for about 30 minutes; this helps the wood expand and seal up any tiny gaps. Drain the water, then apply melted beeswax or paraffin wax around the outside of the barrel opening and lid to create a truly airtight seal. This is crucial for proper whiskey maturation.
Toasting and Charring
Want to kick up the flavor? You can toast or char the inside of the barrel. To toast, gently heat the barrel over an open flame until the wood turns a lovely golden brown. For charring, keep the heat on until the wood is visibly blackened. Just a heads-up: barrels get extremely hot, so proceed with caution! The level of toasting and charring you choose depends entirely on how much smokiness you want in your final aged spirit.
Aging the Whiskey
Once your custom whiskey barrel is prepped, fill it about two-thirds full with your unaged distilled spirit. Seal it up tight and find a cool spot, away from direct sunlight, for aging. The key here is patience! Sample your whiskey regularly to hit that perfect balance of smoothness and flavor. Typically, small barrels can produce beautifully aged whiskey in anywhere from 3 to 12 months. Enjoy the fruits of your labor – with a bit of care and patience, you’ll be sipping your very own custom-aged whiskey before you know it.
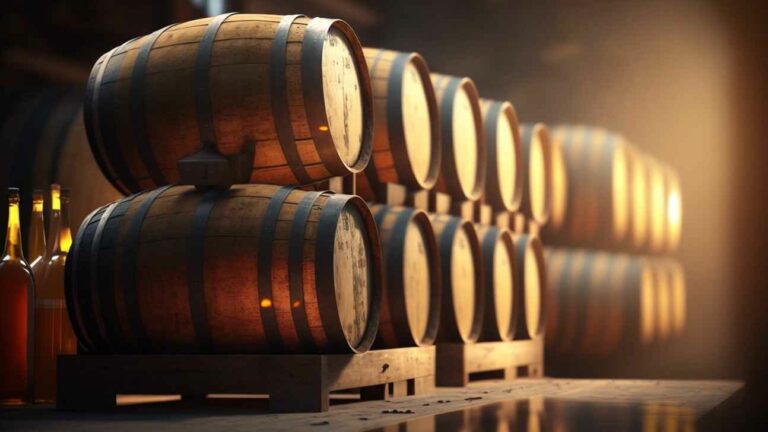
Sourcing Quality Used Whiskey Barrels
Alright, you’ve got your still humming and your mash fermented – now for the exciting part: finding some whiskey barrels! Used whiskey barrels are absolute gems for aging spirits and infusing them with incredible flavor. Here are a few smart ways to find top-notch used barrels:
- Reach out to local distilleries. Many smaller craft distilleries are often happy to sell off barrels they’ve finished using. It’s worth a friendly inquiry!
- Check out specialized websites. Websites like oakbarrels.com or usedbarrels.net are fantastic resources. You can find a wide range of barrel sizes and char levels to perfectly suit your needs. Keep an eye out for barrels that previously held bourbon or rum, as these often impart especially delightful flavors.
- Inquire at nearby wineries. If you have any wineries close by, ask if they have used barrels for sale. Wine barrels can also work wonderfully for aging whiskey and brandy. Just be sure to thoroughly rinse out any wine residue first!
- As a last resort, “age” new oak barrels yourself. If used barrels aren’t an option, you can buy new oak barrels and cycle through a few fills and empties before using them for your distilled spirits. This helps tame the strong oak and tannin notes that can sometimes overpower the delicate flavors of your distillate.
Once you’ve snagged some whiskey barrels, make sure to rinse them out thoroughly with water to remove any lingering residue. Give them a good check for leaks or cracks and patch them up if needed. You’ll also want to “swell” the barrels by filling them with water; this causes the oak staves to expand, effectively sealing the barrel tight. After a day or two, drain and rinse the barrels again before finally filling them with your unaged whiskey.
With high-quality used barrels and proper care, you’ll be crafting smooth, flavorful aged spirits in no time! The real secret ingredient here is patience – it can genuinely take years for the full magic of the wood, char, and distillate to unfold. But trust us, the wait for that perfect aged whiskey is absolutely worth it!
Preparing the Barrel for Customization
So, you’ve got your whiskey barrel in hand. Now comes the crucial step of preparing it for aging your precious craft spirits. There are a few key tasks you’ll want to tackle before filling and sealing that barrel.
Cleaning
First, give your barrel a really good cleaning to get rid of any debris from its journey to you. Rinse it thoroughly with hot water and a barrel cleaning solution or even just unscented dish soap. Use a barrel brush to scrub the inside, then rinse, rinse, rinse until the water runs completely clear. Afterward, let the barrel air dry thoroughly – this usually takes at least 2 to 3 days.
Toasting
For enhanced flavor, you can lightly toast the inside of the barrel with a blowtorch. This helps caramelize the wood sugars and open up the wood pores, making it more receptive to your whiskey. Be super careful here, as alcohol vapors in the barrel can ignite if it gets too hot. Keep the torch moving constantly. A light toast, about 10-15 seconds per barrel stave, is usually enough for most spirits, leaving a light char and a pleasant smoky aroma.
Sealing
Once your barrel is clean and toasted, it’s time to seal up any leaks using food-grade barrel wax or beeswax. Apply the wax around the barrel opening and over any visible cracks, using a heat gun to help it penetrate the wood effectively. Let the wax dry completely as directed. Voilà! Your whiskey barrel is now officially ready to be filled.
Aging
When you’re all set to age your spirit, fill the barrel to about two-thirds capacity. Seal it tightly and store it in a cool spot, away from direct light. Remember to check on your barrel periodically, ideally once a month. Make sure the barrel is still sealed properly and not leaking. After 3 to 6 months, take a small sample to see if the flavor and color have reached your desired result. Once it’s perfect, you can bottle your aged craft spirit.
Following these simple yet vital steps will ensure your whiskey barrel is properly prepared to age and mellow your homemade distilled spirits. With a little patience, you’ll soon be enjoying the incredible fruits of your labor!
Choosing Your Custom Finish
Got your whiskey barrel? Excellent! Now comes the exciting part: customizing the finish to perfectly suit your distilling goals. The “finish” refers to the treatment of the barrel’s interior, which will profoundly impact the flavor of your distilled spirit during aging. You’ve got some cool options here:
Charring Level
The charring level dictates how much the inside of your barrel is burned before aging begins. A lighter char, like a Level 1 or 2, will infuse subtle smoky notes. A heavier char, say Level 3 or 4, will impart more robust, roasted flavors from the burnt wood sugars and tannins. For bourbon, a Level 4 char is standard. For other whiskey types, a lighter char around Level 2 is often favored.
Toasting
Toasting the barrel involves heating the wood without actually burning it. This process caramelizes the wood sugars, bringing forth delightful notes of vanilla, butterscotch, or honey. The longer you toast, the more pronounced these flavors become. Many distillers combine toasting with charring; this creates a complex symphony of both smoky and sweet notes in the final spirit.
Alternative Woods
While oak, especially American white oak, is the traditional choice, you can definitely explore barrels made from alternative woods. Maple, hickory, or chestnut wood will yield whiskies with distinct flavor profiles. Keep in mind, though, these woods are less porous than oak, so aging times might be a bit longer. Used wine, sherry, or port barrels are also popular for finishing whiskies with lovely fruity undertones.
The possibilities for customizing your whiskey barrel are vast! Ultimately, it’s about envisioning the kind of flavor profile you want to achieve and then selecting the finishing technique to match. Don’t be afraid to experiment – you can always use small barrels to age test batches before committing to a full-size one. Playing around with different char levels, toast lengths, or wood varieties is the perfect way for home distillers to craft a whiskey that is truly, uniquely their own.
Applying Custom Finishes to the Interior
Once you’ve got your whiskey barrel looking sharp on the outside, it’s time to focus on its interior. The inside of the barrel plays the most significant role in shaping your whiskey’s flavor. Here are a few impactful ways you can influence that flavor through the barrel’s interior.
Toasting the Barrel
Toasting the inside of the barrel exposes the wood, creating more surface area for your whiskey to interact with. The level of toast, or char, directly affects the flavor. A lighter toast will lead to more subtle wood notes, while a heavy char will impart bold, smoky, roasted flavors. Many distillers find a medium toast to be a versatile, all-purpose option.
Adding Oak Staves or Chips
If you want to boost the oakiness without replacing the entire barrel, consider adding oak staves (small planks) or oak chips. Oak staves offer more surface area than chips and are less likely to introduce harsh tannins. Start with just 2-3 staves and sample your whiskey regularly to avoid over-oaking.
Replacing the Barrel Head
The barrel head, or end cap, is usually made of softwood and doesn’t typically contribute much to the flavor. However, replacing it with an oak barrel head will expose your whiskey to more oak as it permeates the wood. This can be a simple yet effective way to add a nice boost of oak character without a full barrel swap.
Charring and Shaving
For the truly hands-on home distiller, you can physically shave down and then re-char the interior of your barrel. Use a drawknife, spokeshave, or even sandpaper to shave the inside, then re-char the fresh wood with a blowtorch. This exposes new oak and creates a deeply charred surface, resulting in bold smoke and vanilla flavors. Go slowly and sample frequently to avoid overdoing it – a little goes a long way!
With a bit of experimentation, you can create a custom barrel perfectly tailored to your precise tastes. Whether you opt for subtle touches or more aggressive measures, the power to craft a truly unique whiskey is in your hands as a home distiller. Taste and savor the incredible fruits of your labor!
Branding and Decorating the Exterior
Customizing the exterior of your whiskey barrels is a fantastic way to make them truly yours and proudly showcase your distilling brand. Here are some ideas for branding and decorating the outside of your barrels:
Stenciling and Painting
Get creative with stencils to paint your logo, distillery name, or a custom design onto the barrel heads. You can find stencils online or even have a personalized one made. Use a stencil brush and exterior paint in your brand’s signature colors. Two coats of sealant will help protect your design for the long haul.
Branding Irons
For a wonderfully rustic look, use a branding iron to burn your unique mark into the wood. Branding irons can be custom-made with your logo or name. Hold the iron firmly in place for 30-60 seconds to get a deep, clear impression. The natural wood grain will show through, creating a truly unique branded pattern on each barrel.
Barrel Wraps
Prefer not to paint directly on the barrel? Consider barrel wraps or staves that you can brand, stencil, or print custom designs on. These wraps adhere securely to the barrel using strong double-sided tape, meaning they can be removed without damaging the wood. This offers flexibility to re-brand barrels or simply change up your look whenever you like.
Hoop Art
Don’t forget the metal hoops on your barrels! Decorating them adds a delightful handcrafted touch. You can stencil, paint, or affix designs to the hoops using similar techniques as for barrel heads and wraps. Hoop art draws attention to the beautiful shape and curves of your whiskey barrels.
Personalized Plaques
Attach elegant cast metal or wooden plaques to your barrels. These can feature your distillery name, logo, or important barrel information like aging details or batch numbers. Plaques give your barrels an official, polished, and customized appearance perfect for display. Look for rustic plaque styles that complement your barrels and overall brand aesthetic.
Customizing your barrels’ exteriors is an excellent way to showcase your brand and make each barrel a unique statement piece. With stenciling, painting, branding, wraps, and plaques, the possibilities for creating personalized whiskey barrels are truly endless. Your customized barrels will become signature elements in your distillery and tasting room.
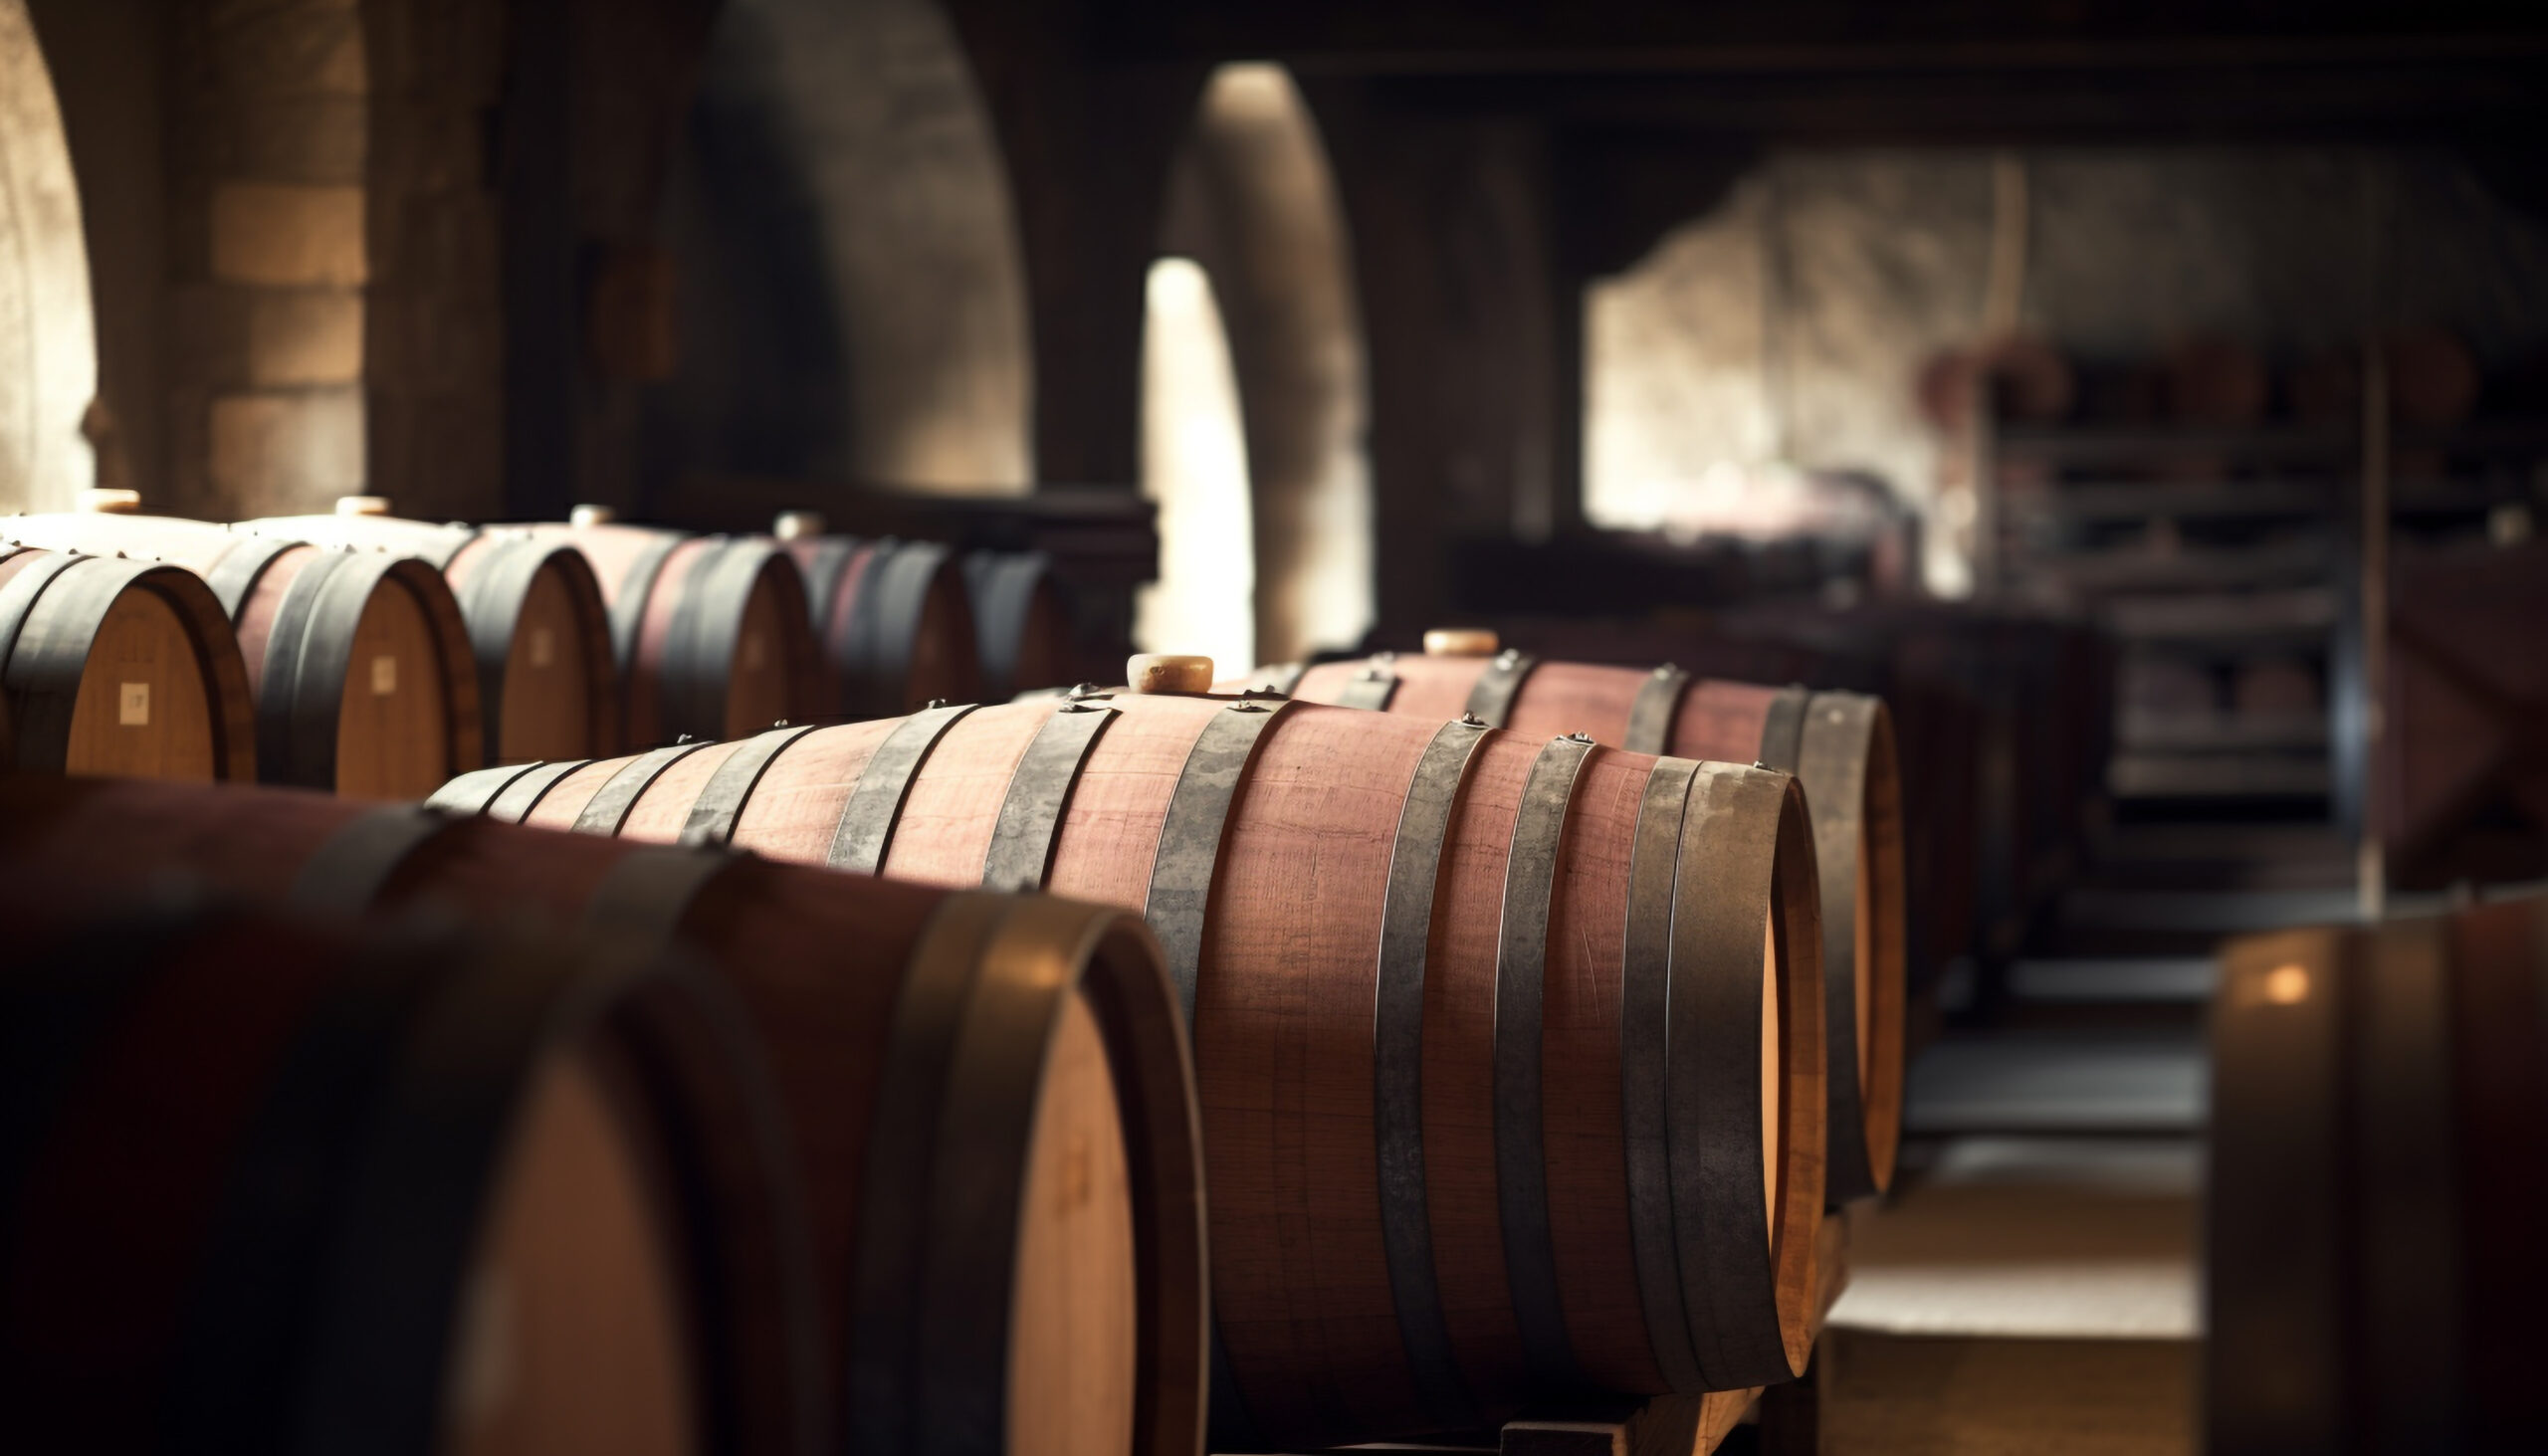
Monitoring and Maintaining Your Custom Barrel
Once you’ve got your custom whiskey barrel all set up, proper monitoring and maintenance are key to ensuring the absolute best results. As a home distiller, keeping a close eye on your barrel will allow you to make any necessary adjustments and nip potential issues in the bud.
Check on Your Barrel Regularly
Make it a habit to pop into your barrel storage area often for a visual inspection. Look for any leaks, unusual swelling, or other irregularities. Give the barrel a good sniff – you want to make sure there are no off odors that could hint at contamination or spoilage. Gently tap the barrel; it should have a hollow, ringing sound.
Monitor Humidity and Temperature
The environment where you’re aging your whiskey barrel has a massive impact on the final product. The ideal conditions are a cool, dark place, away from direct heat or sunlight. Aim for a consistent humidity level of around 65-80% relative humidity. Use a hygrometer to keep tabs on both temperature and humidity. Fluctuations can cause the barrel to swell and contract, letting oxygen in and causing too much alcohol to evaporate (the “angel’s share”).
Top Off When Needed
As your whiskey ages, some liquid will naturally evaporate. Use a barrel thief to extract samples and check how much whiskey has evaporated. When the level drops to about 2 inches from the bunghole, you’ll want to top off the barrel with more unaged white whiskey to prevent excessive oxidation. This is crucial for maintaining flavor and volume.
Turn and Tap
Every few months, it’s a good idea to turn and tap your barrel to redistribute the whiskey inside. Carefully tilt and rotate the barrel to ensure all interior surfaces get wetted. Then, use a mallet to gently tap around the middle of the barrel. This helps to ensure even aging and color distribution throughout the batch.
Consider Re-charring
For an extra flavor boost, you might consider re-charring your barrel after a year or two of aging. Remove all but about an inch of the aged whiskey, re-char the inside of the barrel, then return the whiskey. The fresh charring will impart more intense oak and caramel notes. You can even re-char multiple times to create a bolder, darker spirit.
With regular check-ins and minor maintenance, your custom whiskey barrel will reward you with a superior aged spirit to truly enjoy and share. Keep a log of your barrel’s progress – it’s all part of the rewarding craft of distilling!
Tips for Maximizing Flavor Extraction
To really get the most out of your whiskey barrels and extract incredible flavor, there are a few key tips home distillers should keep in mind:
Char Level
The char level on the inside of the barrel makes a huge difference in flavor. A lighter char (like #1 or #2) will yield more subtle flavors, while a heavier char (like #3 or #4) produces bolder, smokier notes. For the most intense flavor, opt for a barrel with a char level of #3 or #4.
Barrel Size
Generally speaking, smaller barrels mean more surface area exposed to the whiskey, which translates to more flavor imparted in a shorter amount of time. For home distillers, 5- to 15-gallon barrels are excellent sizes that offer plenty of flavor development without requiring an eternity of waiting. Of course, if patience is truly your virtue, you can never go wrong with a standard 53-gallon barrel for deeper, more complex aging.
Barrel History
Barrels that were previously used to age other spirits, like bourbon or rum, will already have developed complex flavors that readily transfer to your whiskey. This can be a fantastic shortcut to developing rich flavor, especially if you’re not keen on waiting years. Just be sure to rinse these used barrels thoroughly to avoid any unwanted residual flavors before adding your whiskey.
Rotation and Sampling
As your whiskey ages, make sure to rotate and sample the barrel regularly. Rotating the barrel ensures all surfaces of the whiskey are exposed to the wood, leading to consistent flavor development. Sampling allows you to taste how the flavor evolves and determine when it has reached your perfect liking. You might find yourself sampling (and tasting!) every 3 to 6 months.
Additives
For an extra flavor kick, you can always add oak staves, wood chips, or barrel inserts to a barrel. This significantly increases the surface area for the whiskey to interact with the wood. You can also explore barrel finishing techniques like introducing your whiskey to port, sherry, or wine casks for unique fruity or sweet notes.
- Seasoning and Tasting: Before the very first use, be sure to season your barrel. Fill it with water and dump it multiple times. Taste the water to ensure no unwanted flavors are present before adding your precious whiskey.
With a bit of experimentation, you’ll be crafting flavored whiskeys that rival any commercial distillery in no time. The secret lies in balancing all these tips to create a whiskey that is perfectly suited to your unique tastes. Happy distilling!
FAQs on Customizing Whiskey Barrels for Home Distillers
What types of barrels can I use for aging whiskey?
You’ve got a few solid options for aging your whiskey. The most common and recommended are charred oak barrels, typically made from American white oak or European oak. Oak barrels are fantastic for imparting those desirable flavors to your whiskey. You can source used bourbon barrels or wine barrels to repurpose, or simply purchase new small barrels specifically designed for home distilling.
How much does a whiskey barrel for home distilling cost?
Prices for whiskey barrels can definitely vary based on the wood type, size, and whether it’s new or used. For a 5 to 10-gallon barrel, often ideal for home distillers, you can generally expect to pay anywhere from $200 to $500. Larger barrels, like the 53-gallon ones suitable for commercial distilleries, can run from $500 to $1500 or more.
How long should I age my homemade whiskey?
The aging time largely depends on the type of barrel and the specific whiskey flavor profile you’re aiming for. Generally, smaller barrels age whiskey much faster than larger ones due to increased surface area contact. For a 5-gallon barrel, you can start tasting your whiskey after 3 to 6 months. It might be ready to bottle anywhere from 6 to 24 months. The key is to sample your whiskey regularly to achieve your desired flavor and smoothness.
Do I need any special equipment for barrel aging?
You won’t need a ton of fancy gear, but here’s the basic equipment that will make your barrel aging smoother:
- A barrel stand or rack: This provides good airflow around the entire barrel and keeps it stable.
- A spigot or spout: You’ll need a way to easily access and sample your aged whiskey.
- A barrel lid or bung: An airtight seal is absolutely critical for proper aging.
- A barrel brush: Essential for cleaning the barrel when it’s empty to prevent unwanted flavors from previous contents.
- Optional: A barrel heater or lamp: This can help control temperature, which leads to better flavor development.
Can I reuse whiskey barrels for multiple batches?
Yes, whiskey barrels can typically be reused a few times before they lose their ability to impart good flavor to the whiskey. After about 2-4 uses, the barrel staves can start to break down, and the barrel might not hold liquid as well. It’s generally best to use a barrel for the same type of spirit each time – for instance, don’t age whiskey in a barrel that was previously used for wine, as the residual flavors might not be what you’re looking for. With proper care and thorough cleaning between uses, you can certainly get several batches of great-tasting homemade whiskey from one barrel.
Final Thoughts
You’re now armed with the know-how to dive into customizing your own whiskey barrels! While the process demands a dose of patience, the rewards of aging your own spirits are truly worth every moment. Keep experimenting by trying out different wood types, char levels, and aging times. Before you know it, you’ll be hosting delightful whiskey tastings with friends and family, proudly sharing the incredible fruits of your labor. Home distilling is a wonderfully fun and rewarding hobby, so take your time, prioritize safety, and most importantly, truly enjoy this creative process of crafting something uniquely your own. May your barrels lead to countless memorable evenings filled with good conversation over amazing, homemade spirits!