Alright, whiskey lovers, buckle up! Ever wonder how that golden goodness goes from humble grains to a beautifully bottled single malt or bourbon on your local liquor store shelf? It’s more than just a process; it’s a labor of love, a journey from barley to barrel to bottle that’s steeped in tradition and craftsmanship. For anyone who truly savors a good pour, understanding the meticulous steps behind this amber elixir can seriously deepen your appreciation for every single, satisfying sip. Get ready to dive deep into the fascinating world of whiskey production, from the initial grain harvesting all the way through to the crucial stages of aging and bottling. By the time we’re done, you’ll have a newfound respect and a serious education on the artistry that goes into every whiskey brand. The next time you’re settling in with a glass, you can truly kick back and enjoy those complex flavors, knowing precisely how that magic came to be.
Selecting the Right Barrels for Whiskey Aging
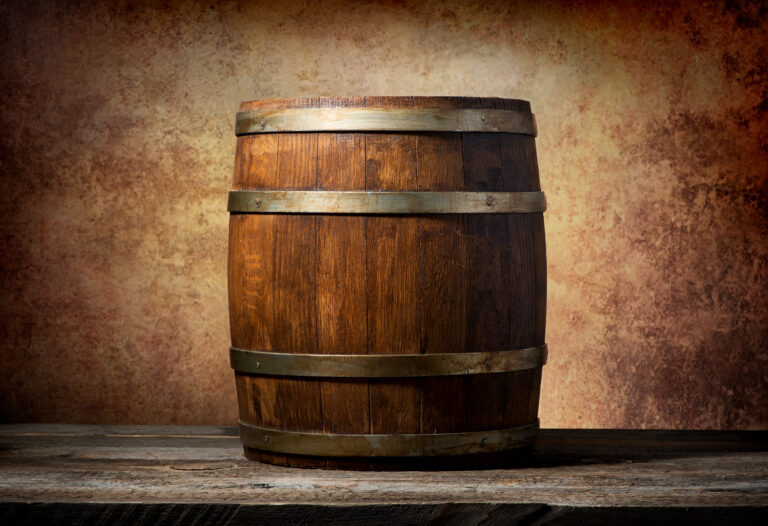
First things first, if you’re serious about making exceptional aged whiskey, you’ve got to pick the perfect home for it. We’re talking white oak barrels, specifically those that have been deeply charred on the inside. Why oak? Because these beauties impart that unmistakable distinctive flavor and rich aroma to the whiskey as it patiently matures. And the charring? Oh, that’s where the magic happens! It caramelizes the wood, infusing those coveted notes of vanilla and spice into your spirit.
Now, for a truly complex flavor profile, you’ll want barrels that have a history. We’re often looking for barrels previously used to age bourbon or even fine wine. Bourbon barrels tend to lend a sweeter edge to your whiskey, while wine barrels can introduce delightful fruity undertones. Either way, you’re chasing those more intricate and utterly interesting flavors for your final product.
Think about how long you’re planning to age your precious whiskey. Smaller barrels mean more surface area, which translates to increased contact between the spirit and the wood. This actually accelerates the aging process. However, standard 53-gallon barrels are often the sweet spot for many craft distilleries, reliably producing beautifully aged whiskey in a good 3 to 5 years.
And don’t forget the barrel’s toast and char levels. The toast refers to how much the inside of the barrel has been heated, influencing delightful flavors like caramel or even chocolate. The char, on the other hand, dictates how much the barrel has been burned, impacting those sought-after notes of vanilla, spice, or even a hint of smoke. Generally speaking, heavier toasting and charring will lead to a whiskey with bolder, darker flavors.
With top-notch, perfectly prepared oak barrels and a healthy dose of patience, you’ll be swirling a smooth, deeply complex whiskey in your glass before you know it. The whiskey aging process is truly an art form, but with the right barrels, you’re setting yourself up for success.
Filling the Barrels and Letting the Whiskey Age
Once that whiskey has had its beauty sleep in those magnificent charred oak barrels for at least two glorious years, it’s almost ready for its grand debut. But hold your horses! First, you’ve got to coax it out of its wooden sanctuary. This is a genuinely crucial step, so take your sweet time.
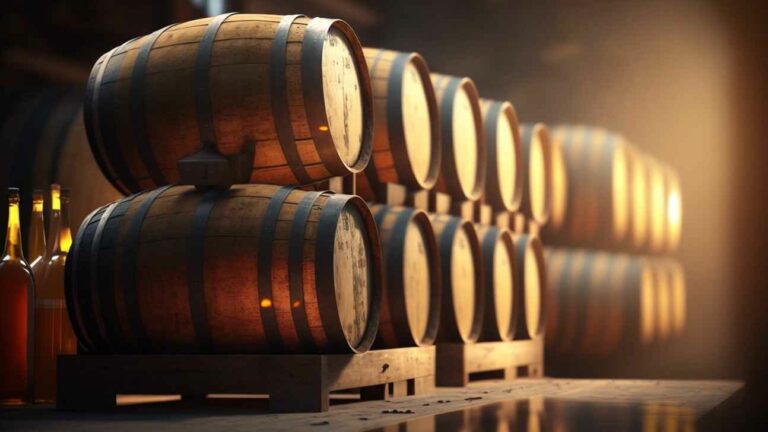
The filled oak barrels are carefully tucked away in a whiskey warehouse, where they’ll rest for a minimum of two years. During this essential period, the whiskey actively soaks up flavor and gorgeous color from the charred oak barrel. It’s a bit like alchemy; the longer it ages, the more layers of complexity the flavor develops. This is where a truly premium spirit is born.
When the master distiller, with their highly discerning palate, determines that the whiskey has reached its absolute peak flavor, it’s showtime for bottling. With incredible care, the whiskey barrels are gently emptied into a holding tank for bottling in small batches. Each and every barrel of whiskey is meticulously tasted and rigorously tested to ensure unwavering consistency and the highest quality control.
Only when the master distiller gives their ultimate seal of approval does the whiskey get its official stamp – bottled, labeled, and ready for distribution. This entire whiskey production process, from barrel to bottle, is often done with painstaking care, by hand. Patience and an unwavering commitment to quality are absolutely essential to produce a truly smooth, full-flavored whiskey.
But trust us, that very first sip of the final product makes all the waiting, all the anticipation, utterly worthwhile. The distinctive, complex flavors of that perfectly aged whiskey, combined with the lingering memories of its creation, will stay with you for years to come. This is the essence of fine spirits.
Knowing When the Whiskey Is Ready for Removal
When you’re nurturing a batch of aging whiskey, knowing precisely when it’s ready to make its exit from the barrel and hit the bottle is absolutely key. As it patiently matures within the oak barrel, the whiskey’s flavor compounds undergo a dramatic transformation. But, like anything in life, there’s a sweet spot; after a certain point, those wonderful flavor impacts begin to level off.
Watch for Color Changes
Initially, that whiskey is as clear as spring water. But over time, it will gradually morph into a rich, inviting amber hue. Then, if you look closely, you’ll start to see beautiful reddish tints emerge. Finally, for deeply aged spirits, it can become a magnificent dark brown.
These captivating color changes are your visual cues, indicating that the whiskey is actively extracting valuable compounds like tannins and lignins from the wood. However, once that color stabilizes, additional aging won’t significantly improve the flavor. It’s like a masterpiece that’s finally complete.
Do Taste Tests
As your whiskey patiently ages, its flavor profile truly evolves. Those delightful notes of vanilla, spice, and oak begin to emerge, while any harsher alcohols gracefully fade into the background.
A good rule of thumb is to start conducting small, judicious taste tests around the 3 to 5-year mark. When the flavor strikes you as beautifully balanced and wonderfully smooth, it’s probably time to bottle.
If it still tastes a bit rough around the edges or overly woody, give it more time to mature, re-testing every 6-12 months. But be warned: don’t over-age it, or your precious whiskey can become too woody, losing its delicate balance. This is the art of barrel maturation.
Check the Alcohol Level
The whiskey’s alcohol level, or ABV (Alcohol by Volume), will naturally decrease over time as some of it evaporates – this is famously known as the “angel’s share.”
Most seasoned distillers opt to bottle their whiskey when the proof drops to somewhere between 95 to 120 proof, or roughly 47.5% to 60% ABV.
At this sweet spot, plenty of rich flavor has developed, yet enough alcohol remains to prevent any spoilage after bottling. Knowing these crucial signs will empower you to determine when your whiskey has truly reached its full, complex flavor potential. Then, you can proudly bottle and savor the magnificent fruits of your labor! The patience required for whiskey making is indeed richly rewarded.
Preparing Equipment for Whiskey Removal
Alright, so your perfectly aged whiskey is singing its sweet song from inside the barrel. Now, to bring it forth, you’ll need some essential gear.
First, round up your tools: a reliable barrel pump or a good old-fashioned siphon, some food-grade tubing or hoses, and suitable containers to collect your liquid gold – think clean glass bottles or jugs. Don’t forget a funnel to minimize spills and maximize efficiency. And, because safety first, grab your protective equipment: sturdy rubber gloves, protective goggles, and some old clothes you don’t mind getting a bit of whiskey on.
Once you’ve assembled your arsenal, it’s absolutely crucial to thoroughly clean and sanitize every single piece of equipment. This is non-negotiable to prevent any unwanted contamination of your precious whiskey. Rinse the tubing, pump, funnel, and all your containers with a high-quality sanitizing solution. Then, give them a final rinse with pure water to banish any lingering residue. Allow everything to air dry completely – no shortcuts here!
Before you start the pumping or siphoning process, double-check that every connection is secure and that your tubing isn’t kinked. Position the end of the exit tube precisely so that the whiskey will flow directly and smoothly into your chosen collection container.
And here’s a golden rule: have patience. This process can easily take several hours for a full barrel. Resist that urge to rush it; your patience and diligence will be handsomely rewarded with a batch of premium, beautifully barrel-aged whiskey.
Safely Moving the Barrel to Access the Whiskey
The moment has arrived: your whiskey has achieved peak perfection in the barrel. Now, it’s time for its grand exit. This isn’t a task to be rushed; it’s a delicate process that demands care and precision, ensuring the integrity of your fine spirit.
First off, you’ll want to strategically move the whiskey barrel to an area that gives you ample space to comfortably access the bunghole – that’s the little opening in the barrel. Gently roll the barrel on its edge to its designated spot. Remember, slow and steady wins the race when you’re dealing with a full barrel of liquid gold.
Once the barrel is securely in place, grab a bung wrench or a large crescent wrench and very slowly, carefully, remove the bung (that’s the stopper) from the bunghole. It’s a good idea to have a clean container positioned directly underneath to catch any unexpected drips or spills – we don’t want to waste a single drop of that magnificent aged whiskey! Then, ever so gently, tilt and rotate the barrel, allowing your perfectly aged whiskey to pour out freely.
For this initial pour, you only want to drain about a third to half of the barrel. This clever trick allows the remaining whiskey to continue picking up those delightful extra oak, vanilla, and caramel notes from the barrel wood. After a few months of this secondary rest, you can then proceed to drain the rest of the barrel.
When you’re finished with this stage, swiftly replace the bung back into the bunghole to securely seal the barrel. Your wonderfully aged whiskey is now ready for its next step: bottling and, ultimately, enjoyment! Always, always take things slowly and exercise extreme caution when handling and moving full whiskey barrels. Safety first is not just a saying; it’s a rule when you’re working with such precious cargo.
Techniques for Getting the Whiskey Out of the Barrel
Extracting every precious drop of whiskey from its oak barrel requires a few specialized techniques and the right tools.
During the aging process, to check on your spirit’s progress and ensure it’s hitting that sweet spot of maturity, you’ll need a barrel pump, often affectionately called a “whiskey thief.” This clever device allows you to take small samples without disturbing the entire barrel. Simply insert one end of the pump into the bung hole and the other into a clean sampling jar to draw out a taste of your developing whiskey.
When your whiskey has finally aged to absolute perfection and the master distiller gives the nod for bottling, it’s time for the main event: draining the barrel. Attach one end of a food-grade hose to the bung hole and the other to a clean holding tank. Then, carefully open the bung hole and let gravity do its beautiful work, allowing the whiskey to flow out. Your mission: capture every last drop – seriously, don’t waste a single bit of that liquid gold!
For those stubborn bits of whiskey clinging to the barrel’s interior, you might need to perform a barrel rinse. Add a small amount of purified water through the bung hole, seal it up, and then gently roll and shake the barrel to loosen any remaining whiskey from the wood. Drain and collect this whiskey-water mixture, which can then be run through a still to separate and reclaim the precious whiskey.
As a last resort, for the truly dedicated (or desperate!), you could technically dismantle the barrel to meticulously scrape out any final remnants of whiskey from the staves and header boards. However, this is an incredibly labor-intensive approach and carries the risk of oxidation and some loss of your whiskey, so it’s generally only considered if all other methods have been exhausted.
With the right techniques and tools, you’ll soon be enjoying the magnificent fruits of your labor – a smooth, perfectly oak-aged whiskey. Sip responsibly and savor the craftsmanship!
Straining and Filtering the Removed Whiskey
Once your precious whiskey has reached its desired flavor profile after diligently aging in the barrels, it’s time for a crucial cleanup step: straining and filtering before it makes its way into bottles. This essential process meticulously removes any pesky sediment and those tiny char particles that the whiskey inevitably picks up from the barrel during its long, slow maturation.
Straining the Whiskey
This is your first line of defense against unwanted bits.
- Grab a fine metal strainer and place it securely over a large, clean container.
- Carefully open your whiskey barrel and slowly, ever so slowly, pour the beautifully aged whiskey through the strainer.
- Always use a funnel to avoid any heartbreaking spills of your liquid treasure.
Filtering for Clarity
After the initial strain, you’ll want to run your whiskey through a finer filter to achieve that ultimate, sparkling clarity we all appreciate in a premium spirit.
- For smaller batches, simple coffee filters, Brita filters, or even clean cheesecloth can work in a pinch.
- For larger volumes, a plate and frame filter press is your best friend for efficient filtration.
- Don’t be afraid to perform multiple filterings if needed to ensure every last speck of sediment is removed. This guarantees a clean, bright appearance for your bottled whiskey.
Tasting and Adjusting
Once your whiskey is beautifully filtered, it’s time for a crucial tasting session.
- Pour a small sample and really savor it.
- If needed, this is your last chance to fine-tune the flavor profile. You can gently add distilled water to reduce the ABV (alcohol by volume) if your barrel proof whiskey is too strong. Or, if you crave a little more oak flavor, a small amount of oak chips can be introduced, though this is less common at this stage.
- Make any final flavor adjustments before you start the bottling process.
Filtering and adjusting your whiskey before bottling will result in a flawlessly clean, sediment-free product with a clear, vibrant color – these are the unmistakable hallmarks of a truly quality aged spirit. Your incredible patience through the long aging process will be abundantly rewarded with a smooth, profoundly flavorful whiskey ready to be shared and thoroughly enjoyed!
Transferring the Whiskey to Bottles or Other Containers
Alright, you magnificent distiller! Your whiskey has finally reached its zenith, perfectly aged in the barrels. Now comes the grand finale: bottling it up! This final step is where all your hard work comes to fruition, allowing you to share and savor the fruits of your labor.
Sanitize the Bottles
First things first: hygiene is paramount. Thoroughly wash and sanitize your glass bottles or jugs before even thinking about filling them. Rinse them rigorously with a proper sanitizing solution to obliterate any lurking bacteria, then allow them to air dry completely. We’re aiming for pristine conditions for our premium spirit.
Set Up Your Workspace
Choose a well-ventilated area for this operation, as those wonderful alcohol fumes will be present. Have all your essentials at the ready: your sparkling empty bottles, clean corks or seals, a reliable funnel, and your food-grade tubing. If you can, position your whiskey barrels on elevated racks or tables; this makes accessing the bunghole and siphoning much easier.
Transfer the Whiskey
Now for the main event! Gently insert one end of your food-grade tubing into the bunghole of the barrel. Place the other end into your bottle and begin the siphon process, either using a pump or, for the brave, by mouth (just be careful not to actually ingest it!). Fill each bottle carefully, avoiding overfilling. As soon as a bottle is filled, seal it immediately to preserve that magnificent flavor and prevent any unwanted oxidation.
Label and Enjoy!
This is where you can truly make it your own! Create personalized labels for your bottles, especially if you’re planning to give them as gifts or (gasp!) sell them. Include vital details like the type of whiskey (e.g., single malt, bourbon), the barrel number, specific aging details (like how many years), and the bottling date. Congratulations, your homemade aged whiskey is now ready to be enjoyed neat, over ice, or in your favorite whiskey cocktails! All that hard work has absolutely paid off.
A little tip: siphoning whiskey from barrels to bottles introduces some oxygen exposure, which can slightly alter the flavor profile. To maximize quality, try to bottle as quickly as possible after draining the barrels. While homemade whiskey will continue to age and mellow in the bottles, this process is significantly slower than in the active environment of an oak barrel.
Storing and Enjoying Your Barrel Aged Whiskey
Alright, you’ve done it! Your incredible whiskey has patiently aged to perfection in that barrel, and now it’s time to bottle and truly savor the magnificent fruits of your labor. But before you uncork that first bottle, there are a few crucial steps to ensure your barrel-aged whiskey is absolutely ready for its moment in the spotlight.
Bottle Aging
After you’ve carefully transferred the whiskey from the barrel to the bottles, resist the urge to immediately crack one open. It’s highly recommended to let it rest in the bottles for at least a month before that first glorious sip. This allows the whiskey to “mellow” and for all those complex flavors to truly blend and harmonize. You might notice your whiskey appears a bit cloudy at first, but don’t fret; it will clear up beautifully with a little more time. This period is vital for proper spirit maturation.
Filtering (Optional)
For those who desire ultimate clarity and a super-clean finish, you can choose to filter your whiskey through a coffee filter or even some clean cheesecloth. This step will help remove any remaining barrel char and fine sediment, resulting in a brighter, more visually appealing whiskey. While not strictly necessary for flavor, it certainly enhances the aesthetic. This is part of perfecting your distillation process.
Diluting (Optional)
Most barrel proof whiskeys come out of the barrel quite potent, often exceeding 60% alcohol by volume (ABV). If you find this a bit too strong for your palate, you absolutely can dilute your whiskey with purified water to your preferred strength. A common and enjoyable range for bottled whiskey is often between 40-50% ABV. The trick here is to add water slowly, a little at a time, tasting as you go, until you reach that ideal strength that perfectly suits your taste buds.
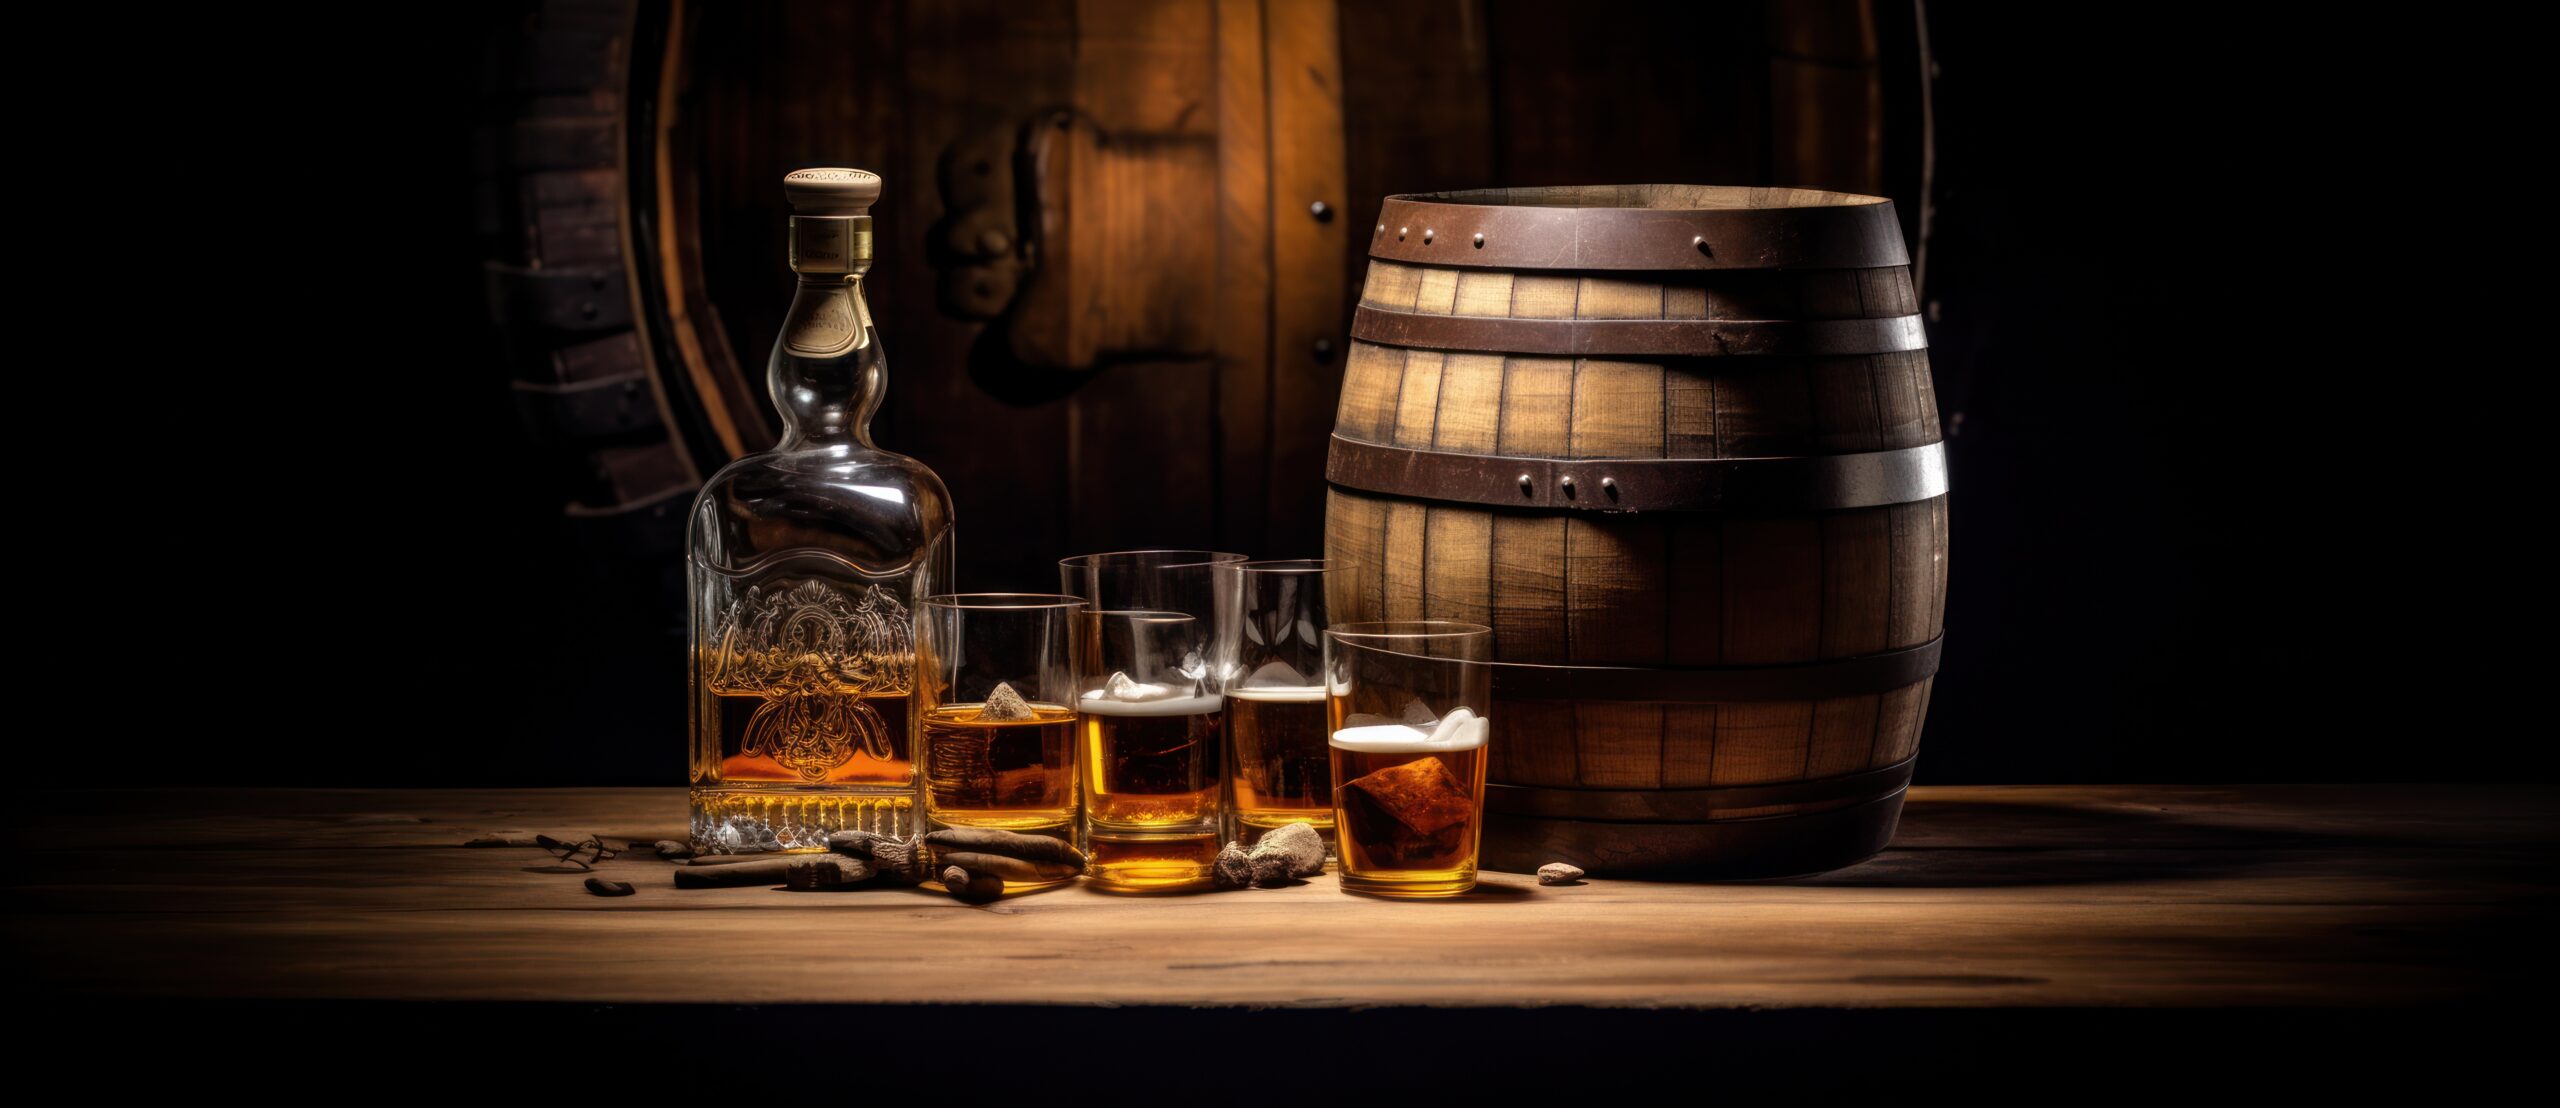
Once your homemade barrel-aged whiskey is bottled, aged in the bottle, and perhaps even filtered and diluted to your liking, it’s finally ready to be enjoyed! Savor it neat, over a single large ice cube, or as the star in your favorite whiskey cocktail. Share your magnificent creation with friends, and raise a glass to your incredible success! All that hard work, patience, and dedication will have been profoundly worth the wait. Appreciate every single sip of your very own craft spirit.
Final Thoughts
So there you have it, fellow whiskey enthusiasts! A comprehensive guide to the intricate, rewarding journey of getting that precious whiskey from its wooden home to your glass. You’re now equipped with the knowledge to embark on your very own whiskey aging adventure. While the entire process demands a healthy dose of patience and a meticulous approach, the unparalleled rewards of your homemade aged whiskey will make every moment worthwhile. In a few years’ time, you’ll be proudly enjoying the magnificent fruits of your labor, perhaps even toasting to your newfound skills as a genuine master distiller. Here’s to you and the endlessly fascinating world of barrel-aged spirits. May your whiskey always be incredibly smooth, your whiskey glasses always full, and your pours always generously satisfying. Cheers!