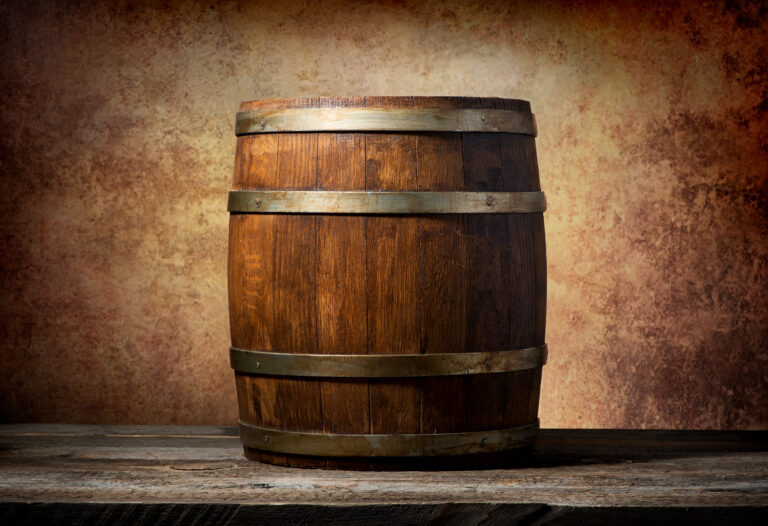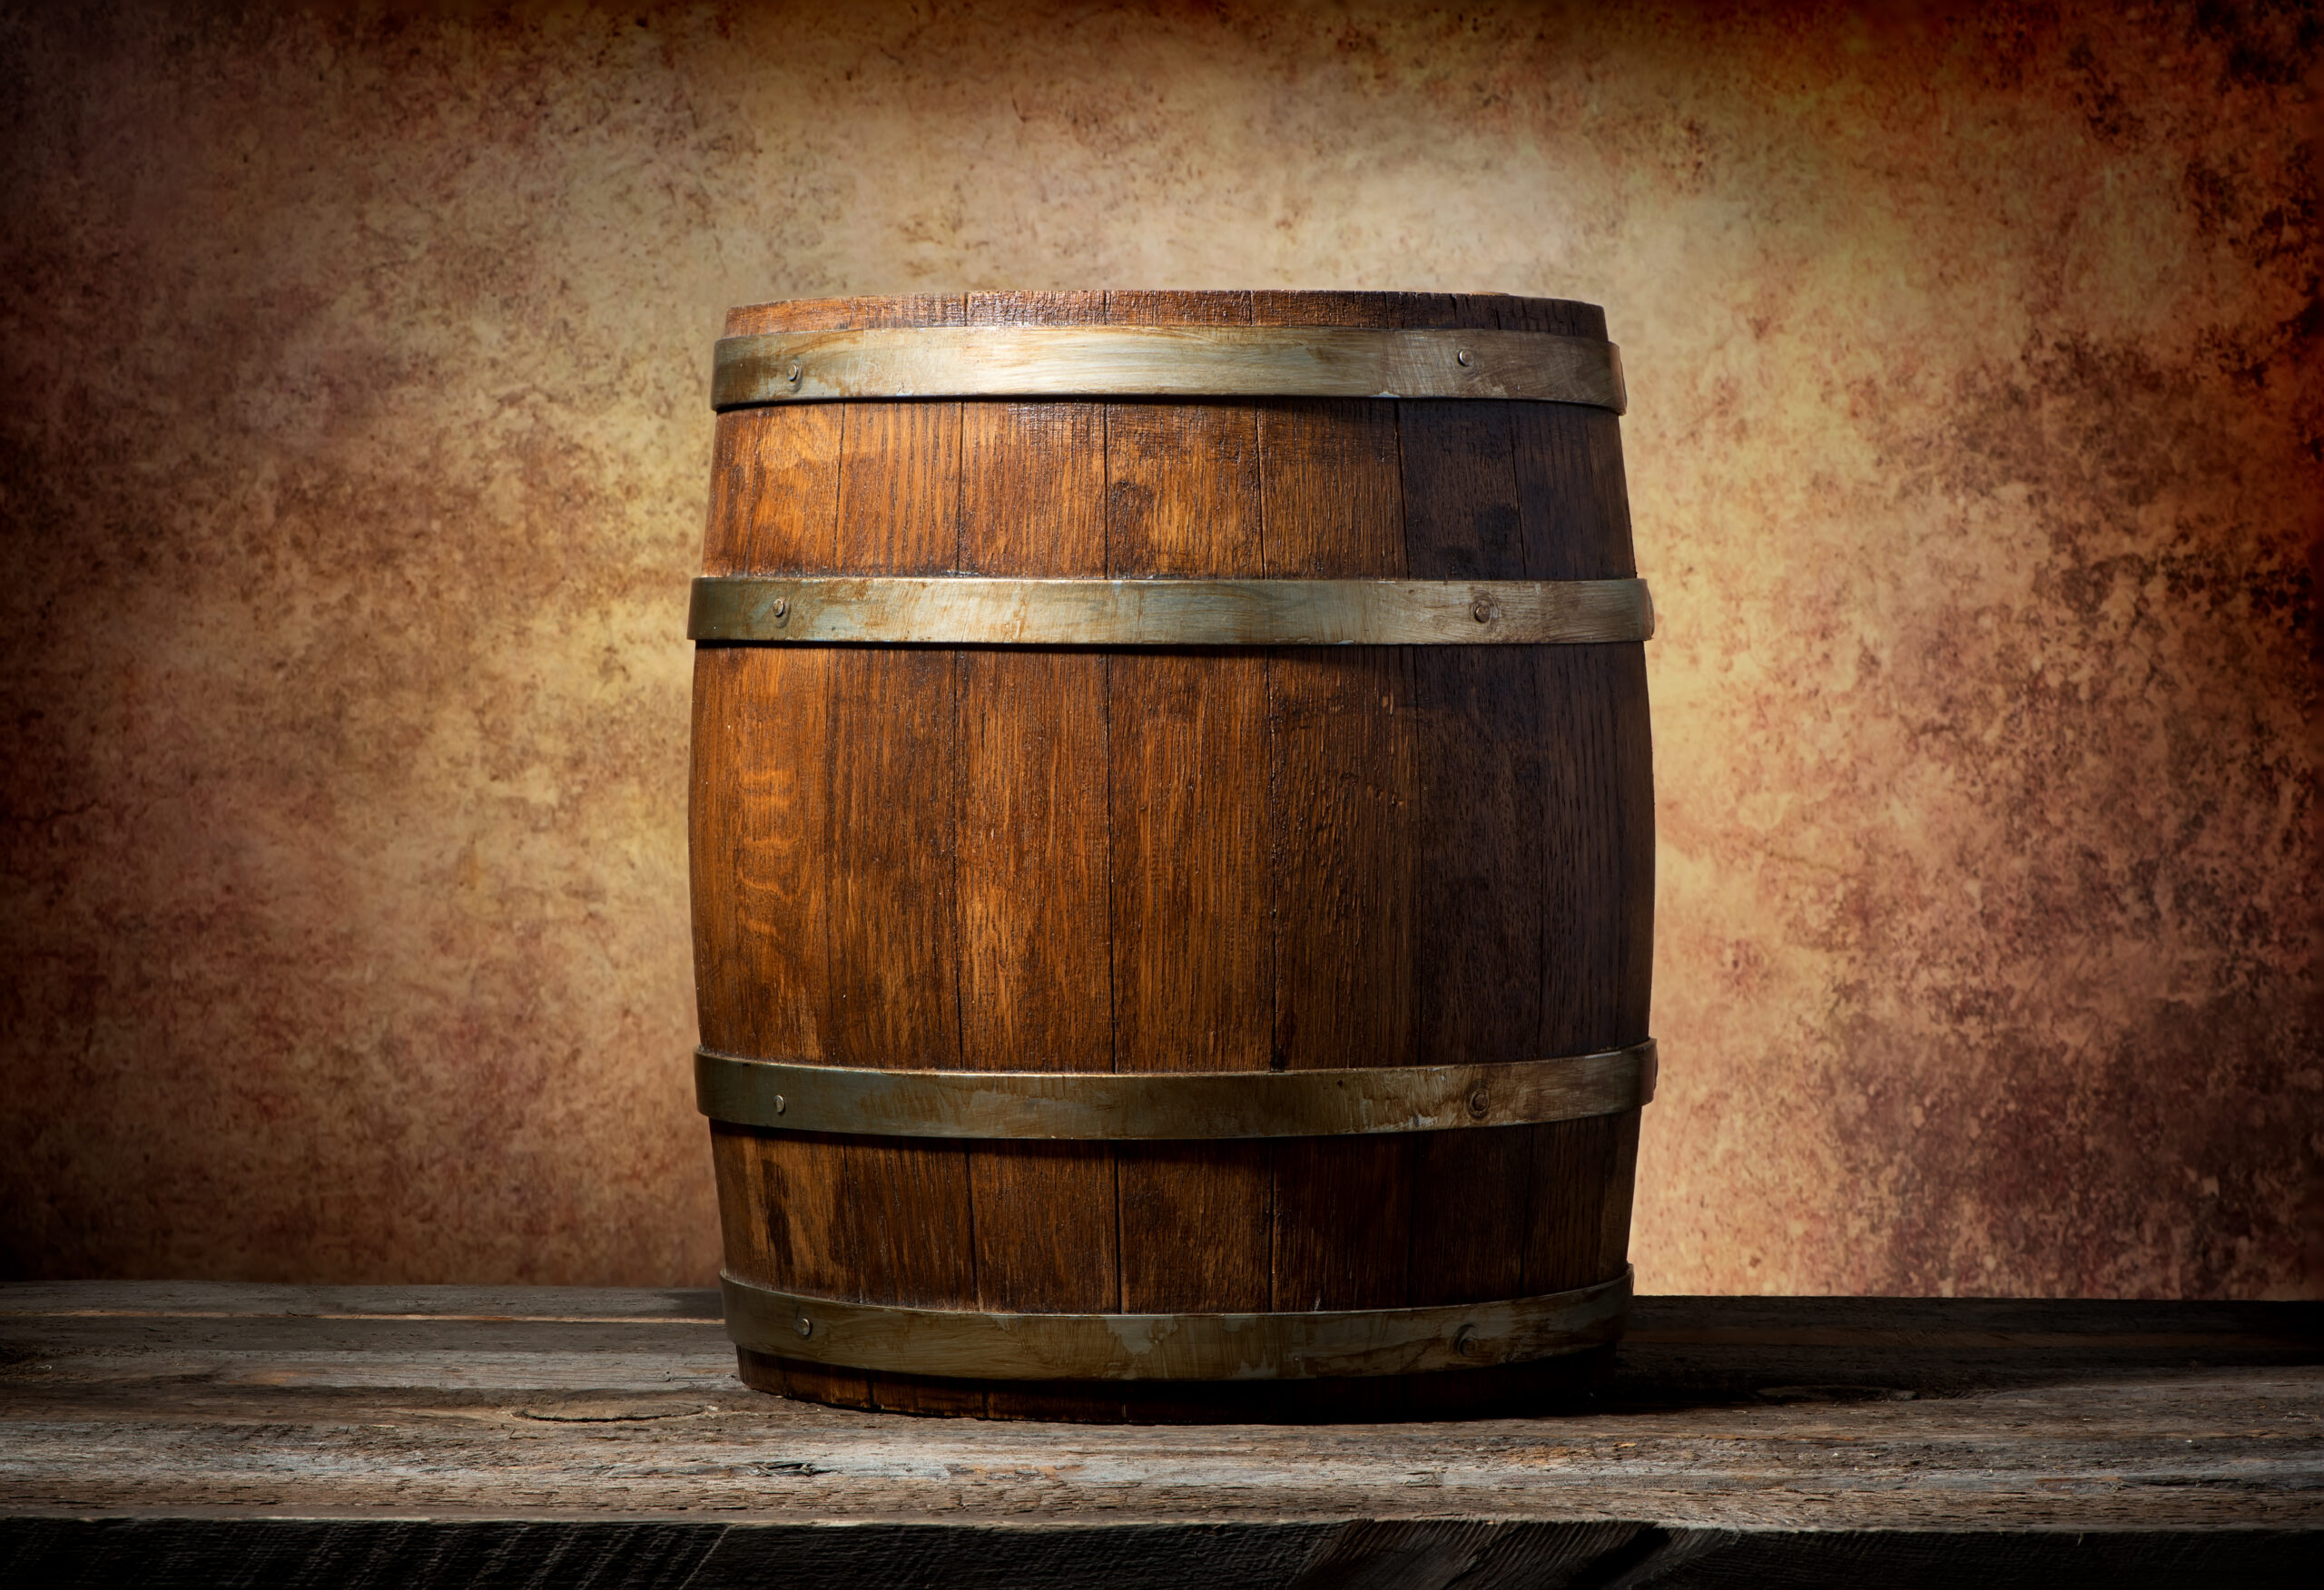
Got an old, bone-dry whiskey barrel collecting dust? Don’t even think about tossing it! With a bit of elbow grease and a whole lot of patience, you can bring that bourbon barrel or oak barrel back from the brink and use it to age your very own custom whiskey or other spirits. Barrel revival is a straightforward process, but the key is slowly reintroducing moisture to get that wood plump again.
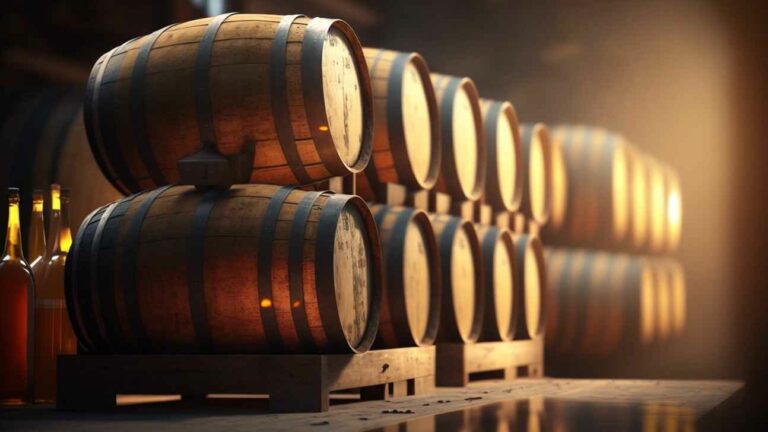
Once your spirit barrel is revived, the possibilities are endless. You can embark on home aging whiskey, rum, brandy, or even gin. Small barrels, often used for craft spirits, actually speed up the maturation process and impart more of those glorious wood-derived flavors. In just a few months, you’ll be sipping on a spirit with complex notes of vanilla, oak, and spice – and the immense satisfaction of having crafted it yourself.
Bringing an old aging barrel back from the dead isn’t rocket science, but it does demand time and the right technique. Armed with some basic tools and a good dose of patience, you’ll soon be tasting the fruits of your labor in the form of a custom aged spirit. Ready to get started on your barrel restoration journey? Let’s revive that barrel!
Assess the Damage – Check the Barrel for Cracks and Leaks
Your very first step is to play detective and thoroughly inspect your whiskey barrel for any cracks or leaks. If you find major structural damage, your barrel might be beyond repair. However, smaller cracks can often be mended, but any leaks absolutely need to be addressed before you attempt barrel rehydration.
Carefully examine the entire exterior of the barrel for cracks. Pay extra attention to the rim, joints, and any previous repairs. To check the interior, partially fill the barrel with water and look for drips.
- If you stumble upon significant damage, consider having a cooper (a barrel maker) inspect it. They can replace damaged staves and hoops to make your oak barrel watertight again. For minor cracks, a waterproof wood glue and water sealant might do the trick.
- Fix any leaks from the spigot or bung hole by tightening, re-seating, or replacing damaged parts. Your spirit barrel won’t hold liquid again until it’s perfectly watertight.
Once your whiskey barrel is repaired and sealed, it’s time for the truly exciting part – bringing it back to life! Add a few liters of water and either vinegar or whiskey and let it sit. The wood will slowly expand to hold liquid again. Remember to change the solution every few months.
After 6-12 months, your aging barrel should be fully revived and ready for filling. With a little TLC, even the driest whiskey barrel can find a second life. Now you’re all set to age whiskey or wine and enjoy the fruits of your barrel restoration efforts!
Deep Clean the Barrel – Scrub Out Dust, Residue, Mold, Etc.
If your whiskey barrel has been gathering dust, chances are it’s accumulated a fair bit of grime inside. It’s time for a thorough barrel cleaning before you even think about refilling it!
First things first, carefully remove the barrel hoops and staves so you can get good access to the interior. Give the entire barrel a good wipe-down with a damp cloth to get rid of any loose debris.
Next, whip up a cleaning solution using hot water and either vinegar, hydrogen peroxide, or a mold remover like diluted bleach. Grab a sturdy scrub brush and scour the inside of the barrel to lift any stubborn bits. Rinse it thoroughly with water until the water runs completely clear.
Be on the lookout for any mold spots and scrub them vigorously until they’re totally gone. Mold can absolutely ruin the flavor of your whiskey, so don’t skimp on the effort here.
For particularly tough residue, you might need to let the oak barrel soak in the cleaning solution for 15-30 minutes before scrubbing.
Once clean, reassemble the barrel and give it one last rinse.
Finally, let all parts air dry completely to prevent warping before filling and sealing your spirit barrel. A clean, mold-free barrel will allow the true oak and char notes to shine through in your whiskey. Put in the work now, and you’ll be rewarded with a top-notch product!
With a bit of elbow grease, your whiskey barrel will be revived and ready for its next batch of aging spirits. Cheers!
Sand Down the Interior – Smooth Out Rough Patches for Better Whiskey Interaction
To truly revive your dried-out whiskey barrel, you’ll want to sand down the interior to smooth out any rough, dried wood patches. This crucial step will allow for better interaction between your whiskey and the oak wood, significantly enhancing the flavor profile.
Gather Supplies
You’ll need some basic sanding supplies for this barrel restoration task:
- 80 to 120 grit sandpaper
- Orbital or detail sander
- Vacuum
- Tack cloth
- Safety goggles and dust mask
Lightly Sand Interior
Turn the oak barrel upside down and lightly sand the interior with your sander. Start with a higher grit (around 120) and then move to a lower grit (around 80). As you go, wipe away dust with the tack cloth. Be extremely gentle – your goal is only to remove the dried, splintery wood, not to create deep scratches.
Vacuum and Wipe Clean
Use the vacuum hose and tack cloth to thoroughly remove all dust from the interior of the barrel. Double-check by running a clean tack cloth along the inside – it should come out nearly spotless. Any lingering dust can impart a bitter flavor to your whiskey.
Condition the Wood (Optional)
For an extra boost of flavor, you can condition the newly sanded wood with a food-grade mineral oil or coconut oil. Apply 2-3 coats, wiping away any excess with a clean cloth. The oil will penetrate the wood, enriching the whiskey flavor. Let the oil soak in for at least 2 days before filling your spirit barrel.
With some light sanding and careful attention, you can revive an old whiskey barrel and bring it back to life, ready to impart rich flavors to a new batch of whiskey. The effort will be well worth it for an ultra-smooth dram from your custom barrel!
Tighten the Barrel Rings – Ensure a Snug Fit to Prevent Future Drying Out
To prevent your whiskey barrel from drying out again and to maintain its integrity, you absolutely need to ensure the barrel rings are securely fastened.
Make sure the steel rings around the oak barrel are snug. As wood dries out and shrinks, these hoops can become loose, allowing more airflow into and out of the barrel, which is detrimental to barrel aging.
Use a barrel ring wrench to tighten the rings. Place the wrench over each ring and turn clockwise to tighten. Make the rings firm, but be careful not to overtighten, as this can damage the wood. Give each ring a quarter turn at a time, checking the tightness with your hands after each turn. The rings should feel snug but still movable.
Check the barrel rings regularly, especially after the first few uses. Wood will continue to expand and contract slightly with temperature and humidity changes. Keeping a close eye on the rings and making minor tightening adjustments as needed will help ensure your whiskey barrel stays properly sealed for years of barrel aging to come.
With the barrel rings fastened securely, your revived whiskey barrel will be ready to use again for aging spirits or even as a decorative item in your home. Remember to properly maintain your oak barrel by keeping it out of direct sunlight and harsh weather when not in use. An occasional coat of food-grade mineral oil or jojoba oil will also help keep the wood from drying out and prevent leaks.
Apply a Food-Safe Oil – Coat the Inside to Rehydrate the Wood
Once you’ve meticulously cleaned and sanded down your whiskey barrel, it’s time for some serious wood rehydration. Using a food-safe oil, like coconut oil, olive oil, or walnut oil, generously coat the inside of the oak barrel. Let it really soak in for several days so the wood can absorb as much of the oil as possible.
The oil will be your barrel’s best friend, helping to restore moisture to the wood and allowing the barrel to become watertight once again. As the wood swells, those pesky gaps and cracks will start to close up. You might need to apply additional coats of oil, waiting a few days between applications to ensure maximum absorption.
Check the inside of the barrel in about a week to see if any leaks remain. If water still seeps through, you can try using a commercial barrel sealant, paraffin wax, or beeswax to patch up any stubborn holes. Once sealed and waterproof, your spirit barrel will be ready to use for aging whiskey, or even for planters, furniture, or other DIY home decor projects.
With some serious TLC – cleaning, sanding, oiling, and sealing – you can bring an old whiskey barrel back to life and give it a second purpose. Barrel revival is a fantastic way to reuse materials and create an eco-friendly decoration or storage item for your home.
Fill Halfway With Water – Let the Wood Swell Back Up Over Several Days
When you’re dealing with a dried-out whiskey barrel, the wood will have shrunk and pulled away from the metal bands. To truly revive it, you need to slowly rehydrate the oak wood so it can swell back to its original size and seal properly.
Fill the bourbon barrel halfway with water and seal the bunghole and spigot holes to prevent any leaking. Let it sit for 3 to 5 days so the wood can really absorb the water. Check on it regularly. You might need to refill it if the water level drops more than an inch or so.
After a few days, the wood staves should begin to swell, expanding back to their original size. At this point, empty and rinse out the oak barrel thoroughly with a hose to remove any debris. Let it drain and stand upside down at an angle for 24 hours so all parts can dry completely.
Your revived spirit barrel is now almost ready for a fresh toast and char before filling it with whiskey or wine. Take it slow, be patient through the barrel rehydration process, and in about a week or so, you’ll have a barrel restored to like-new condition, ready for many more years of aging and mellowing your favorite spirits.
Dump and Refill With Whiskey – The Alcohol Will Draw Out the Remaining Water
To truly revive your dried-out whiskey barrel, the ultimate goal is to get the wood fully saturated again. The alcohol remaining in the barrel will play a crucial role in helping to draw the water back into the oak wood.
First, empty out any remaining whiskey from the barrel. Then, fill the bourbon barrel about 1/4 full with warm water and slosh it around vigorously. The water will begin the process of rehydrating the wood. After a good slosh, dump the water out.
Next, refill the aging barrel with inexpensive whiskey, like bourbon. The alcohol in the whiskey will help continue pulling moisture back into the wood as it sits. Let the barrel sit for at least 2 to 3 days so the wood can become fully saturated again.
Finally, dump the inexpensive whiskey and refill the barrel with your good quality whiskey. Your oak barrel is now rehydrated and ready to impart its wonderful flavor into the new whiskey. Sample the whiskey in 2 to 4 weeks to see how the barrel is influencing the flavor. You might need to dump and refill one more time to strengthen the flavor profile.
With a bit of TLC, you can absolutely bring a dried-out whiskey barrel back to life and get many more uses from it. The key is a multi-step process of hydrating the wood first with water and then with whiskey. In no time, you’ll have an active barrel ready to age and flavor delicious whiskey again.
Sample After Aging – Taste It After a Few Weeks to Check the Flavor
After a few weeks of aging your whiskey, the moment of truth arrives – it’s time to taste it and see how the flavor is developing! Carefully remove the bung or cork from the spirit barrel and extract a small sample of the whiskey. Remember to replace the bung or cork immediately after sampling to avoid exposing your precious whiskey to oxygen.
Take your time nosing and tasting the sample. Gently swirl the glass under your nose to release the delightful aromas. You should start to detect lovely notes of the wood from the oak barrel, as well as hints of the whiskey’s grain bill. The harsher, grainy notes will have mellowed, giving way to smoother, more rounded flavors.
As it ages, the whiskey’s color will deepen to a rich amber or copper. Taste for classic whiskey flavors like vanilla, caramel, and oak. The whiskey should taste noticeably smoother and mellower than when it was first barreled. If it tastes overly woody or bitter, it might need a bit more time. But if it tastes balanced and complex, it’s nearing maturity.
Depending on the type of whiskey and the barrel, aging can take anywhere from several months up to many years. Continue sampling every 4 to 6 weeks to monitor how the flavor develops and to determine when your custom whiskey is truly ready for bottling. The key here is patience – a good whiskey reaches maturity on its own timetable.
With regular tastings and a little experience, you’ll get better at determining when your whiskey has achieved that ideal balance of barrel influence and smooth drinkability. Once it’s ready, bottle and enjoy your handcrafted whiskey! The fruits of your labor will make that first pour taste even sweeter.
How to Prevent Drying Out – Tips for Proper Barrel Maintenance
To prevent your whiskey barrel from drying out and becoming unusable again, follow these essential tips for proper barrel maintenance:
Keep the Barrel Filled
When the oak barrel isn’t actively aging liquor, keep it filled with water and a neutral spirit like vodka or rum. The water will ensure the staves stay swollen, preventing the barrel from drying out and leaking. The spirit will prevent microbial growth. Aim to change the water every 3-6 months.
Store Barrel on Its Side
Storing the spirit barrel vertically can cause the staves to dry out and shrink, potentially damaging the barrel. Always keep the oak barrel lying on its side when not in use. This helps maintain the barrel shape and prevents warping.
Inspect and Repair Any Leaks
Regularly inspect your whiskey barrel for any signs of leaking or cracking. Even small leaks can dry out and damage the barrel quickly. Use food-grade epoxy, beeswax, or a barrel repair kit to seal any leaks or cracks to prevent drying and maintain the barrel’s integrity.
Limit Temperature Fluctuations
Large or frequent changes in temperature can cause the wood staves to expand and contract, eventually leading to cracks and leaks. Keep the aging barrel in a location with consistent, moderate temperatures, away from heat vents or cold drafts. Significant temperature changes during aging can also negatively affect the flavor of the liquor.
Following these simple barrel care tips will help prevent your whiskey barrel from drying out and ensure many years of use for home aging. Performing regular maintenance and inspections allows you to catch any issues early and keep your oak barrel in ideal condition. Keeping the wood properly hydrated and the barrel shape intact is key to your whiskey making success!
Final Thoughts
And there you have it – a few straightforward steps to bring your old whiskey barrel back to life, ready for another batch of delicious bourbon or whiskey. By carefully filling the oak barrel with water and giving the wood ample time to swell and seal up any cracks, meticulously cleaning out any debris, potentially re-charring the inside (if you’re feeling adventurous!), and seasoning with a bourbon-soaked sponge, that aging barrel will be as good as new.
Now, the only thing left to do is embark on aging your next batch of whiskey, and in a few years, you’ll be enjoying the incredibly satisfying fruits of your labor. Reviving an old barrel is truly rewarding work for any whiskey enthusiast, so grab your barrel, roll up your sleeves, and get started bringing a piece of history back to life. You’ll be raising a glass to your success before you know it!
What kind of spirit are you most excited to age in your newly revived barrel?