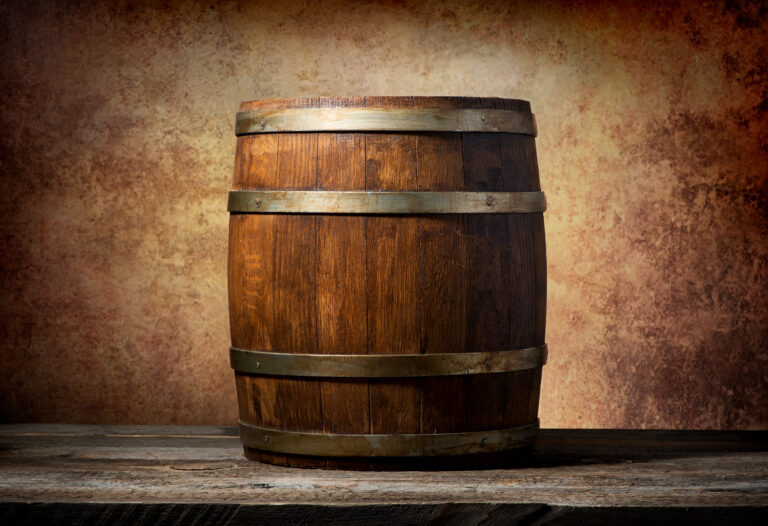
Wow, the day has finally arrived! After what felt like an eternity, your personalized whiskey barrel has landed. That unmistakable oaky scent hits you the moment you pop the lid, revealing the beautifully charred interior. Now comes the real challenge – getting this beauty watertight before you fill it with your precious spirits. If this is your first rodeo with a barrel aging project, no sweat! We’ve got your back with this straightforward guide, ensuring you’ll be clinking glasses of your own home-aged whiskey in no time.
Introduction: The Undeniable Allure of Whiskey Barrel DIY
There’s just something about repurposing whiskey barrels for DIY projects, isn’t there? These magnificent oak barrels just ooze rustic charm and character. Whether you’re transforming them into unique barrel furniture like tables or chairs, or giving them a new life as charming barrel planters, their natural, weathered look instantly elevates the atmosphere of any space.
To ensure your whiskey barrel is perfectly watertight for planters or other uses, you’ll need to give it a good scrubbing and then seal it up tight. Start by giving the inside of the barrel a thorough scrub with a good detergent to banish any lingering residue. Rinse it out meticulously with water, then let it air dry completely.
Next up, grab your brush and apply a reliable barrel sealant like polyurethane, linseed or tung oil, or a dedicated wood sealant to the inside of the barrel. Make sure to wipe away any excess that might pool at the bottom. Let it dry precisely as the instructions dictate.
For the outside, you’ve got a couple of choices. You can embrace that wonderfully rustic, aged appearance and leave the barrel as-is, or you can apply a sealant to give the oak wood some extra protection. Either way, don’t forget to flip the barrel over to coat the bottom rim and the staves where the barrel has been sitting.
Once your chosen sealant is completely dry, you’re officially ready to fill your barrel! Go ahead and add potting soil and your favorite plants to create an effortlessly stylish barrel planter. Or, let your imagination run wild – a whiskey barrel could easily become a fantastic outdoor side table, a clever storage chest, or even a cozy dog bed! The possibilities for barrel repurposing are truly endless.
With a little bit of good old-fashioned elbow grease, you’ll be well on your way to enjoying your very own custom whiskey barrel creation. The results, we promise, will be absolutely stunning.
Preparing the Barrel: Cleaning and Leak Inspection Essentials
So, your custom whiskey barrel has arrived – fantastic! Now it’s time to get it primped and prepped for the exciting journey of aging spirits. First things first, you need to give the inside of that barrel a super thorough cleaning to eliminate any residue. Hot water and a stiff brush are your best friends here.
Now, play detective and inspect your oak barrel closely for any sneaky cracks or potential barrel leaks. Pay extra attention to the joints where the barrel staves meet, as well as the barrel heads. Even the tiniest holes can snowball into major headaches down the road.
If you do spot any barrel leaks, don’t panic – patching them up is usually a breeze! A simple fix involves using waterproof wood glue and sawdust. Mix them into a paste and apply it generously over the holes or cracks. Let it dry completely. For larger gaps, you might need to apply a few layers, patiently waiting for each to dry.
Give a quick check to make sure the barrel rings (or hoops) and rivets that hold the barrel together are good and tight. A gentle tap with a rubber mallet can help secure any loose rivets back into place.
Once your whiskey barrel is squeaky clean, completely leak-free, and securely put together, do one final rinse with hot water to wash away any lingering residue or sawdust. Then, let the oak barrel air dry completely before you even think about filling it with your spirits.
Properly preparing your bourbon barrel or whiskey barrel is absolutely critical for successfully aging whiskey or other spirits. Taking the time necessary to meticulously clean, inspect, and repair your barrel will guarantee you have a perfectly watertight vessel for holding your prized spirits as they mature into something truly extraordinary. That extra effort will pay off handsomely with a whiskey barrel that lasts through many fills and yields consistently amazing results.
Sealing the Inside: Exploring Epoxy Coating for Barrel Longevity
When it comes to making the inside of your whiskey barrel completely watertight, you’ve got a few solid options for barrel sealing. The most popular choice for barrel waterproofing and barrel aging is often an epoxy coating.
Epoxy Coating for Barrels
Food-grade epoxy is a two-part sealant that transforms into an incredibly durable, plastic-like coating. You’ll need to clean and give the inside of the barrel a light sanding first, then mix the epoxy resin and hardener according to the directions. Apply 2-3 coats, patiently waiting for each coat to dry completely before applying the next. A good epoxy coating can typically last a solid 10-15 years before it might need a little touch-up, making it ideal for long-term barrel storage or spirit aging.
- Food-grade epoxy is the go-to choice and entirely safe for whiskey barrels used to age spirits or ferment beer and wine. If you’re creating a purely decorative barrel, standard epoxy works just fine.
- Thinking about aesthetics? Tinted epoxy comes in various wood tones to really enhance the barrel’s appearance. Clear epoxy will let the natural oak wood color shine through.
- When applying, use a good paintbrush for thorough coverage. Rollers can sometimes leave pesky bubbles underneath the surface.
- Safety first! Always work in a well-ventilated area and gear up with proper safety equipment like gloves, goggles, and a respirator mask. Epoxy fumes are no joke.
Alternative Barrel Sealants
While epoxy is a superstar for barrel waterproofing, there are other options for barrel restoration and sealing:
- Polyurethane creates a durable plastic coating, but be aware that it can yellow over time. It typically requires more frequent touch-ups.
- Beeswax, linseed oil, or tung oil are natural choices, but they might not provide a completely watertight seal for liquids. They also need to be reapplied more often for barrel maintenance.
- Lacquer and shellac offer a quick seal, but they’re prone to chipping and scratching, giving them the shortest lifespan for barrel protection.
No matter which barrel sealant you choose, make sure to follow the manufacturer’s directions to the letter for the best results. Properly sealing the inside of your whiskey barrel is the secret sauce to keeping it watertight for many years to come. With the right technique and consistent barrel care, your oak barrel can become a handsome container for plants, a stylish piece of décor, or even a functional fermenter for your homebrew projects.
Plugging Exterior Holes and Cracks: Ensuring a Leak-Proof Barrel
To truly guarantee your whiskey barrel is watertight before you put it to work aging spirits or use it as a charming decorative planter, you absolutely must plug any holes or cracks on the outside of the barrel. This is crucial for barrel leak repair.
Start by meticulously inspecting the entire exterior of the oak barrel for any visible cracks, splits, or holes in the wood. Pay extra close attention to the areas where the barrel staves meet, as well as around the rim and the base. For small cracks and imperfections, grab some wood filler, waterproof wood glue, or waterproof epoxy. For larger holes or splits, you might need to combine filler with waterproof tape.
If you find holes or cracks where the metal barrel hoops meet the wood, you’ll definitely want to seal these to prevent barrel leaks. Apply a bead of waterproof sealant, epoxy, or even roof cement where the wood and metal connect. Then, layer some waterproof tape, roof patch tape, or waterproof flashing tape over the sealant to give it extra reinforcement.
For those stubborn holes or cracks that just won’t quit leaking after patching and sealing, you can try using an exterior wood filler or caulk. Press the filler or caulk firmly into the hole or crack with a putty knife or caulk tool, then smooth it out. Allow it to dry completely. You might need to apply a couple of coats to create a truly effective seal and plug.
Once all holes and cracks have been meticulously patched, sealed, and smoothed, give your work a thorough once-over to ensure there are absolutely no remaining leaks before you put the barrel to its intended use. Your diligence in plugging holes and cracks from the outside will be key to ensuring your whiskey barrel retains liquids and stays perfectly watertight for years to come.
Applying a Watertight Sealant to the Exterior: The Final Barrier
To truly make your whiskey barrel a formidable rain barrel or just perfectly watertight for any outdoor use, you’ll need to apply a sealant to its exterior. A robust sealant, like silicone caulk, creates an impermeable barrier against the elements. This step is vital for barrel waterproofing and ensuring outdoor barrel durability.
Grab your caulk gun and apply the sealant meticulously around the top and bottom edges of each barrel stave where they meet the barrel heads. Don’t forget to apply sealant around the bunghole opening and any visible cracks.
- Once the sealant is applied, spread it evenly with your finger, a putty knife, or a dedicated caulk spreader tool.
- For a clean, professional finish, smooth the sealant with a wet finger, a damp cloth, or your spreader tool.
- Allow a good 24 hours for the sealant to dry completely. Once cured, your whiskey barrel should be wonderfully watertight and ready to capture that precious rainwater! Just remember, you might need to reapply sealant over time or if you notice any new leaks developing.
Sealing and waterproofing your oak barrel will significantly extend its life, ensuring it serves you well for many years as a rainwater harvesting tool or any other outdoor application. By following these simple steps, you’ll have a perfectly watertight barrel ready for action in no time!
Optional Decorative Touches: Personalizing Your Whiskey Barrel Masterpiece
Once your whiskey barrel is perfectly watertight and ready for action, it’s time for the fun part: adding some decorative barrel finishes to enhance its inherent rustic appeal. This is where you can truly make your custom whiskey barrel shine!
Staining the Wood for a Richer Look
Consider applying a wood stain to the oak barrel to really bring out the beautiful grain and warm up the color. A medium brown gel stain often works wonders for most whiskey barrels. Just wipe it on with a rag, let it soak in for a bit, then wipe off any excess after a few minutes. Two coats typically provide excellent coverage and depth for a stunning barrel aesthetic.
Feeling a bit more artistic? You can also paint the barrel in a complementary color to perfectly match your decor. A distressed look, achieved with a chippy paint in a warm brick red or a deep forest green, pairs exceptionally well with the inherent whiskey barrel aesthetic. Apply two coats of paint, then use a piece of steel wool to gently rub away some of the paint from the edges and staves for that perfectly aged, worn-in look.
Burnishing the Barrel Hoops for a Gleam
Those sturdy metal barrel hoops that hold your masterpiece together can be buffed to a glorious, shiny patina. Grab some fine-grade steel wool (grade 0000 is ideal) and buff the hoops. Apply firm and even pressure, rubbing in small circles around the entire hoop. Wipe away any dust with a tack cloth. Repeat this process with progressively finer wool until you achieve your desired gleam for those metal barrel bands.
Adding Barrel Accents for a Unique Flair
For that final, personalized decorative touch, think about adding some metal accents like decorative bands, straps, or even corner brackets. Copper or galvanized steel often pair incredibly attractively with the oak wood and hoops, enhancing the barrel’s character. You could also add a metal stencil or a personalized plaque featuring a monogram or your address. Little details like these truly elevate the rustic industrial style of a whiskey barrel.
With some simple additions, your once-utilitarian oak barrel can transform into a stylish and conversation-starting decor accent. Staining the wood, burnishing the hoops, and adding thoughtful metal accents are all easy ways to customize your whiskey barrel and make it a truly unique decorative fixture in your home or yard. These barrel decor ideas are fantastic for barrel upcycling!
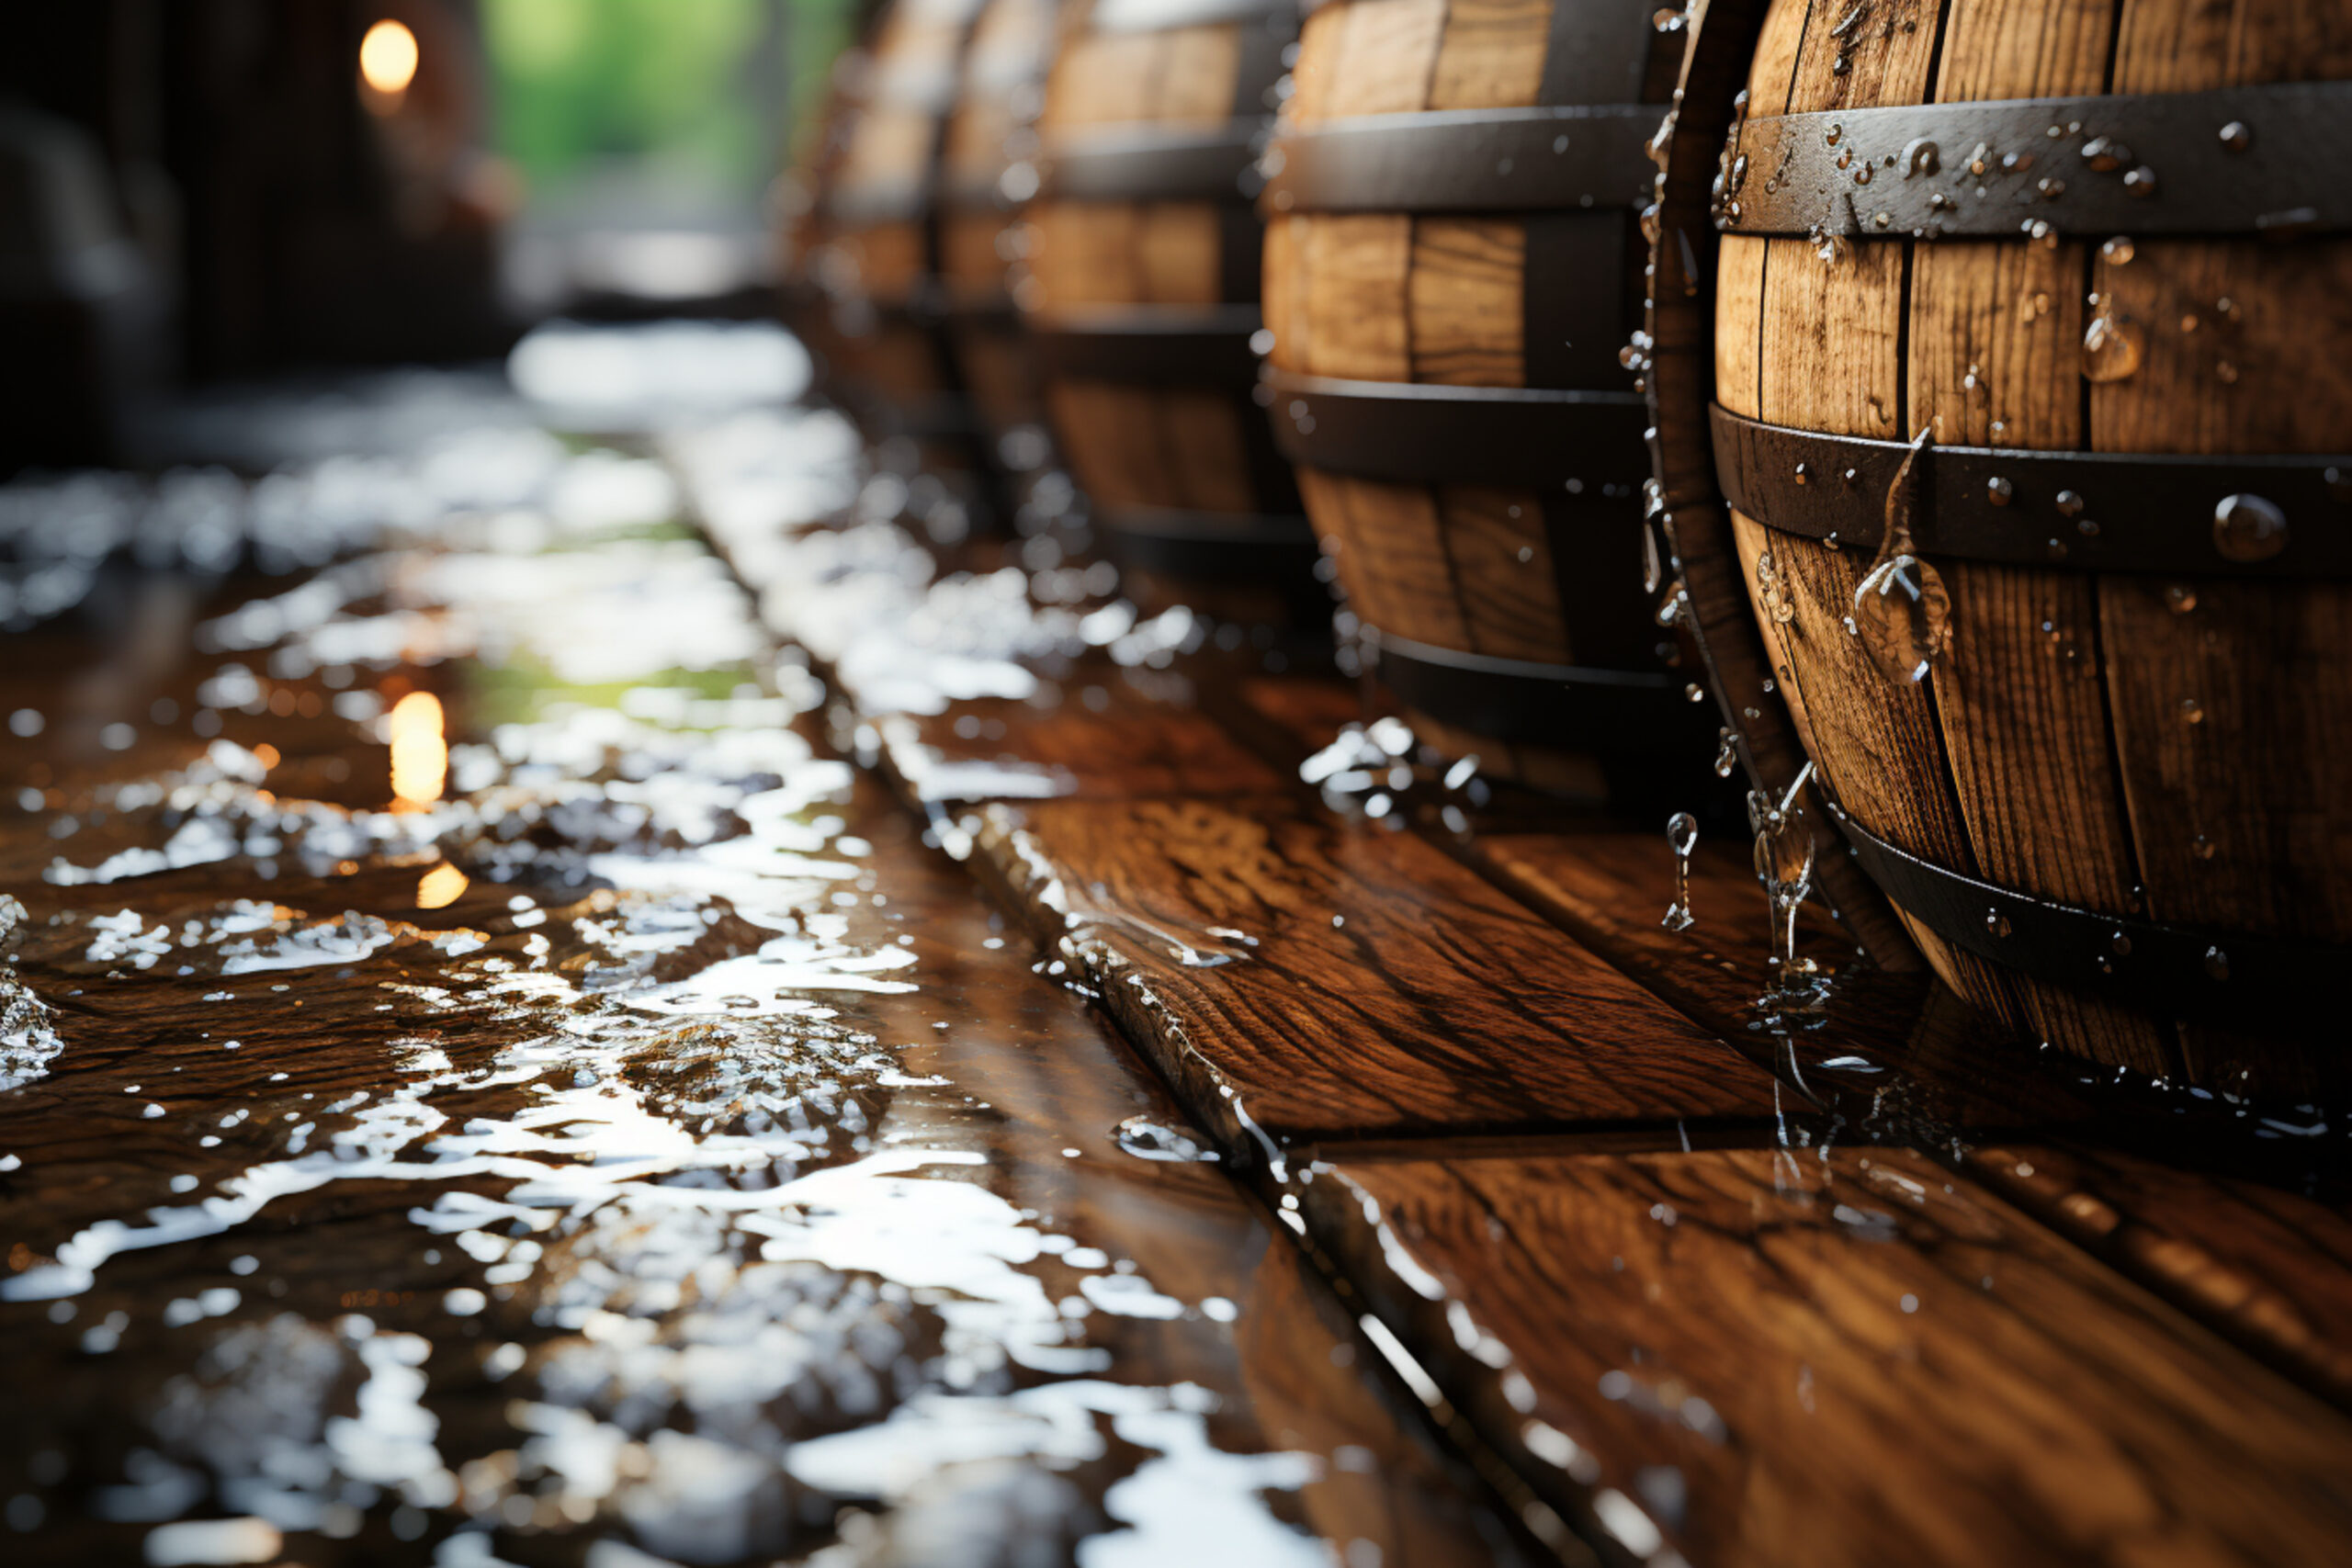
Curing and Testing Your Watertight Barrel: The Patience Pays Off
Alright, your custom whiskey barrel is all put together and looking sharp! Now, for the critical step: curing the barrel and giving it a proper test to ensure it’s absolutely watertight before you even dream of filling it with your precious aging whiskey or any other spirits. This is key for barrel seasoning and leak detection.
Seasoning Your New Barrel
To properly season the barrel, fill it to the brim with water and let it sit for several days. Make sure to replace the water every 2-3 days. After a good 1-2 weeks, your oak barrel should be nicely seasoned and ready for the ultimate test.
Testing for Barrel Leaks
To meticulously check for any pesky barrel leaks, fill the barrel completely with water and securely seal it. Gently roll and tilt the barrel in every direction imaginable, then let it sit undisturbed for a solid 24 hours. After that, examine the whiskey barrel closely, looking for any tell-tale drips or streams of water. If you spot any barrel leaks, don’t despair! Empty the barrel, then re-seal or refinish the problem areas. Repeat the entire testing process until your oak barrel is undeniably watertight.
Once your whiskey barrel is perfectly seasoned and entirely leak-free, you are officially ready to embark on your whiskey aging journey or age other spirits. With proper care and diligent barrel maintenance, a handcrafted oak barrel can provide years of exceptional service. Keeping your aging barrel in a cool spot, safely away from direct heat or harsh sunlight, will help ensure consistent and fantastic results. And remember, darling, patience is truly key – good aged whiskey takes time! With a little TLC, your custom whiskey barrel will produce absolutely amazing results.
Maintaining the Seal Over Time: Ensuring Your Barrel’s Longevity
To keep your whiskey barrel impeccably watertight for many years to come, consistent barrel maintenance and proper care are absolutely crucial. This ensures your barrel aging investment continues to deliver exceptional results.
Regular Seal Inspection for Barrel Integrity
Make it a habit to regularly inspect the seal around your barrel lid, especially after those extreme temperature swings. Keep a keen eye out for any developing cracks or gaps, and promptly reseal them with food-grade silicone caulk. This proactive approach helps prevent barrel leaks.
Resealing Your Whiskey Barrel
If you notice the caulk seal around your oak barrel beginning to fail, it might be time for a complete barrel resealing. Carefully remove any old caulk using a putty knife and thoroughly clean the rim with denatured alcohol. Then, apply a generous bead of fresh caulk around the rim, clamp the lid securely in place, and allow it to cure precisely as directed by the product instructions.
Proper Barrel Storage
Always store your whiskey barrel in a stable environment, far away from extreme heat or cold. Wild fluctuations in temperature can cause the oak wood to expand and contract, potentially damaging the seal. Keep the barrel elevated off the ground in a dry area with good ventilation. This kind of barrel storage is vital for its longevity.
Treating the Oak Wood for Protection
Every 6-12 months, apply a food-grade sealant, wax, or oil to the outside of the barrel to protect the oak wood. Mineral or tung oil are excellent choices for this. Before resealing, wipe away any residue around the rim to avoid interfering with the caulk.
Following these straightforward steps will help ensure your whiskey barrel remains beautifully watertight and ready for action whenever you are. Performing regular inspections and barrel maintenance, properly sealing and storing the barrel, and treating the wood will keep your barrel in prime working condition for years of successful barrel aging and enjoyment.
FAQ: Your Burning Questions About Making Whiskey Barrels Watertight, Answered!
Got a few lingering questions swirling around about how to make your whiskey barrel truly watertight? You’re in luck! Here are some of the most frequently asked questions about barrel waterproofing and their clear, concise answers.
How long will it take for the barrel to become completely watertight? Patience, my friend, is a virtue here! It can take several weeks for a whiskey barrel to become completely watertight after sealing and allowing the barrel staves to swell. The exact time will vary depending on factors like temperature, humidity, and the overall condition of your oak barrel. Just keep at it!
Do I need to treat the inside of the barrel? Yes, it’s definitely a smart move to treat the inside of your barrel. This helps to neutralize any residual chemicals from the distilling process and properly prepares the oak wood to hold liquid. Look for a specialized barrel neutralizing and conditioning solution, often available at homebrew supply stores. This is crucial for barrel preparation.
How often should I check on the barrel during the sealing process? During the initial few days, it’s best to check on your whiskey barrel daily. This allows you to ensure the seals are holding strong and to tighten the barrel hoops as needed. After the first week, checking 2-3 times a week is typically sufficient for good barrel monitoring.
What if my barrel is still leaking after a while? Don’t worry your pretty little head, small barrel leaks are quite common, and your oak barrel can still become completely watertight! Try re-seating the barrel staves, gently tightening the barrel hoops, and reapplying sealant around any visible gaps or cracks. The oak wood will continue to swell, naturally sealing small leaks over time. If major leaks stubbornly persist after a few weeks, the barrel might need replacement staves or hoops. This falls under barrel repair.
Can I speed up the barrel sealing process? You can certainly try to accelerate things by raising the humidity and temperature around the whiskey barrel, which will encourage the oak wood staves to swell faster. A heat lamp, a humidifier, and even sealing the barrel in a small room can all help to speed up the barrel sealing process. Higher heat and humidity typically mean the barrel will seal more quickly.
Final Thoughts: Your Barrel Aging Journey Begins!
So there you have it, folks – the essential steps to make your beloved whiskey barrel absolutely watertight and perfectly ready to age spirits! By charring the inside, encouraging the grain to raise, and meticulously sealing the outside, you’ll be well on your way to crafting your very own aged whiskey or any other delightful barrel-aged spirit. Once your oak barrel is prepped and primed, fill it up, seal it tight, and then… you wait.
Ah, the waiting! It’s undeniably the hardest part, but oh-so-rewarding. As the seasons gently shift, the oak wood works its incredible magic. Complex flavors develop, an unparalleled smoothness emerges, and the color transforms into that glorious amber glow. Before you know it, you’ll be tapping into a barrel of homemade, aged goodness. Not a bad way to spend your time if you ask me! Your patience will be incredibly well rewarded. Here’s to you and your successful barrel aging endeavors – may your barrels never leak, and your spirits always please! Cheers to your home distilling and craft spirits adventures!