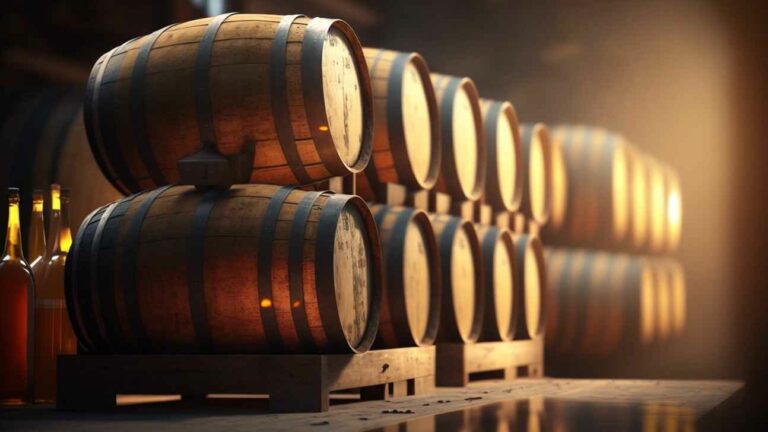
You know that feeling when you’re settling into a cozy chair by the fireplace, your favorite drink in hand, ready to unwind from a long day? For many of us, that perfect ending involves a glass of whiskey. But have you ever wondered how that amber liquid got into the bottle? Before it’s poured over ice or mixed into a cocktail, whiskey spends years aging in charred oak barrels. The barrel aging process is essential for giving whiskey its distinctive caramel color and oaky, vanilla flavors. Recently, while visiting a historic distillery, you had the chance to see the barrel-making process up close. The smell of fresh wood shavings and the sight of highly-skilled coopers handcrafting barrels was a glimpse into an art form that has been perfected over hundreds of years. Though modern technology has streamlined some steps, many traditional techniques are still used to create the perfect vessel for aging whiskey. Seeing how these barrels were made gave you a whole new appreciation for that evening glass of whiskey. The care, craft, and history encapsulated in each barrel is truly inspiring.
Why Do Whiskey Barrels Have Metal Rings?
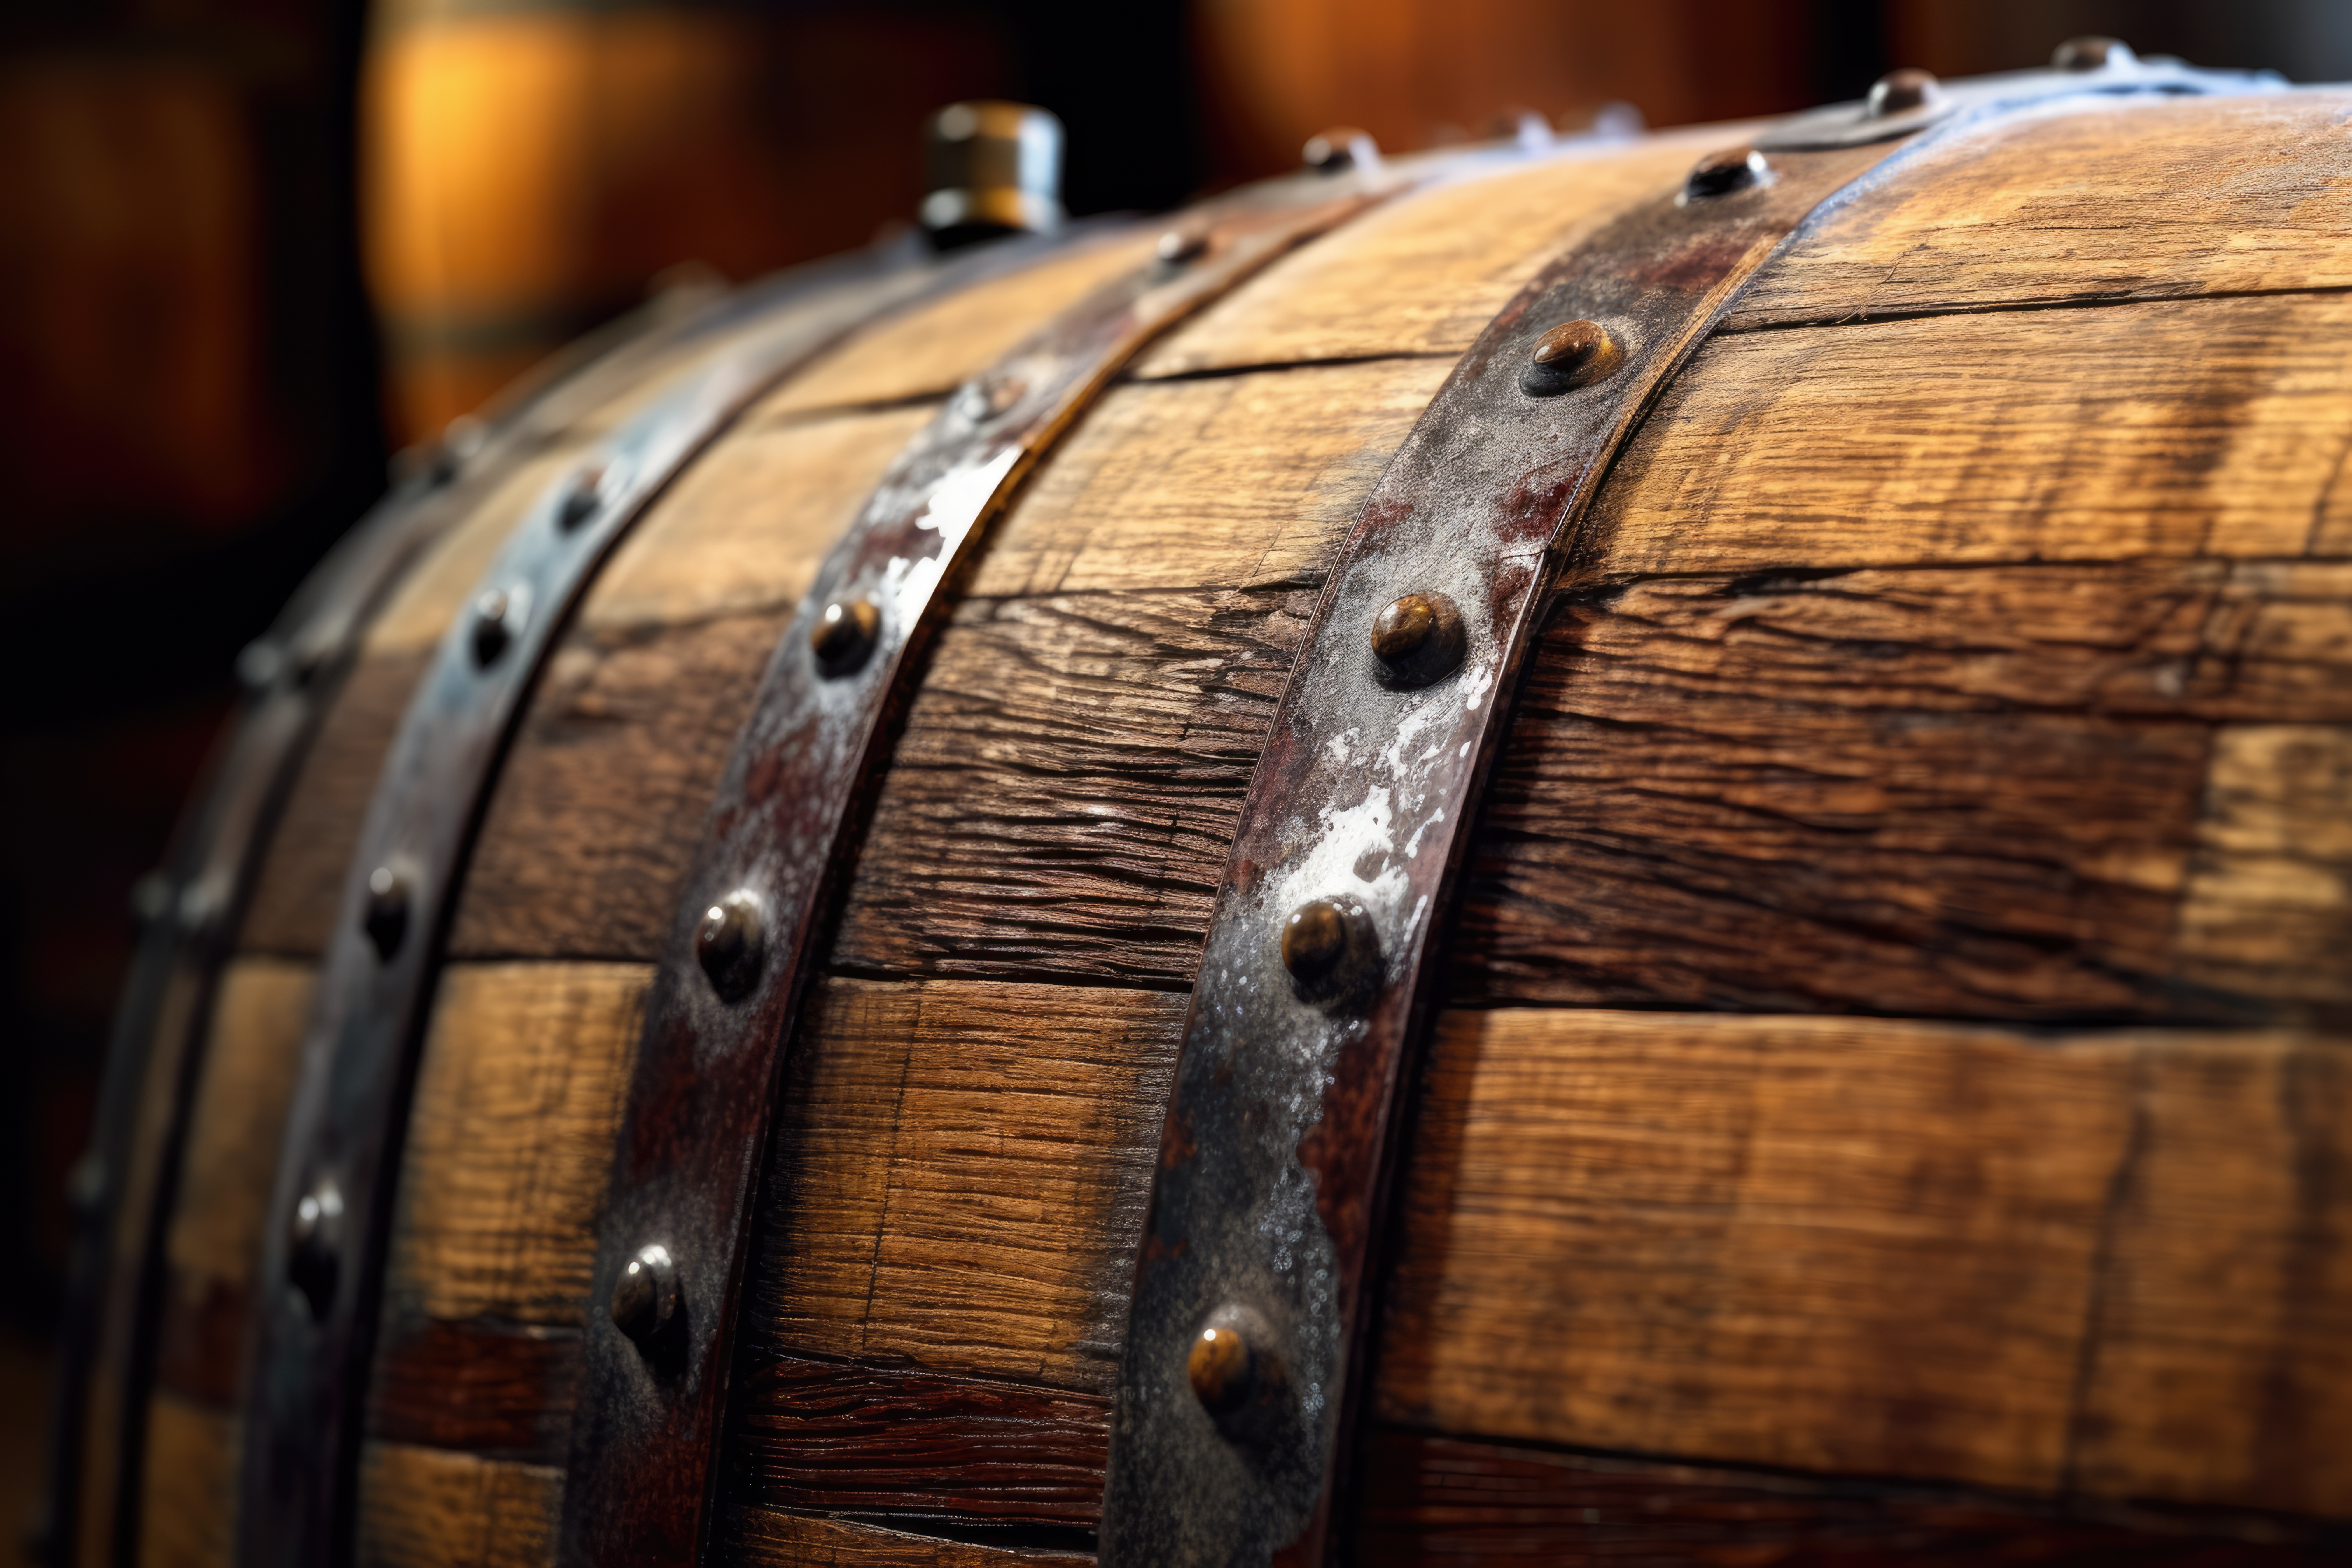
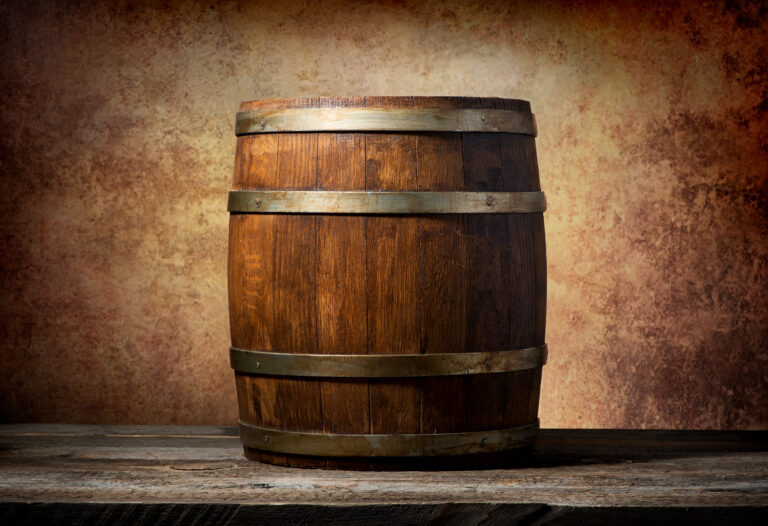
The metal rings on whiskey barrels, also known as barrel hoops or barrel bands, serve an important purpose. They hold the staves of the barrel together tight while the whiskey ages.
Without these rings, the barrel would fall apart over time as the wood expands and contracts with temperature changes. The rings provide structural support so your whiskey has a solid home for years.
The rings are typically made of iron or steel and wrapped around the middle of the barrel, clamping the staves together. As the whiskey interacts with the wood, the barrel will swell slightly. The rings allow for this expansion while still keeping everything securely in place.
Some distilleries will replace the rings periodically to ensure the perfect seal and fit. This helps guarantee your whiskey develops the distinctive flavors from the wood that you expect.
So next time you see a barrel of whiskey, appreciate those unassuming metal rings. They play a crucial role in creating the amber liquid we all know and love. Their simplicity belies the importance of their duty.
Removing the Rings When Making a Barrel Into a Planter
To turn a whiskey barrel into a planter, you’ll need to remove the metal rings that hold the staves together.
First, flip the barrel over so the bottom is facing up. The rings will be clearly visible along the outer edge of the barrel.
Use a flathead screwdriver or crowbar to pry up one end of a ring. Work it loose all the way around until you can lift out that ring.
Repeat with the remaining rings. There may be residue from the rings left on the wood. You can sand this off or just leave it.
With the rings removed, you now have an open barrel ready to fill with potting mix and your favorite plants or flowers. The rings can be reattached later if you want to use it as a barrel again.
Take your time removing the rings. The staves have been together for a long time, so prying them apart can cause small splits in the wood. Go slowly to minimize damage.
Once done, you’ll have a rustic planter perfect for a cottage garden look. And the best part is, when you’re ready for another project, you can put the barrel back to its original use. How’s that for sustainable living?
Cleaning and Prepping the Barrel Before Re-Installing Rings
Before putting the metal rings back on your whiskey barrel, you’ll want to clean and prepare the wood. Over time, the inside of the barrel can build up residue and grime that will affect the flavor of your whiskey.
Cleaning the Barrel
Use a barrel cleaning solution or a mixture of hot water and distilled white vinegar to wash out the inside of the barrel. Scrub away any leftover bits of char with a stiff bristled brush. Rinse thoroughly with water to remove any remaining cleaning solution. Let the barrel air dry completely, about 2 to 3 days.
You’ll also want to inspect the barrel for any cracks or leaks and repair them. Apply wax or sealant to the outside of the barrel to protect the wood.
Re-charring the Barrel (Optional)
For added flavor, you can re-char the inside of the barrel. Use a blowtorch to lightly char the wood. Be very careful, as the alcohol-soaked wood will ignite easily. Char just until the wood is blackened, then extinguish the flame. The char will mellow out over time and impart a smoky, toasted character to your whiskey.
Preparing the Barrel Rings
Before putting the rings back on, inspect them to ensure they are in good condition. File down any burrs or rough edges. Clean the rings to remove any dirt or debris. Apply a light coat of barrel wax, linseed oil, or sealant to the rings to prevent oxidation.
Your barrel is now prepped and ready for the rings to be put back on. Take your time to do it properly so your barrel forms an airtight seal. Once reassembled, you can refill your barrel and continue aging whiskey or other spirits.
Measuring and Marking Where the Rings Will Go
To put the rings back on a whiskey barrel, you’ll first need to measure and mark where each ring will be placed.
Grab a tape measure and measure the circumference of the barrel at the top and bottom of where you want to place the rings. Write down these measurements so you know how big the rings need to be.
Next, use a marker, pencil or chalk to mark dots around the barrel where you want to position each ring. Space the dots evenly around the circumference using your tape measure. For most barrels, spacing the rings 8 to 12 inches apart works well.
Once your dots are marked, use a square or ruler to draw vertical lines down the side of the barrel connecting the dots. These lines show exactly where each ring will go and provide a guide for hammering them back on.
With the measurements written down and guide lines in place, you’re ready to put the rings back on your whiskey barrel. Take it slow and check your work frequently to make sure each ring is securely and evenly fitted as you go.
Tools You’ll Need to Re-Install the Rings
To put the rings back on a whiskey barrel, you’ll need a few essential tools:
Hammer
A hammer is necessary to gently tap the rings back onto the barrel staves and secure them in place. Use a hammer with a rubber or wooden mallet to avoid damaging the wood.
Pliers
Pliers or locking pliers (like Vice Grips) help maneuver and secure the rings so you can get them started onto the edge of the barrel. Have an extra set of hands to hold the pliers in place.
Wood shims or wedges
Thin wood shims slid under the rings as you install them will help gradually work the rings back to the proper circumference of the barrel. Slowly remove shims as you tap the rings further down onto the staves.
Lubricating oil (optional)
Applying a little lubricating oil to the inside of the rings and the barrel staves can help the rings slide on more easily. Wipe away any excess oil when done to avoid it dripping.
Safety equipment (optional but recommended)
Wearing work gloves, eye protection like goggles, and protective footwear is suggested for comfort and safety. The tools and rings can pinch or the hammer can fly off track. Better safe than injured!
With some patience and teamwork, you’ll have the rings secured back onto your barrel in no time. Let the aging and tasting begin again! The reward will be worth the effort.
Drilling Pilot Holes for the Ring Nails
To secure the barrel rings back in place, you’ll need to drill pilot holes for the ring nails.
Carefully lay the barrel on its side. Align the groove of the top barrel ring over the edge of the barrel staves. Lightly hammer the ring to temporarily hold it in place.
Repeat the same process for the bottom barrel ring. Make sure both rings are evenly aligned and level before proceeding to the next step.
Use a drill bit slightly smaller in diameter than your ring nails. Place the tip of the bit over one of the pre-drilled nail holes in the barrel ring. Apply firm and steady pressure to drill through the barrel stave. Repeat, drilling pilot holes through all nail holes in both barrel rings.
The pilot holes will allow the ring nails to slide through easily. Drive the nails through the barrel rings and into the barrel staves using a hammer, securing the rings back into their proper position.
Remove any wood shavings from the barrel rings and staves with a small brush. Your whiskey barrel should now be fully prepped and ready for filling! Take a step back and admire your handiwork. The pilot holes and ring nails are barely noticeable but play an important role in holding this barrel together.
Hammering the Rings Back Into Place
Now that the barrel staves are tight, it’s time to put the metal rings back on to hold everything in place. The rings, also known as barrel hoops, are essential for keeping the staves together under pressure.
To hammer the rings on, you’ll need:
- The metal rings
- A rubber mallet
- A metal block or anvil
- Slide one metal ring over the end of the barrel. Center it on the middle of the staves.
- Place the metal block inside the ring. This provides a solid surface to hammer against.
- Use the rubber mallet to gently hammer the ring around the circumference of the barrel. Move slowly in small sections, hammering the ring into place gradually.
- Repeat the same process with the remaining rings, spacing them evenly apart. Typically whiskey barrels have 6-8 rings total.
- Use a rubber mallet to hammer the rings firmly into place. Double check that all the staves remain tight with no gaps.
- You may need to retighten the rings after a few days. Wood can expand and contract, so check periodically and re-hammer as needed.
With the rings secured, your whiskey barrel is ready to be refilled and put back into service. The rings will hold the staves tight under pressure as the barrel is filled, allowing it to properly season the whiskey or wine. Regular maintenance and re-tightening the rings will help keep your barrel in working order for years to come.
Sealing Any Gaps Between the Rings and Barrel
Once you have the barrel rings off, it’s time to seal up any gaps between the rings and the barrel before putting the rings back on. This step is important to ensure an airtight seal so your whiskey can age properly.
Check the Barrel for Damage
Inspect the area where the rings were seated for any cracks, splinters or holes. Lightly sand down any uneven spots. Wipe away dust with a damp cloth.
Apply Beeswax or a Food-Grade Sealant
For small gaps, apply a bit of beeswax, paraffin wax or a food-grade sealant with a putty knife or your finger. Press firmly so it adheres well. Let it dry completely if using a sealant. This will help create an impermeable barrier.
Replace the Rings
Put the rings back on one at a time in reverse order of removal. Tap each ring down with a rubber mallet to settle it into place.
Tighten the Rings
Once all rings are on, go around the barrel tightening each ring a little at a time in the same order you put them on until snug. The rings should be tight enough that you can’t slide more than a fingernail under them.
Seal the Rings
Apply more beeswax, paraffin wax or sealant over and around each ring to create an airtight seal. Let it dry if needed. Your whiskey barrel should now be re-sealed and ready to continue aging spirits!
Maintaining Your Barrel Planter With Rings Re-Installed FAQ
Once you’ve reinstalled the rings on your whiskey barrel planter, there are a few things to keep in mind to maintain it properly:
Watering
Check the soil moisture regularly and water when the top few inches become dry. Overwatering can cause root rot, so make sure excess water can drain from the bottom of the barrel.
Fertilizing
During the growing season, feed your plants every few weeks with a balanced fertilizer. Reduce or stop feeding in the fall and winter when growth slows down. Follow the directions on the product packaging for how much to use. Too much fertilizer can burn plants.
Repotting
You may need to move your plants up one size every 2-3 years. Carefully remove the entire plant and root ball from the barrel and place in a container one size larger, then refill the barrel with fresh potting mix before returning the plant.
Pests and Disease
Inspect your plants regularly for common pests like aphids, spider mites or mealybugs. Treat them with insecticidal soap or neem oil sprays. Watch for signs of disease and treat accordingly. Remove heavily infested or diseased plants to prevent spread to others.
Protecting from Weather
If keeping your whiskey barrel planter outside, protect it from extreme weather like heavy rain, frost or snow. Move the entire planter into a sheltered area or cover with a tarp. This will help prevent excess moisture in the soil, which can lead to root rot.
Following these tips will help keep your whiskey barrel planter looking its best for years to come. With the right care and maintenance, you’ll be enjoying your mini garden oasis for seasons to come!
Final Thoughts
And just like that, your whiskey barrel is ready for aging again. By cleaning, re-charring and re-sealing the barrel, you’ve given new life to an old friend. Now you can fill it back up and look forward to many more years of rich, complex flavors developing. There’s something deeply satisfying about renewing and reusing materials that still have so much to offer. Your barrel has served you well, and will continue to do so for a long time to come. Here’s to many more pours from a familiar vessel – may your barrel always be full and your glass never empty!


