Oh, you want to dive into the wonderful world of homemade whiskey aging? Trust me, crafting your own custom barrel and letting spirits mellow to perfection is way more achievable than you might think. With just a few basic tools and a good dose of patience, you’ll be clinking glasses of your very own aged whiskey before you know it.
Forget about shelling out big bucks for pre-made barrels! Seriously, with some good quality oak wood, sturdy metal hoops, and a bit of honest elbow grease, you can whip up an amazing aging barrel without breaking the bank. And here’s the kicker: you get to custom-design it! Fancy a smaller, maybe two-liter barrel for those quick aging experiments, or are you dreaming of a classic five-gallon barrel to stash a serious batch of your favorite spirits? The power is yours, my friend.
The magic of whiskey aging boils down to just three things: your barrel, your chosen spirits, and the secret ingredient – time. The type of wood you use and that all-important char level inside the barrel will play a huge role in shaping the flavor, letting you craft a truly signature aged whiskey that’s uniquely yours. While patience is definitely a virtue in this game, the hands-on work is surprisingly minimal. And let me tell you, that patience pays off in spades when you finally get to crack open that first barrel.
There’s absolutely nothing like sipping a glass of your very own homemade aged whiskey. Building your own custom barrel and letting your spirits mature may just be the most rewarding DIY project you’ll ever tackle. So, are you ready? Let’s get started!
What You’ll Need to Assemble Your Whiskey Barrel
To get your whiskey barrel assembly underway, you’ll need a few essential supplies.
The Barrel
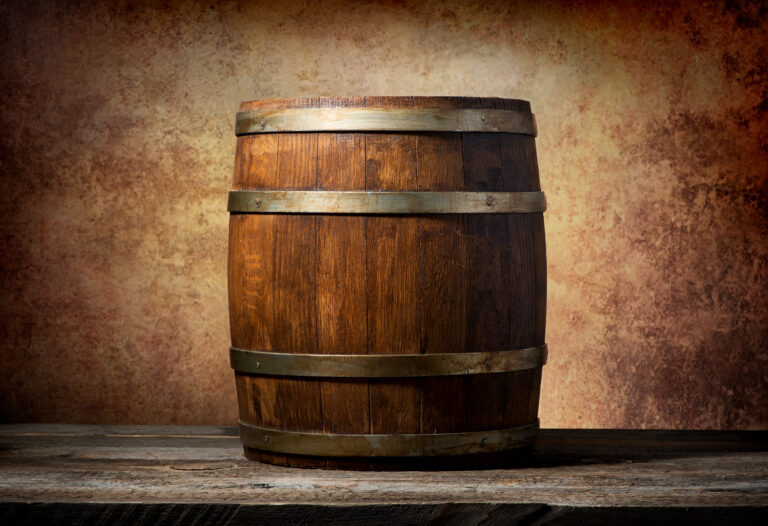
First things first, you’ll need the actual barrel. Keep an eye out for a charred oak barrel, ideally one that previously held bourbon or whiskey – those impart the best flavors. Check out local liquor stores, dedicated brewing supply shops, or reputable online retailers that specialize in whiskey barrels or spirit aging barrels.
Hoops and Rivets
Those essential metal hoops and rivets are what hold your barrel staves snugly together. Aim for at least six hoops per barrel. As for rivets, you’ll need enough to secure two to three per stave.
Bung and Spigot
The bung is basically the cork that seals your barrel. Go for a high-quality silicone bung to ensure an airtight seal – no precious drops escaping! A spigot makes pouring your delightful whiskey a breeze. Look for a sturdy brass spigot that’s appropriately sized for your barrel.
Other Supplies
You’ll also want some reliable wood glue or sealant, various grades of sandpaper, a trusty mallet, and essential safety gear like work gloves and eye protection. Oh, and here’s a pro tip: consider grabbing a barrel stand if you want to easily move or pour from your finished masterpiece.
With a little dedication and the right tools, you’ll be well on your way to aging your own whiskey in no time. The incredibly rewarding results will make all your effort more than worthwhile!
Prepping the Staves for Assembly
To truly bring your whiskey barrel to life, you’ll need to prep the staves – those beautiful wooden planks that form the barrel’s sides. They’ve been drying and aging, and now it’s time to shape them perfectly for assembly.
Sanding
Give each stave a light sanding to smooth out the surface. Start with a coarser grit sandpaper to tackle any rough spots, then work your way to a finer grit for that silky-smooth finish. Don’t forget to wipe away any dust with a tack cloth.
Beveling
Grab your table saw, jointer, or even a hand plane to put a slight bevel on the edges of each stave. This clever little trick ensures your barrel staves fit snugly together, creating a tight seal.
Grooving
Now, cut a groove along the inside edge of each stave. This groove is crucial – it’s where your barrel hoops will sit securely. The groove should be about a quarter-inch deep. You can achieve this with a table saw, a router, or if you’re getting serious, specialized barrel-making tools.
With your barrel staves meticulously prepped, you’re officially ready to assemble your DIY whiskey barrel. Take your time with this part; precision here will lead to a barrel that lasts for years. Keep the image of your first pour of home-aged craft whiskey in mind for motivation! The rich aroma of the charred, toasted wood and your very own custom blend – that’s the real reward for all your efforts.
Putting the Barrel Hoops in Place
To keep those barrel staves incredibly secure, you’ll need to install the metal hoops around the outside of your wooden barrel. Start with the bottom hoop first. Carefully place one hoop around the bottom, making sure it’s perfectly centered with equal space on all sides. Now, gently hammer the hoop into place using a rubber mallet, tapping evenly all the way around until it’s nice and snug.
Next, position the middle hoop in the center of the barrel. Double-check that it’s level before you start hammering it down. The top hoop should sit just below the rim of the barrel top. Again, ensure it’s even before securing it in place.
Once all three hoops are on, you might need to make some minor adjustments to their positioning. Gently tap them up or down with your mallet until the oak staves feel securely bound with no gaps or loose spots. These barrel hoops are critical; they’ll hold the staves tightly together as the barrel settles, so precise placement is key for a truly effective whiskey aging barrel.
Take a moment to double-check that the hoops are evenly spaced and level. Walk around your entire craft whiskey barrel and inspect for any areas that don’t seem quite as snug; make gentle taps with your mallet as needed. Your barrel should now feel incredibly solid, with the staves firmly bound together by those sturdy metal hoops.
With the barrel hoops securely in place, you’re ready to add the barrel heads. These hoops will help the staves retain their perfect round shape, which is absolutely essential for the proper fit of the heads. Take immense pride in a job well done—you now have an authentic oak whiskey barrel ready for aging spirits and enjoying the fruits of your labor!
Attaching the Barrel Head Pieces
To attach the barrel head pieces, you’ll need some reliable wood glue, your choice of nails or wood screws, and some strong clamps.
Start with one of the barrel head pieces. Apply a generous bead of wood glue to the inside edge of the barrel stave ends. Carefully place one barrel head piece on top, making sure to align the wood grain. Clamp it firmly in place while the glue dries – patience here is a virtue for a strong, leak-free seal.
For the other barrel head piece, you have a few options: nails, screws, or more wood glue. If you’re going with nails or screws, be sure to pre-drill pilot holes. This little step is crucial to prevent the wood from splitting, which nobody wants! Space them about 6 to 8 inches apart. Then, drive the nails or screws through the barrel head piece directly into the barrel stave ends.
Alternatively, for that other barrel head piece, you can apply wood glue to the inside edge of the barrel staves as well. Place it on top, aligning the wood grain, just as you did with the first. Clamp both barrel head pieces securely in place as the glue sets and dries.
Once the glue is completely dry, you’ll have an open-ended barrel. You can now choose to add a bottom to enclose it, or if your design calls for it, leave it as-is. Don’t forget to attach the barrel hoops or bands around the outside to provide additional stability and structure. Now your DIY whiskey barrel is truly taking shape and is almost ready for aging spirits!
Sealing the Barrel Using the Chines
To truly seal your whiskey barrel and make it perfectly watertight – crucial for spirit aging – you’ll need to secure the barrel staves together with steel or wooden hoops, traditionally called chines. These chines apply just the right amount of pressure to the staves, preventing any unwanted leaks.
Attaching the Chines
Carefully place the first chine over the bilge, which is the widest part of the barrel. Gently hammer it into place, making sure to keep the barrel staves evenly spaced. Add a second chine about 6 to 8 inches from the first, mimicking the same careful placement.
Repeat this process with a third and fourth chine, maintaining that consistent spacing. Continue adding more chines until you’ve securely fastened all but the top 6 to 8 inches of the barrel.
Now for the moment of truth: test the seal by filling the barrel with water. Keep a keen eye out for any drips or leaks and, if you spot any, carefully tighten the chines in those specific areas. Once you’re confident it’s sealed tight, empty the water and give the barrel a good rinse.
Congratulations! You now have a truly watertight whiskey barrel, perfectly prepped for aging and mellowing your favorite liquor. The very final step, toasting the inside, will be covered next, adding that crucial flavor dimension to your barrel-aged spirits.
Additional Tips for a Watertight Seal
To ensure your whiskey barrel stays watertight for years of incredible spirit aging, follow these extra tips:
- Seal the outside of the barrel. Apply two to three coats of a quality sealant, like Thompson’s WaterSeal, to the exterior of your oak barrel. Let each coat dry completely as directed before adding the next. This protective layer shields the wood from weathering and acts as an extra defense against leaks, crucial for proper whiskey maturation.
- Reinforce the metal bands. Those vital metal bands hold the barrel staves together. Over time, they can sometimes loosen or even show signs of rust. Use a socket wrench to carefully tighten them. You might also want to apply a rust preventative, like fluid film, for added longevity. For an extra layer of protection for your aging barrel, consider adding an additional metal band around its center.
- Check and maintain the bunghole seal. The bunghole, that small opening at the top of the barrel, is where you’ll fill and access your precious whiskey. Make absolutely sure the bunghole plug creates an airtight seal. Apply a bit of sealant around the rim of the bunghole for extra waterproofing. Regularly examine the plug and its seal, replacing it if you notice any damage or if it feels loose – a tight seal is paramount for whiskey quality.
- Store upright and empty when not in use. When you’re storing your whiskey barrel for an extended period, always keep it upright and empty. This prevents the wood from warping under its own weight and allows for proper air circulation inside, preventing musty smells. If you’re storing it outdoors, keep it covered and place it on blocks to prevent it from sitting in standing water – vital for barrel longevity.
- Re-swell the barrel as needed. As whiskey barrels age, the wood can sometimes shrink ever so slightly, causing the staves to loosen. To re-expand the wood and tighten things up, simply fill the barrel with water for several days. The wood will absorb the water, swell, and tighten the barrel. Then, empty it, and you’re ready to refill with whiskey. Repeat this process anytime you notice small leaks developing – a key maintenance tip for any homemade aging barrel.
Storing Your Assembled Barrel Properly
Now that your whiskey barrel is beautifully assembled, proper storage is absolutely key to keeping it in tip-top shape for years of incredible spirit aging.
Keep it upright
Always store your oak barrel upright to prevent any unwanted leaks. Laying it on its side can cause the barrel staves to warp and the barrel hoops to loosen over time, compromising the integrity of your whiskey aging vessel.
Shelter from Weather
Keep your whiskey barrel sheltered from direct weather exposure. While these sturdy barrels are built to handle some temperature fluctuations, extreme or constant heat, cold, sun, or rain can seriously damage the wood and lead to leaks. An indoor spot like a garage, shed, or basement is absolutely ideal for consistent whiskey maturation.
Humidity Control
Keep a close eye on the humidity levels where you’re storing the barrel. The sweet spot for whiskey barrel storage is typically between 55% to 80% relative humidity. Too low, and your precious wood can crack. Too high, and you might invite unwanted mold inside the barrel. You might need to use a humidifier or dehumidifier to maintain those ideal levels for optimal spirit aging.
Prevent Pests
Regularly inspect your DIY whiskey barrel for any sneaky signs of wood-boring insects or other pests. Tiny holes in the barrel staves or even sawdust around the base of the barrel can be telltale signs of pest damage. If needed, apply a food-grade pesticide or sealant to protect your investment.
By following these essential tips for properly storing your DIY whiskey barrel, you’ll ensure it lasts for many years and continues to produce amazing aged spirits. Proper storage isn’t just about protecting your barrel; it’s fundamental to its longevity and performance in the spirit aging process. Keep it upright, shelter it, control that humidity, and prevent pests. Do all this, and you’ll be enjoying custom home-aged whiskey and other delightful spirits for years to come!
Aging Whiskey in Your DIY Barrel
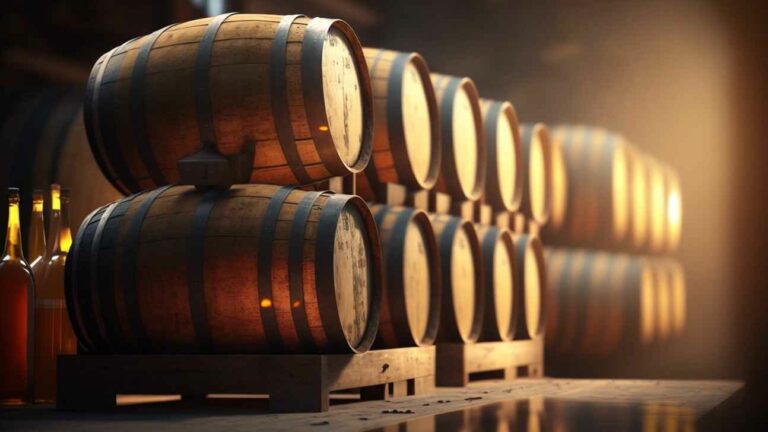
Ah, the moment of truth! Aging whiskey in your very own DIY barrel truly lets you personalize the flavor to your exact taste. As the new make spirit interacts with the oak wood, it slowly absorbs the barrel’s unique characteristics. The longer it ages, the more complex and nuanced those whiskey flavors become.
Choosing a Barrel
Select a barrel size that perfectly suits your needs, ranging from a cozy 5 gallons to a grand 50 gallons. For home enthusiasts, a 5 to 15-gallon mini barrel or small aging barrel is typically just right. Oak barrels, especially charred white oak, are the traditional choice for whiskey aging because they impart that distinctive, rich flavor and aroma.
Filling and Sealing the Barrel
Fill your chosen whiskey barrel about two-thirds full with your preferred new make spirit or unaged whiskey. Remember, as it ages, some will be lost to evaporation – that’s the famous “angel’s share.” Seal the barrel properly to allow for pressure and temperature changes. An airlock valve is a great idea; it lets CO2 escape but keeps unwanted oxygen out, crucial for good whiskey maturation.
Location and Temperature
Place your aging barrel in a spot with a steady temperature, away from direct light. A cool, dark spot in a basement or garage is ideal. Temperature significantly affects the aging process. Warmer spots tend to speed up aging, while cooler spots slow it down, allowing for more subtle development. Don’t forget to gently turn the barrel every few months so the whiskey interacts evenly with all that wonderful wood.
Tasting and Bottling
After a minimum of 6 to 12 months, you can start tasting! Use a barrel thief to carefully extract small samples of your barrel-aged whiskey. Once the whiskey reaches your desired flavor profile, it’s time to bottle. Strain it through a filter to remove any tiny wood particles before bottling. And just like that, your very own homemade aged whiskey is ready to be savored!
The whiskey aging process in a wooden barrel allows the spirit to truly mellow and gain incredible depth of flavor. With a bit of patience, you’ll have a custom creation to savor and proudly share. This DIY approach empowers you to craft whiskey that perfectly suits your own palate. What could possibly be more rewarding than that?
FAQ: Common Questions About Building Whiskey Barrels
Have questions bubbling up about making your own whiskey barrel? Here are some of the most frequently asked questions and answers to guide you through this rewarding journey:
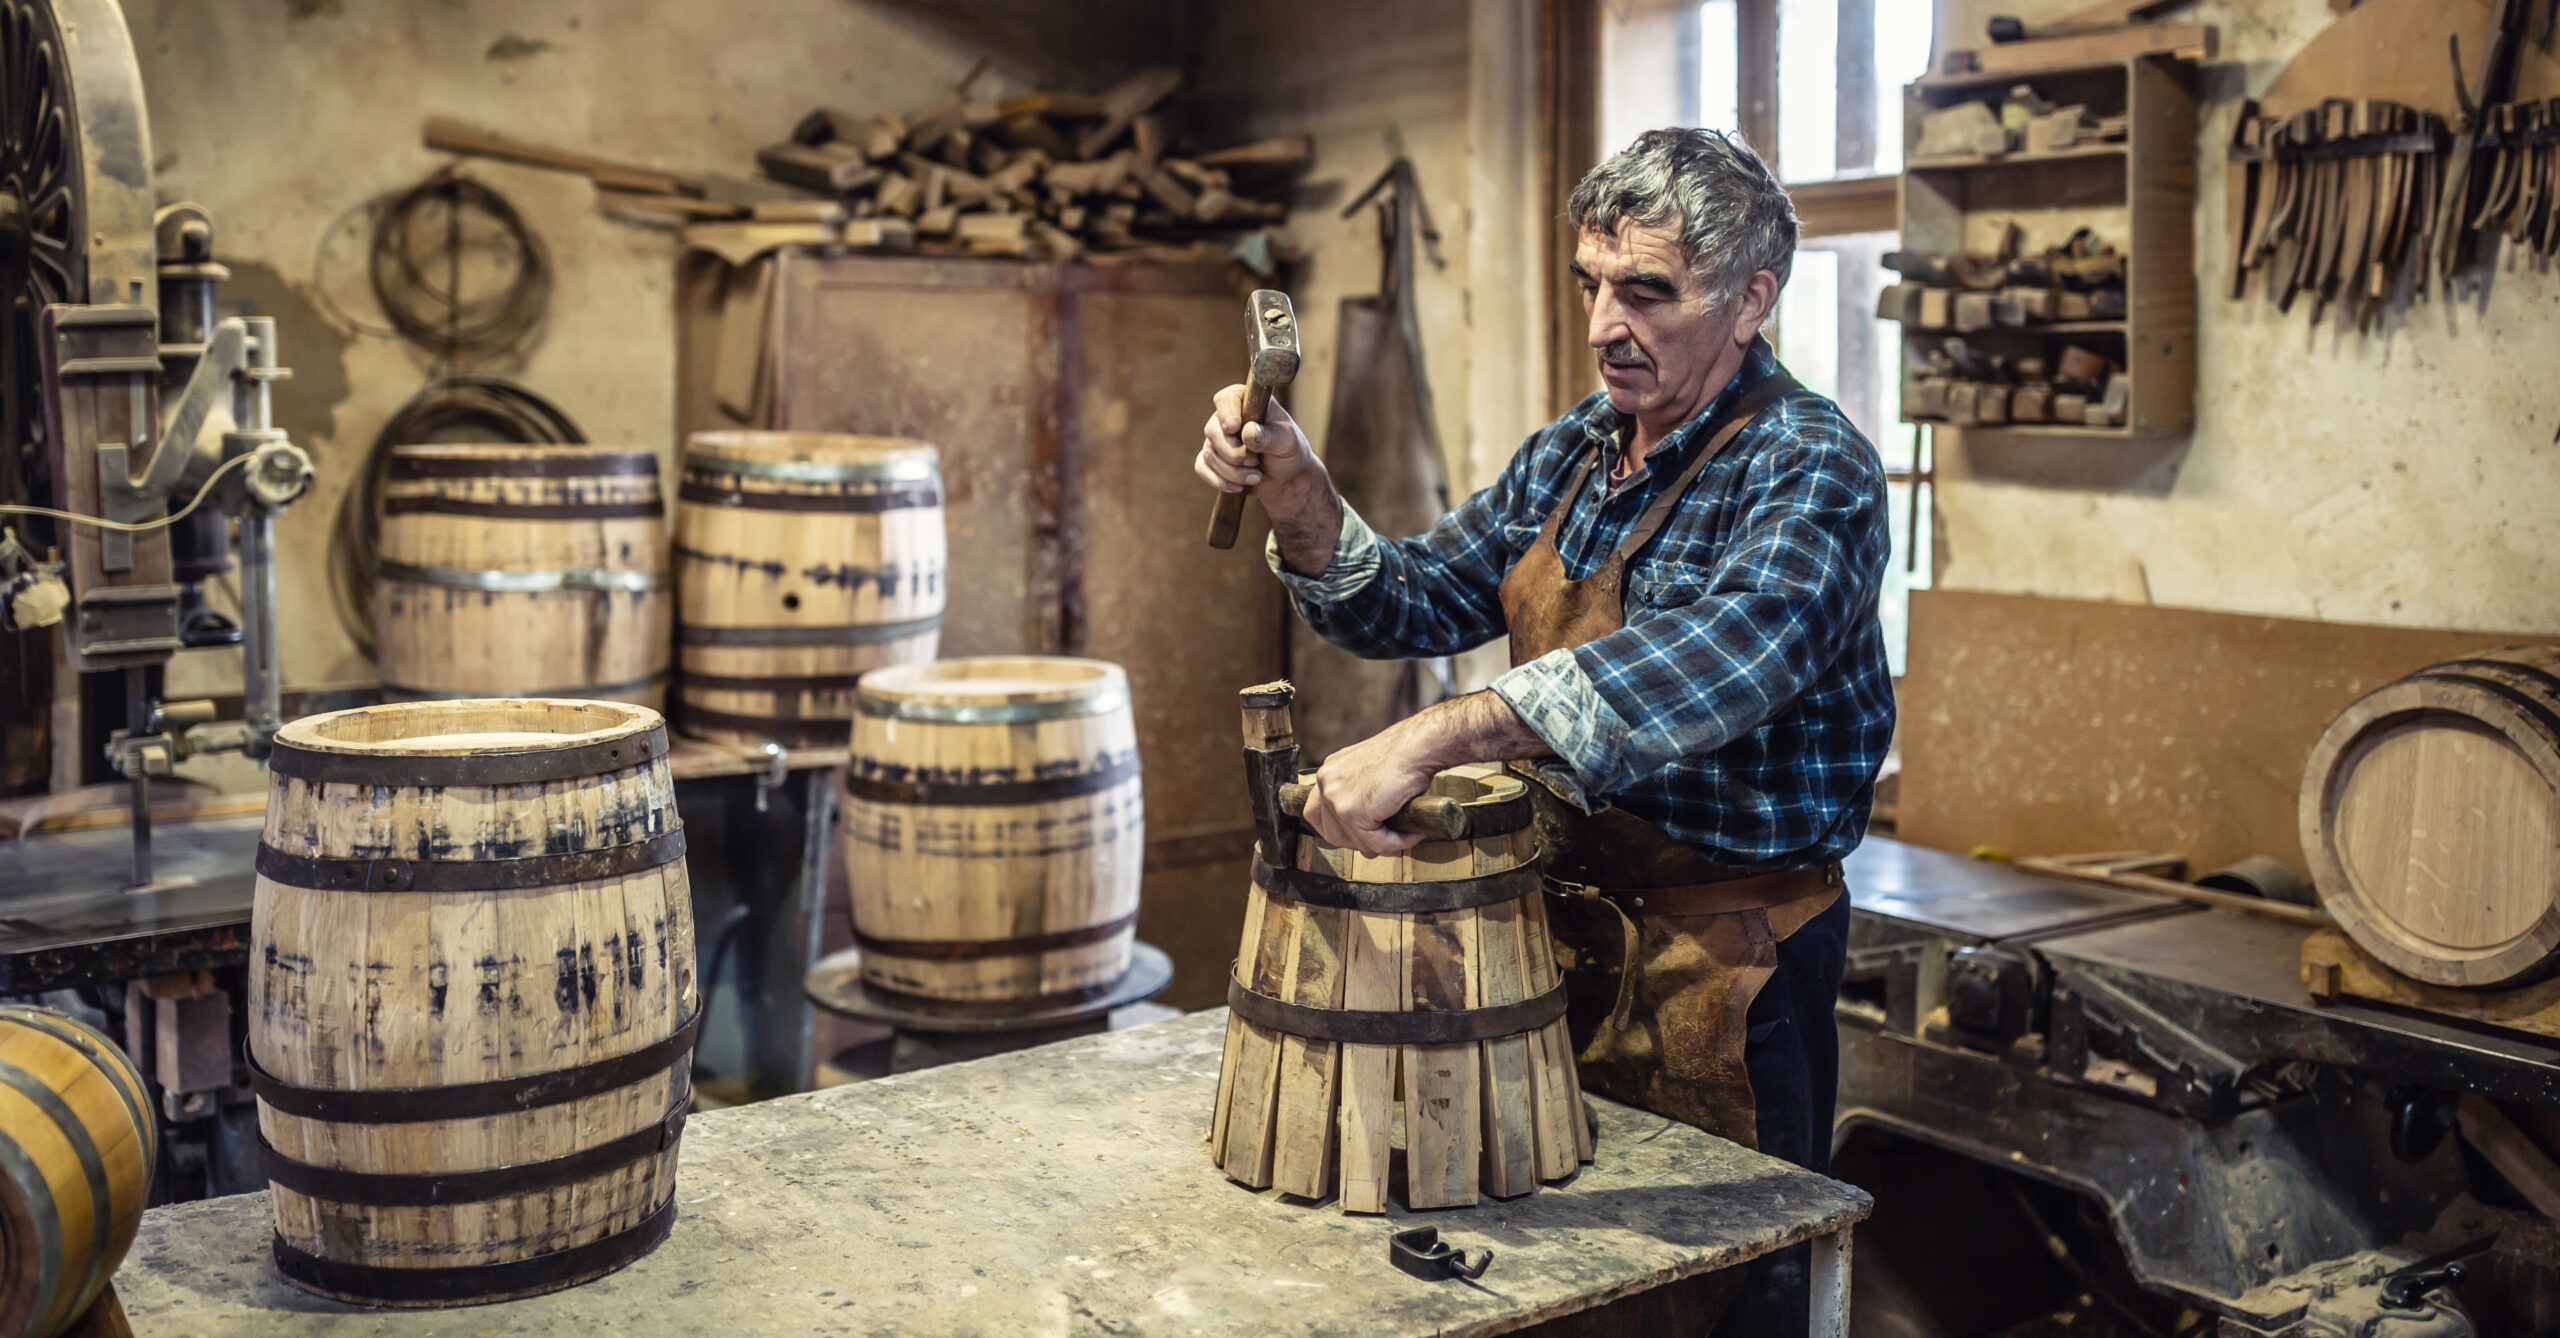
How long does it take to make a barrel? The actual barrel building time for an experienced cooper is typically around 8-12 hours. However, the wood staves and other barrel components require months, even years, of careful aging and drying before they’re ready for assembly. This wood seasoning is crucial for quality.
What kind of wood should I use? Oak, specifically American white oak or European oak, is the traditional and preferred wood for whiskey barrels. Oak boasts ideal characteristics like being naturally watertight, imparting desirable flavors to the whiskey, and having a tight grain that holds up well during spirit aging.
How much does it cost to make a barrel? The cost of a DIY whiskey barrel depends largely on the size and the specific type of oak wood you choose. A smaller 5-10 gallon barrel might cost anywhere from $200-$500 for materials. Larger barrels, especially those made with high-quality, properly seasoned wood, can range from $500 to $1500 or even more.
Do I need any special tools? Yes, a professional cooper uses specialized barrel-making tools like a drawknife, flagging iron, croze cutter, and chamfer knife. You’ll also need more common DIY tools such as a drill, hammer, and clamps. Some coopers even utilize barrel assembly jigs and trussing equipment for precision.
How do I get the barrel to stop leaking? As the wooden barrel swells with use, tiny leaks may occasionally appear. To seal them, you can gently apply melted paraffin wax or beeswax to the outside of the barrel directly over the leak. The wax will effectively seal and waterproof the area. For larger, more persistent leaks, you might need to carefully dismantle a section of the barrel, plane down the affected staves, and then reassemble.
How long will a homemade barrel last? A whiskey barrel made from high-quality, properly seasoned wood and expertly crafted can potentially last for several decades. However, homemade aging barrels typically have a slightly shorter lifespan, often ranging from 3-10 years, before they might require repairs or eventual replacement. Proper care and consistent barrel maintenance are key to maximizing your barrel’s useful life and ensuring consistent whiskey aging.
Final Thoughts
So there you have it, your very own DIY whiskey barrel, poised to produce a truly premium aged spirit in just a few short years. By putting in the thoughtful work to craft something with your own hands, you’ll not only end up with a one-of-a-kind product but also a profound sense of accomplishment. Whenever you pour yourself a glass of that beautiful amber liquid, you’ll be able to sit back, relax, and truly savor the fruits of your labor. Building the oak barrel itself might have seemed a bit daunting at first, but by taking it step-by-step, you’ve achieved something truly special and created the perfect vessel for home whiskey aging. Here’s to you, the proud creator of your own bespoke barrel-aged spirit. Cheers!