Alright, so your whiskey barrel took a tumble, and now it’s in pieces. Deep breaths! No need to panic. This isn’t the end of your aging dreams. With a bit of wood glue, some trusty clamps, and a good dose of patience, you can absolutely bring that barrel back to life, good as new. Fixing a busted barrel isn’t brain surgery, but it does demand a steady hand and some tender loving care. Just follow this step-by-step guide, and you’ll be back to mellowing your favorite spirit in no time. The secret? Don’t rush it. Take breaks when you need ’em, and remember, slow and steady wins the race. Before you know it, your oak barrel will be whole again, ready for countless more years of enriching your bourbon, Scotch, or craft spirits. Stay cool, stay focused—you totally got this! Now, grab your glue, dust off those clamps, and let’s get that barrel repair underway.
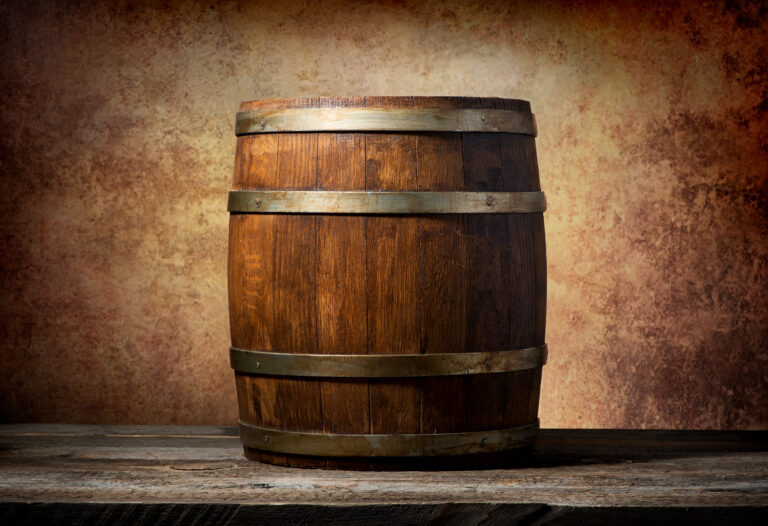
Assessing the Damage: Taking Stock of Your Barrel’s Condition
First things first, let’s get a good look at your barrel. You’ll want to inspect the staves—those individual wooden planks—for any cracks or holes. Small cracks? Often fixable. Major damage? You’re probably looking at needing replacement staves. If you spot any leaks right off the bat, that’s your top priority to address.
Next, give those hoops a thorough once-over. These metal bands are the backbone of your barrel, holding everything together. If they’re damaged, loose, or even missing, they’ll need to be tightened or replaced. Sometimes, you’ll need to remove the old ones to get new ones on. A hoop driver and a hammer are your best friends here for prying off those worn-out bands.
Don’t forget the chime, which is the top rim of the barrel. It can take a real beating. If it’s significantly warped or broken, it won’t create a proper seal. You might need to cut out the damaged section and install a new one.
And finally, the bunghole—the opening on the side of the barrel—needs to be in tip-top shape for aging spirits. If it’s enlarged or damaged, you’ll definitely need to patch it up. A curved patch and waterproof wood glue will do the trick; just make sure to hold it firmly in place while it dries.
With the right barrel repair tools and materials, most whiskey barrels can absolutely be brought back into working order. A careful inspection and addressing every little issue will guarantee many more years of aging spirits and enjoying your beloved whiskey. Trust me, the effort is totally worth it!
Gathering the Right Tools and Supplies for Barrel Repair
To get your whiskey barrel shipshape again, you’ll need a few crucial items in your toolkit.
First up, grab a mallet (rubber or regular) or a hammer. You’ll use this to gently tap those staves back into alignment. Start from the top and work your way down, tapping each piece until it’s flush with its neighbor.
Next, gather your wood glue, wood filler, and some sandpaper. Any separated staves will need a good application of wood glue, clamped tightly as it dries. For smaller holes or cracks, wood filler is your go-to. Once dry, smooth out any uneven areas with sandpaper.
You’ll also want some waterproof wood sealer or wax to protect the inside of your barrel from the good stuff. Brush it on, covering the entire inner surface, and let it dry as per the instructions.
Last but not least, don’t forget a spigot or a bunghole cover. You can’t very well get your delicious aged whiskey out without one! Make sure to buy a spigot specifically designed for barrels to fit snugly into the bunghole.
With a little elbow grease and the right barrel repair supplies, you’ll have that barrel watertight and ready to age whiskey in no time. The fruits of your labor will taste absolutely glorious once that first batch is ready. Happy aging!
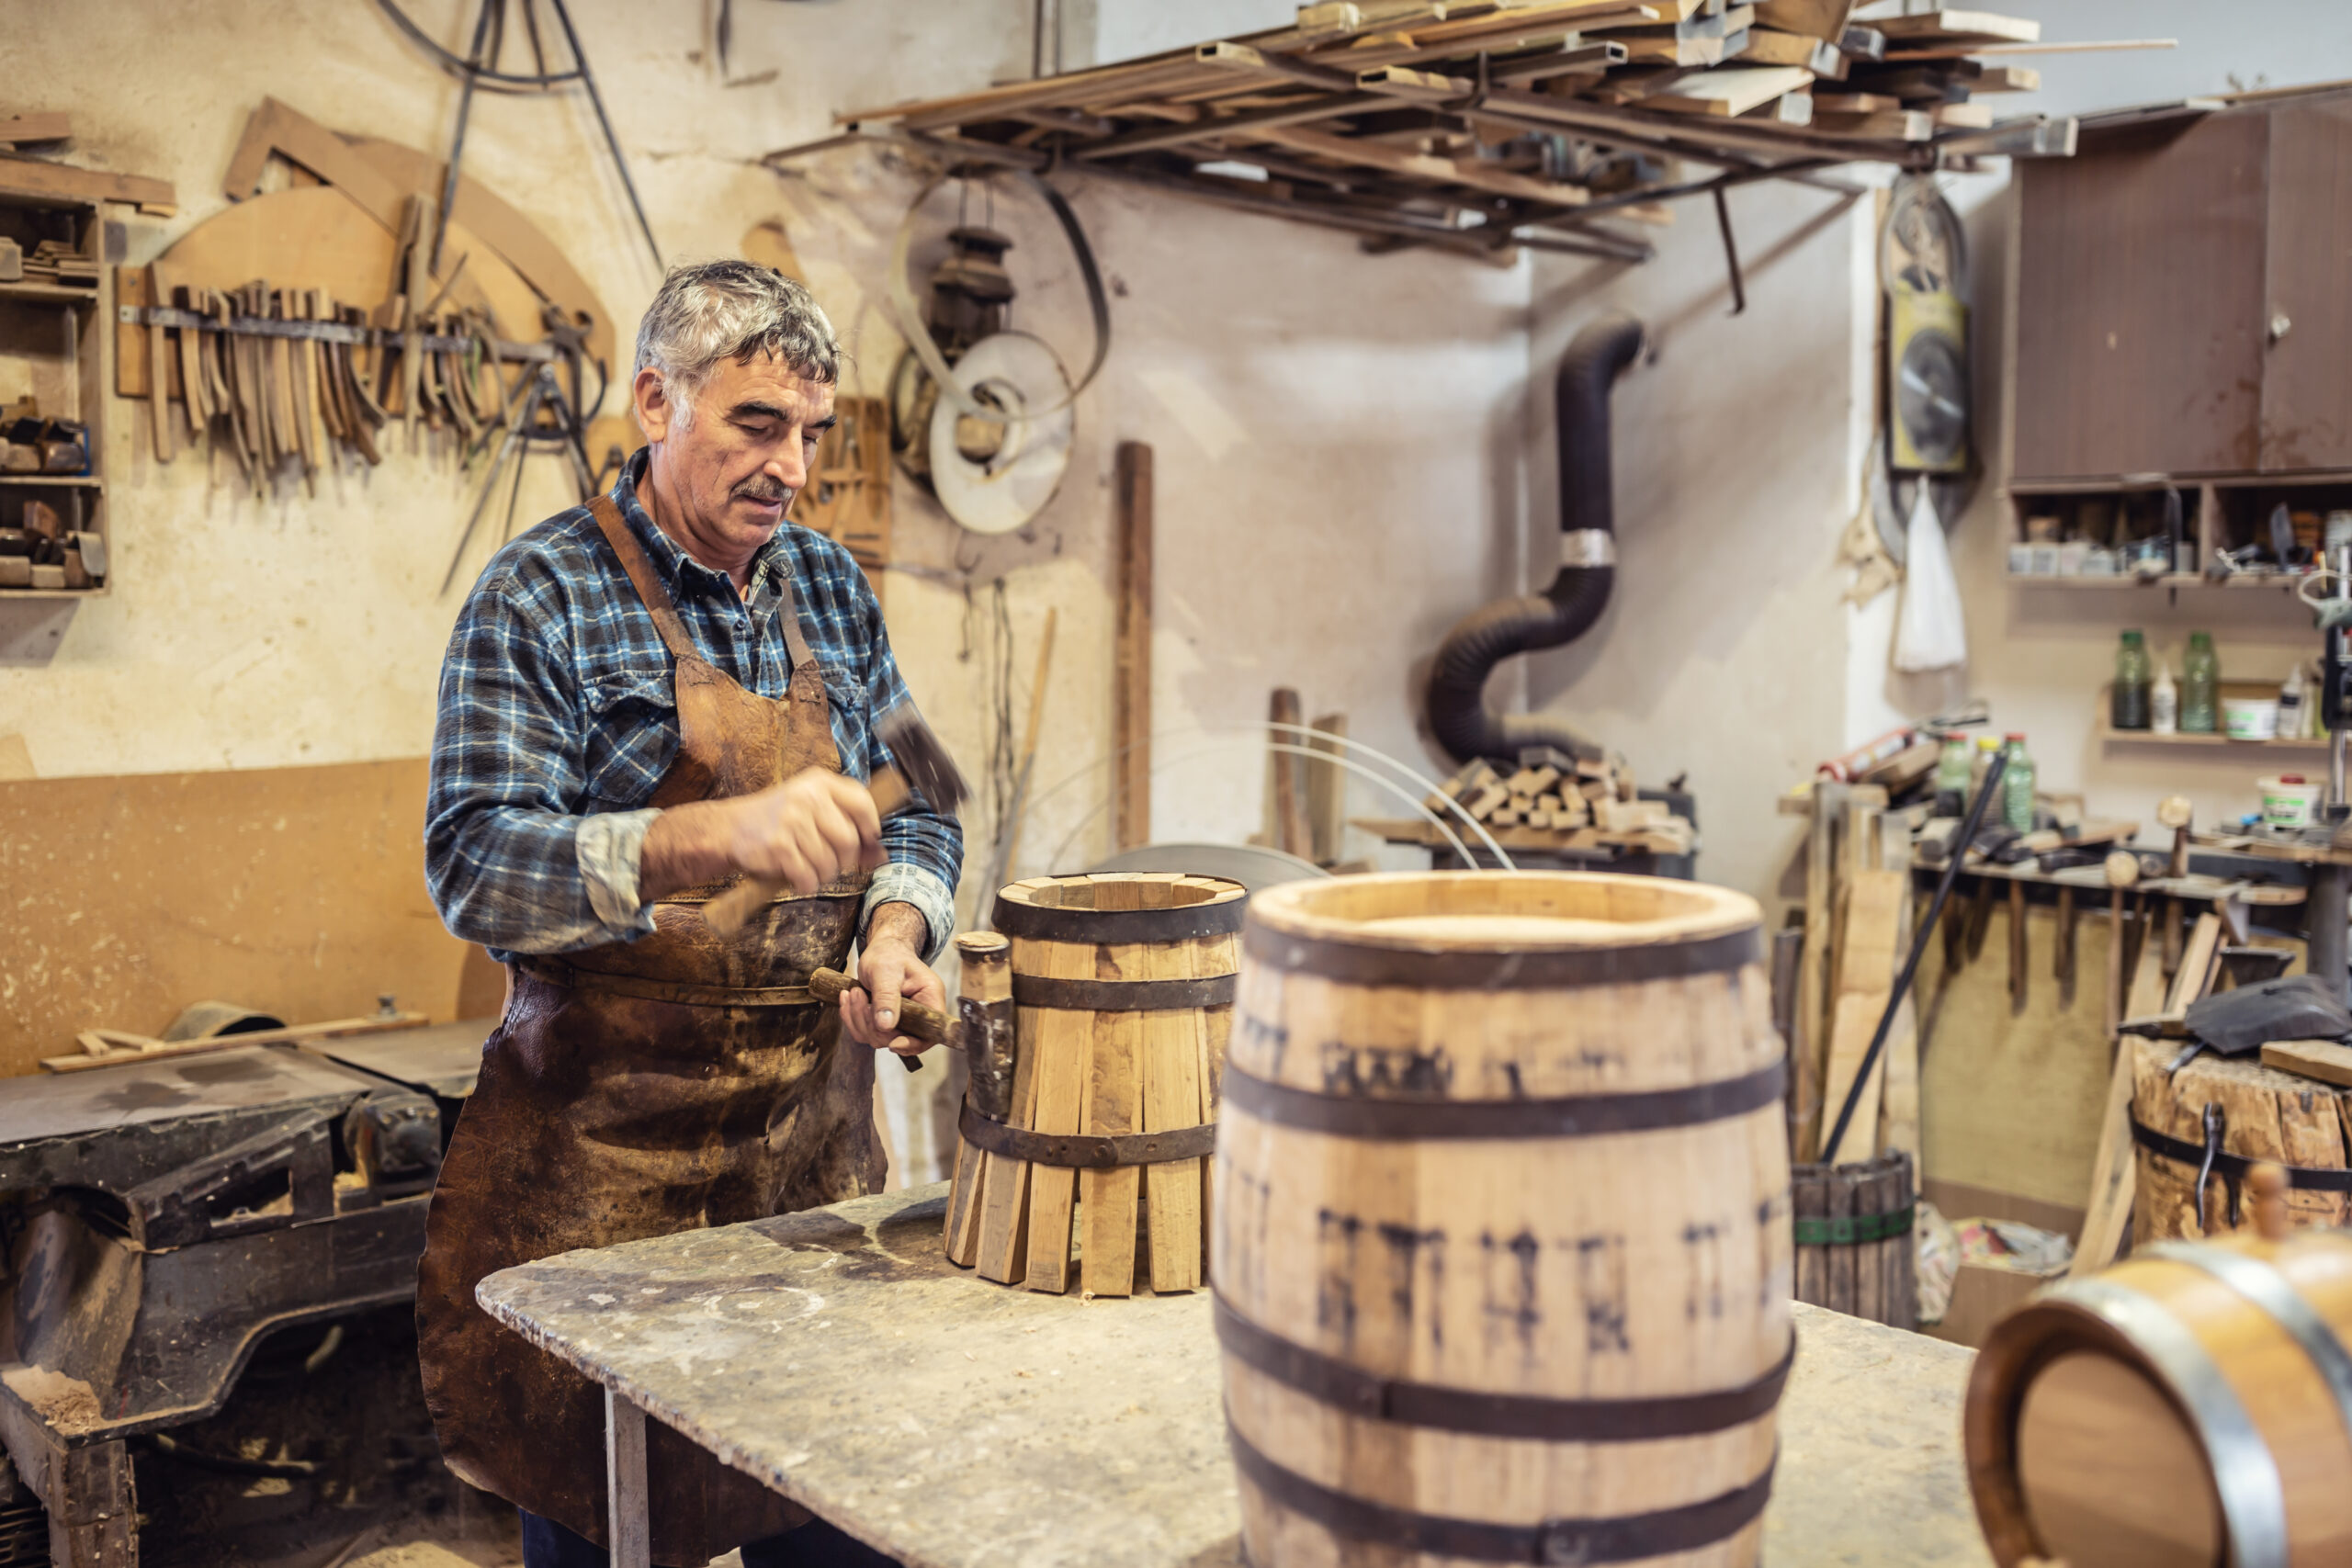
Disassembling the Barrel: Removing Hoops and Staves
To properly take apart your whiskey barrel for repair, you’ll need to carefully remove both the metal hoops and the wooden staves.
Removing the Hoops
The hoops are those crucial metal bands that hold all the staves in place. Start by gently tapping around the bottom hoop with a rubber mallet to loosen it up. Then, using a hoop remover tool (or a flathead screwdriver and a hammer), carefully pry off that bottom hoop. Continue this process, working your way up, until all the hoops are removed.
Taking Out the Staves
Once the hoops are off, the staves—those individual wooden planks forming the barrel’s body—will become loose. Gently pry off one stave at a time. A claw hammer with the claw used carefully on the back of the wood is ideal to avoid damaging the wood. Take your time, working slowly around the barrel in a circle until every stave has been removed.
Once disassembled, give all the parts a good cleaning to remove any dirt or residue before you even think about reassembling and sealing your barrel. With some wood glue, new hoops and staves if necessary, and a healthy dose of patience, your whiskey barrel will be back in action before you know it.
Cleaning and Sanding the Staves and Hoops
Before you can even think about putting your whiskey barrel back together, you absolutely need to clean and sand those staves and hoops. This step is crucial for a strong, lasting repair.
Cleaning
Grab a damp cloth and wipe down every single stave and hoop to get rid of any dirt, dust, or debris. If you’ve got some stubborn gunk, don’t be afraid to give it a good scrub. Once everything’s wiped down, give it a thorough rinse and let it air dry completely. Don’t rush this part!
Light Sanding
Once everything is bone dry, it’s time for some light sanding. Use fine-grit sandpaper (around 220 grit is perfect) on each piece. This isn’t about reshaping; it’s about creating a slight “tooth” for the wood glue to really grip onto. Pay extra attention to the edges and any rough spots. After sanding, wipe away any dust with a tack cloth.
Optional Hoop Sanding
For the metal hoops, you might want to lightly scuff up their inside surface. Again, this gives the wood glue a better surface to adhere to. Gently sand the interior of the hoop with your fine-grit sandpaper, being careful not to scratch the visible outside of the hoop.
Taking your time to wipe, clean, and sand all the components ensures a super tight bond and, most importantly, a leak-free barrel. With a little TLC, that used whiskey barrel will be reassembled and ready for its next life in no time. Remember: slow and steady wins the race!
Repairing Broken Staves and Hoops as Needed
If your whiskey barrel has seen better days and sports some broken staves or damaged hoops, you absolutely need to fix these before you even think about reassembling your barrel.
Broken Staves
First, carefully remove any broken staves by prying them out with a flathead screwdriver. Measure the exact dimensions of the missing stave and cut a replacement stave to size. You can often find suitable wood at a lumber yard or even repurpose wood from another barrel if you’re lucky. Once you have your new stave, slide it into place from the inside of the barrel. Secure it firmly with wood glue and small nails (if necessary, pre-drill pilot holes to prevent splitting).
Damaged Hoops
To tackle a damaged hoop, start by prying it off with a flathead screwdriver. Next, measure the circumference of your barrel to determine the size of the replacement hoop you’ll need. You might be able to find pre-made hoops at a specialty hardware store or an online supplier, or if you’re feeling adventurous, you can bend your own using pliable metal strapping.
Once you have your new hoop, bend it into the proper circular shape and secure the ends with metal clasps. Now, carefully slide the hoop over the top or bottom of the barrel. Use a hammer to gently tap the hoop into place so it’s snug but not overly tight. Repeat this process for any other damaged hoops.
With these necessary barrel repairs made, you’re finally ready to put your whiskey barrel back together and get it aging spirits once again! Don’t forget to regularly inspect your barrel and make any needed repairs to keep it in prime working order.
Reassembling the Barrel: Tips for Proper Alignment
Once you’ve got those staves prepped, it’s time to bring your barrel back to life by permanently joining them. For the absolute best results, take it slow and meticulously align each stave as you go.
Check the Grooves
Pay close attention to the grooves where the barrel hoops will eventually sit. Make sure they’re evenly spaced and have the same depth on every single stave. If needed, use a chisel to carefully widen or deepen any grooves so those hoops will fit perfectly snug.
Match the Grain
This is a subtle but important step: try to match up the grain patterns on each stave. Staves with similar grain will expand and contract more uniformly with changes in humidity, which is key to preventing future pesky leaks.
Secure Each Stave
Apply wood glue, epoxy, or a waterproof wood filler generously in the gaps between the staves. Then, use clamps to hold the staves tightly together while the adhesive cures. Before the adhesive sets, double-check that the inside of the barrel remains smoothly rounded, without any dips or bulges between the staves.
Seal the Inside
Once all the staves are securely joined, it’s time to seal the inside of the barrel. You can use beeswax, paraffin wax, or an epoxy sealant specifically designed for wine and whiskey barrels. Roll or brush the sealant onto the wood, ensuring all surfaces are thoroughly coated. Let it dry completely according to the product instructions.
Test for Leaks
This is a non-negotiable step: before you even think about adding your precious whiskey or wine, fill the barrel with water to check for any leaks. Mark any spots where you see weeping, then empty and dry the barrel. Re-seal those specific areas. Repeat the water test to guarantee an airtight seal before you commit to filling your barrel with spirits.
With careful attention and plenty of patience, you’ll have your whiskey barrel assembled tightly and ready for filling in no time. Taking the extra effort to align the staves and properly seal the barrel will result in a durable, leak-proof barrel that will age your favorite spirits beautifully for years to come.
Replacing the Hoops: Techniques for Tightening and Securing
To properly tighten those essential wooden hoops around your whiskey barrel, you’ll need a few basic tools and supplies:
- Wooden mallets or hammers
- Extra wooden hoops (if needed)
- Wooden wedges
- Rope or strong cord
First, carefully remove any metal rings that might be around the outside of the barrel. Use your mallet and a wedge to gently pry them off.
Next, loosen any existing wooden hoops by tapping them lightly with your mallet, working your way around the entire circumference of the barrel. If any hoops are broken or damaged, remove them and replace them with new wooden hoops of the same size and wood type.
A crucial tip: soak the new wooden hoops in water for at least 30 minutes. This makes them pliable, allowing you to tighten them much more effectively around the barrel.
Now, wrap some strong rope around the barrel to help hold the staves together as you remove and replace each wooden hoop. Keep consistent tension on the rope as you work.
Take one of your soaked wooden hoops and place it over one end of the barrel. Use your mallet to tap it down into place while simultaneously pulling tightly on the rope to maintain pressure on the staves.
Repeat this process with the remaining hoops, tapping each one down securely with the mallet while keeping that tension on the rope.
Once all the hoops are in place, you can tighten them further by wedging wooden wedges between the hoops and the barrel staves. Tap these wedges firmly into place with your mallet.
Once the wedges are secure, you can remove the rope. Double-check that the wooden hoops are tight all the way around the barrel. Add additional wedges if you find any loose spots.
Allow the barrel to sit overnight. This gives the wood time to expand and settle before you replace the metal rings. Your whiskey barrel should now be watertight and ready to get back to work!
Sealing the Barrel: Choosing the Right Sealant
Sealing the barrel is hands down one of the most critical steps in this whole process. The sealant you pick will directly determine how long your whiskey barrel stays fresh and leak-free. Here are a few popular options to consider:
- Beeswax: This is a classic, traditional choice. It forms a fantastic airtight seal and can even impart a subtle, delightful honey flavor to your spirits. The catch? It usually needs periodic reapplication, so it’s a bit more hands-on.
- Paraffin wax: This option is completely odorless and tasteless, creating a solid airtight seal. It’s generally easy to apply. However, it might not adhere as strongly to the wood as other options, meaning you might need more frequent touch-ups.
- Epoxy resin: If durability is your top priority, epoxy resin is king. It creates an incredibly strong, waterproof, and airtight seal that lasts a very long time. The trade-off is that its chemical composition could impart a slight plastic-like flavor if it comes into direct contact with the whiskey. It also requires precise mixing and has a limited working time before it hardens.
- Silicone sealant: This one is flexible, waterproof, and crucially, food-grade. It forms a great airtight seal and won’t mess with the flavor of your spirits. The downside is that it might not adhere as aggressively to the wood as other options, so periodic inspections and potential touch-ups might be necessary.
Ultimately, when choosing the best sealant for your whiskey barrel, think about how long you want the seal to last, what flavors (if any) you want to introduce (or definitely avoid), and how much ongoing maintenance you’re willing to do. Finding a balance among these factors will help you make the perfect choice for your newly repaired barrel.
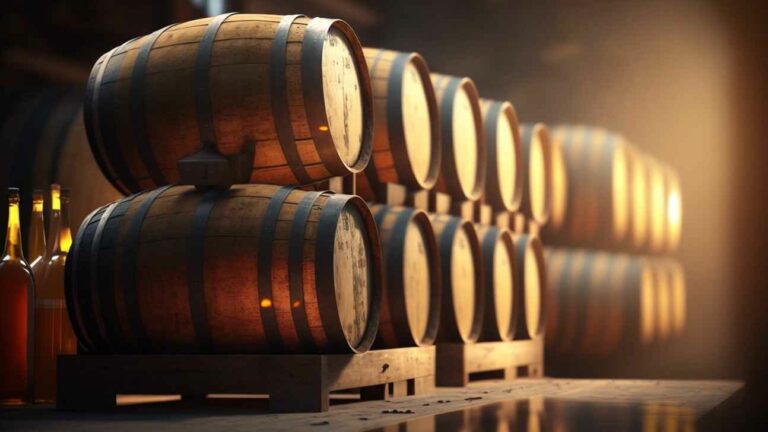
Caring for Your Reconditioned Barrel: Maintenance and Storage Tips
Alright, your whiskey barrel is whole again! Now, it’s super important to take proper care of it to ensure it stays in tip-top shape for years to come.
Keep It Clean
After every use, make it a habit to rinse out your barrel thoroughly with hot, clean water. Let it air dry completely. If you spot any stubborn gunk stuck inside, grab a dedicated barrel brush and scrub it away. Never, ever seal up a barrel that’s still damp inside; that’s just asking for mold and mildew to throw a party in there.
Store Upside Down
When your barrel is completely dry, store it upside down. This simple trick allows air to circulate properly and helps prevent the barrel staves from warping. Find a spot with consistent, moderate temperature, away from direct heat or extreme cold.
Re-swell the Barrel
Over time, it’s natural for the barrel staves to dry out and shrink a bit, leading to tiny cracks and even leaks. To fix this, you’ll need to re-swell the barrel. Fill it about one-third full with water and let it sit for several days. The wood will slowly absorb the water and expand, effectively sealing up any cracks. Once it’s done, empty and rinse the barrel, let it dry completely, and then store it upside down again.
Oil the Exterior
Every few months, give the outside of your barrel some love with a food-grade mineral oil or tung oil. This helps protect the wood from damage and keeps it from drying out. Just wipe away any excess oil that might pool at the base.
Limit UV Exposure
While whiskey barrels make fantastic decorative pieces, too much direct sunlight can cause the wood to fade and dry out prematurely. Whenever possible, keep your barrel out of direct sunlight and avoid displaying it in a spot that gets a lot of UV exposure, like right next to a bright window.
By keeping your reconditioned whiskey barrel clean, hydrated, and protected from the elements, you’ll be able to enjoy it for many years to come. With regular barrel maintenance, a good oak barrel can practically last forever, adding a rustic, elegant touch to any space.
Final Thoughts
So there you have it, folks—a comprehensive guide to bringing that beloved old whiskey barrel back from the brink. Take your time, be patient with yourself, and remember that good things come to those who wait. While some steps might feel a bit tedious, the final payoff is absolutely worth it. That first glorious sip of your favorite aged spirit from a barrel you repaired with your own two hands? Pure satisfaction. You’ll gain a whole new appreciation for the craftsmanship and tradition behind it all.
Not to mention, you’ll have an awesome story to share with your friends about your journey to becoming an amateur cooper. Who knows, it might even spark a fun new hobby! At the very least, you’ll have a fully functioning whiskey barrel ready for many more pours and good times ahead. Here’s to you and your beautifully reconditioned barrel—may you both have long, happy lives and bring each other endless joy. Cheers to your next home aging adventure!