So you’ve decided to take your home bar to the next level. You’re ready to craft your own whiskey barrel bar and need some tips to get started. This DIY project will require some elbow grease but the end result will be worth it. You’ll be sipping your favorite bourbon or scotch from a one-of-a-kind bar that impresses all your friends.
The first step is finding an authentic used whiskey barrel. Check with local distilleries or breweries to source a barrel they no longer need. Make sure it’s food-grade and hasn’t been treated with any chemicals. Give it a good cleaning to remove any residue. Now the fun part begins – designing your bar.
Introducing the Whiskey Barrel Bar: A Rustic Home Project
A whiskey barrel bar is a fun DIY project that brings warmth and rustic charm to any space. You’ll need an authentic used whiskey barrel, wood boards for the bar top, and basic tools like a drill/driver, wood glue, and sandpaper.
First, clean and sand the barrel. Wipe away dirt and grime, then lightly sand the outside to rough up the surface so the wood glue adheres better.
Building the Base
Glue and clamp boards together to make the bar base. Once dry, attach the base to the bottom of the barrel. This provides stability so your bar doesn’t tip over.
Adding the Bar Top
Glue and clamp boards to the top rim of the barrel. For an rounded edge, use a jigsaw to cut a curve in the boards before attaching.
Sand any rough edges. Stain or seal the wood if desired. Now you’re ready to start mixing drinks! A whiskey barrel bar is the perfect rustic centerpiece for any home bar or man cave. Your guests will love its character and craftsmanship. Most of all, you’ll enjoy the satisfaction of building it yourself.
Selecting the Perfect Whiskey Barrel
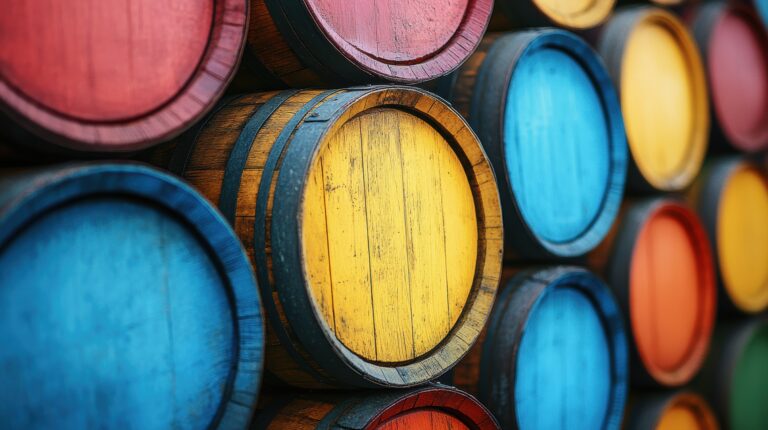
Choosing a barrel is key to crafting an eye-catching whiskey bar. Look for a barrel with character that will complement your decor.
Size matters
Pick a barrel size that fits your space and how much whiskey you want to store. Standard barrels hold 53 gallons, but smaller 5-15 gallon barrels work well for home bars.
Wood type
American white oak barrels impart classic vanilla and caramel notes. For a smokier flavor, consider charred oak. European oak like French Limousin oak produces robust, spicy whiskeys.
New or used
New barrels will yield a bolder, woodier flavor as the whiskey absorbs more tannins. Used barrels, especially those previously holding bourbon or sherry, provide mellower aromas of vanilla and fruit.
Sealing and aging
Ensure any barrel you choose is properly sealed before filling it with whiskey. As your spirit ages, sample it regularly. Once it reaches your desired smoothness and complexity, bottle and enjoy!
With the perfect barrel selected, you’ll be crafting memorable whiskeys in no time. Savor the journey of aging and tasting, and before you know it, you’ll have created a whiskey to share with friends at your one-of-a-kind bar.
Preparing the Whiskey Barrel for Conversion
To prepare a whiskey barrel for conversion into a bar, you’ll need to clean, sand, and seal the inside.
First, rinse the barrel with water to remove any dirt or debris. Scrub the inside with a detergent and water, then rinse well with water again. Let the barrel air dry completely.
Next, sand down any rough spots inside the barrel with fine-grit sandpaper. Wipe away dust with a tack cloth. Apply 2-3 coats of food-grade epoxy or polyurethane sealer, waiting for each coat to dry as directed. This will seal the wood and prevent leaks.
Once the sealer is dry, you’re ready to install the barrel top, faucet, drains and any interior shelving or racks. The barrel is now watertight and ready to hold ice and glasses behind your home bar! Converting a whiskey barrel into a bar requires work, but with some elbow grease you’ll have a unique, rustic bar that’s sure to impress.
Designing and Building the Bar Top
Once you have the barrel, it’s time to build the bar top. This is where the real craftsmanship comes in. You’ll want to find a sturdy base for the barrel to sit on. Many DIYers use metal table legs, wooden beams, or concrete blocks. Secure the barrel in place on top of the base.
- Cut a large circular piece of wood to place on top of the open barrel. Trace the top of the barrel onto the wood and cut just inside the line.
- Sand down the edges of the wood until smooth.
- Consider distressing the wood by beating it with chains or a wire brush. This gives it a rustic look.
- Apply a sealant like polyurethane to protect the wood. Let it dry as directed.
You now have a barrel bar top ready for drinks and good times. But a bar isn’t complete without the final touches.
- Add bar railings around the edge of the barrel for a place to rest your elbows. Copper pipe works great for a rustic look.
- Include bar taps, pour spouts, and drip trays. Place them evenly spaced around the barrel rim.
- Add lighting, glassware, and cocktail accessories. String lights, mason jar lights or lanterns are perfect.
- Consider a barrel bar stool or two for seating. Matching stools continue the craft whiskey theme.
In no time, you’ll be crafting custom cocktails and hosting friends around your one-of-a-kind whiskey barrel bar. The perfect blend of rustic and refined. Your guests are sure to appreciate all the care and craftsmanship that went into this labor of love. Cheers!
Staining and Sealing the Whiskey Barrel Bar
Once your bar has been constructed, it’s time to stain and seal the wood to protect it from damage and give it an attractive finish. You have a few options for stains and seals, so choose what suits your style.
Stain
For a rustic look, consider a darker wood stain in a hue like mahogany or walnut. If you prefer lighter shades, try oak or maple. Apply two coats of your chosen stain, waiting 24 hours between applications. Let the second coat dry completely before sealing.
Seal
To protect the wood and your stain, apply two to three coats of sealant. Polyurethane is a popular choice as it’s durable and water resistant. For a matte finish, use a satin polyurethane. Prefer high gloss? Use a gloss polyurethane.
Additional protection
For extra protection from spills and scratches, consider a bar top epoxy resin. After staining and sealing, apply two coats of epoxy resin, waiting 6 to 12 hours between applications. The epoxy will create an durable plastic coating.
Protecting your whiskey barrel bar with a stain, sealant and possibly epoxy resin will help ensure it lasts for years to come. Follow the directions carefully for the products you choose and take your time applying multiple thin coats. The results will be well worth the effort!
Adding Hardware and Accessories
Adding the final touches to your whiskey barrel bar will complete the look and make it fully functional.
Hardware
You’ll want to install a sturdy top on your barrel to provide a surface for glasses and bottles. Wood planks, metal sheets, or stone slabs all work well. For a rustic look, rough-sawn oak or cedar boards are ideal. You’ll also want a barrel tap or spigot at the bottom to dispense your whiskey or cocktails. Copper or brass taps complement the wood barrel nicely.
Accessories
No bar is complete without glassware. Stock up on rocks glasses, shot glasses, and tumblers. For an authentic feel, look for glasses with a heavy, cut-glass base and pattern. You’ll also want cocktail picks, swizzle sticks, and muddlers for making mixed drinks.
Don’t forget bottled mixers like ginger beer, cola, and tonic to complement your whiskey. Bitters, cherries, olives, citrus twists and herb garnishes will allow you to craft classic cocktails.
A barrel stand or legs will raise your bar to a comfortable height. Look for industrial pipe fittings or hairpin legs in a metal finish.
Lighting, like pendant lights, Edison bulbs or lanterns will set the mood for your bar. Dim lighting is perfect for an intimate vibe.
With the right accessories and hardware, your whiskey barrel bar will be a stylish place to enjoy a premium pour of your favorite spirit. Your friends won’t be able to resist an invitation to belly up to this bar!
Stocking Your Home Bar With Whiskey and Supplies
To craft an impressive whiskey bar in your own home, you’ll want to stock it with a variety of whiskeys and essential supplies.
Glasses
You’ll want an assortment of glasses for different whiskeys like tumblers for neat pours, highballs for cocktails, and glencairns for nosing and tasting.
- Have a set of durable tumblers, highballs and shot glasses for casual drinks and entertaining.
- Invest in a few quality crystal glencairns or copita nosing glasses for appreciating fine whiskeys.
Mixers & Garnishes
Stock club soda, ginger ale, cola and tonic for cocktails. Have citrus wedges, maraschino cherries and bitters on hand for garnishes.
Water
Provide chilled still and sparkling water for non-alcoholic options and for diluting whiskeys.
Bartending Tools
Essentials like a muddler, jigger, peeler, zester, corkscrew and cocktail shaker will allow you to craft perfect whiskey cocktails.
With a well-stocked bar featuring a variety of whiskeys, mixers and tools, you’ll be all set to craft and enjoy your favorite whiskey cocktails at home. Experiment with different whiskeys, mixers and garnishes to discover new favorites. Your friends will surely appreciate your new hobby!
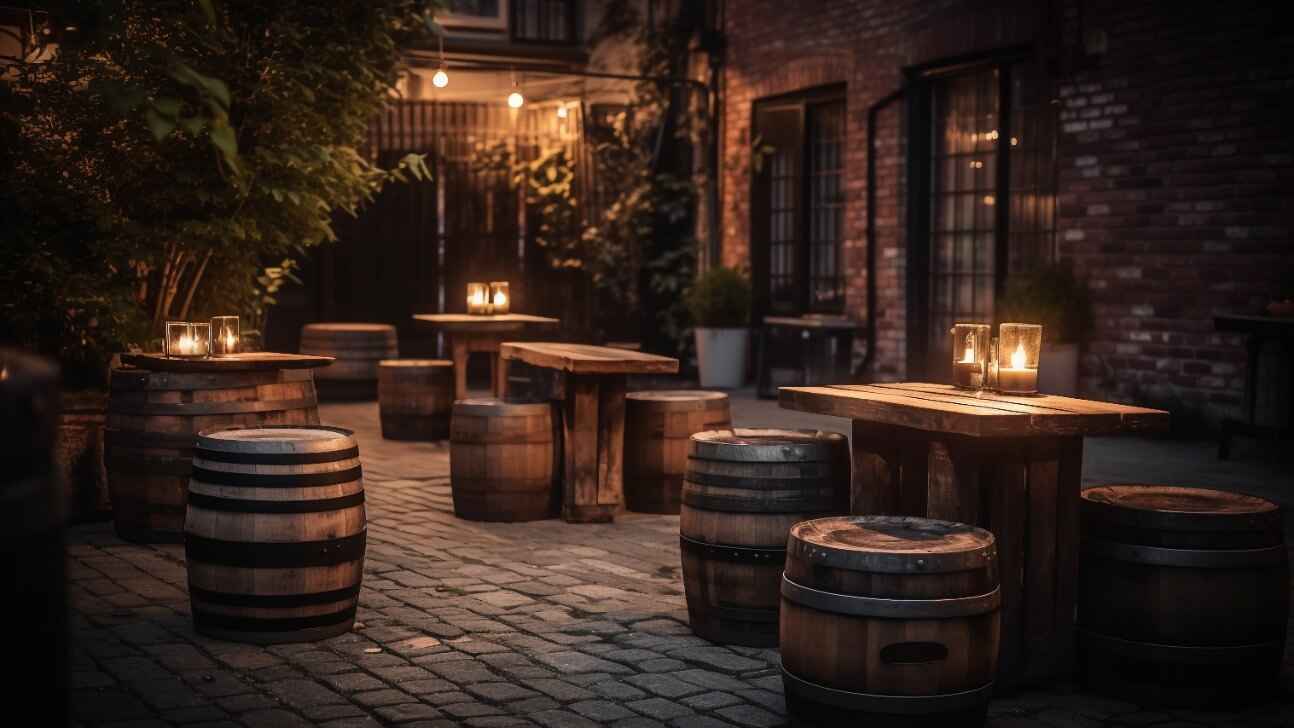
Decorating Your New Whiskey Barrel Bar
To give your whiskey barrel bar a rustic, stylish look, consider these decorating tips:
- Add wooden accents like barrel staves, wooden crates or pallets. Lean them up against the wall or stack them in a corner.
- Include natural elements such as river stones, antlers or greenery. Place a few larger stones around the base of the bar or hang antlers on the wall above the bar. Potted plants, eucalyptus branches or lavender bundles also help bring nature indoors.
- Use warm, cozy lighting such as Edison bulbs, lanterns or string lights. Dim overhead lighting and rely more on accent lighting for an intimate vibe.
- Include leather or wool textures with a leather drink tray, wool blankets or a hide rug.
- Add framed vintage signs, maps or photos for extra visual interest. A vintage whiskey ad or topographical map of the local area reinforce the rustic theme.
- Keep glassware, tools and garnishes in plain sight. Assemble a bar kit with a muddler, jigger, citrus peeler and cocktail picks. Fill brandy snifters or tumblers with cherries, olives, lemons and limes. An open, well-stocked bar encourages guests to belly up for a drink!
- Play bluesy or folksy music to complete the mood. A playlist of artists like Johnny Cash, Muddy Waters or The Lumineers is perfect for a whiskey barrel bar.
With the right accents and ambiance, your whiskey barrel bar will be a warm and welcoming space for enjoying an Old Fashioned or Manhattan. Sláinte!
FAQ: Answering Common Questions on Building a Whiskey Barrel Bar
Have some questions about crafting your own whiskey barrel bar? Here are some of the most frequently asked questions and answers to help you on your build.
Where do I get whiskey barrels? You can source used barrels from local distilleries or buy new empty barrels from barrel suppliers. New barrels will need to be broken in by filling and emptying them a few times before using in your bar.
Do I need special tools? Basic woodworking tools like a drill/driver, wrench, hammer, and clamps will do the trick. You’ll also want a jigsaw to cut any openings.
How do I prepare the barrels? Clean, sand, and seal the inside of the barrels to prevent leakage. You’ll also want to sand down the outside and apply a clear sealant to protect the wood.
How do I join the barrels together? The easiest way is to place the barrels side by side, drill pilot holes, and secure together from the inside using waterproof wood glue and galvanized steel brackets.
What about a countertop? You can use wooden boards, plywood, copper sheeting or concrete for a countertop to place on top of the barrels. An epoxy coating will help seal and protect the countertop.
Leave space in the center for a sink or ice bin? Yes, it’s a great idea to leave an opening in the center of the countertop and between the barrels for a bar sink, ice bin or other feature. This helps make your barrel bar fully functional!
Does it need a foot rail? Adding a wooden foot rail along the bottom of the barrels provides a place for guests to rest their feet and gives the bar a rustic, saloon-style look.
What about lighting? Edison bulbs, pendant lights or spotlights placed above and inside the bar provide mood lighting and showcase your handcrafted creation.
Will it smell like whiskey? The aroma of the barrels will dissipate over time. You can speed up the process by baking soda to absorb odors, ventilating the area and sealing the inside of the barrels. The smell can also be part of the charm!
Final Thoughts
So there you have it, everything you need to know to craft your very own whiskey barrel bar. Now it’s time for you to get out there and make it happen. Head to your local hardware store, pick out a barrel you like, and get to work customizing it to your tastes. Once you’ve got it all set up in your home, invite some friends over, pour a few glasses of your favorite whiskey, bourbon or scotch and enjoy. There’s nothing quite like drinking an aged spirit from an actual barrel. Your friends will be seriously impressed with your new DIY project and you’ll have an awesome, one-of-a-kind piece of décor that provides a fun way to enjoy your liquor of choice. Cheers to you, your awesome new barrel bar and the good times ahead! What are you waiting for? Go craft your barrel bar today!