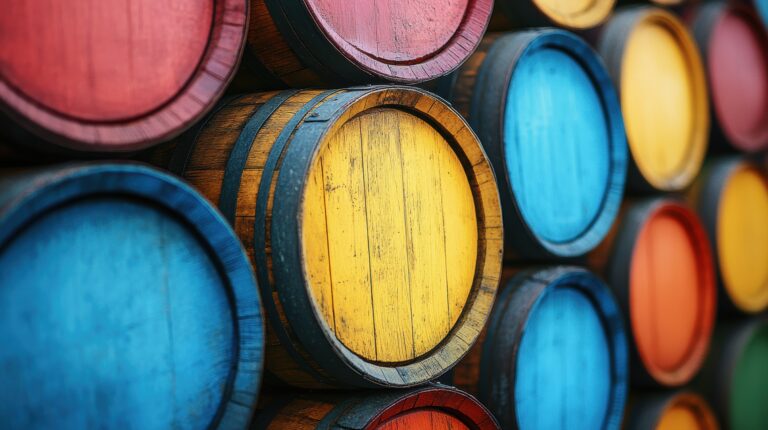
Ever wanted to tackle building your own custom whiskey barrel cabinet but thought it looked way too complicated? Ditch that idea! You can absolutely build a seriously cool rustic cabinet using just a few common tools and some good old-fashioned effort. All you need is an authentic, used whiskey barrel, some wood for shelves, and basic hardware like hinges and handles. Dedicate a free weekend and get your materials ready, and you’ll be chilling with your favorite spirit, displayed proudly in a one-of-a-kind cabinet, before you know it.
Come on, let’s walk through how to transform a reclaimed wooden barrel into a stylish piece of storage furniture for your home bar or den. You don’t need a degree in woodworking, just patience and the desire to create something genuinely unique. By the time you finish this DIY project, you’ll have a handcrafted whiskey barrel wood cabinet that makes your liquor collection look incredible. Your friends are going to be green with envy when they see this finished result.
So, grab your gear and let’s get cutting. You are just a few cuts, sandings, and screws away from the ultimate man cave accessory. This simple DIY barrel cabinet is the perfect way to tap into your inner craftsman and instantly elevate your whiskey game.
Gather Materials Needed for Building a Whiskey Barrel Cabinet
To construct your very own whiskey barrel cabinet, you’ll need a concise list of essential supplies.
Wood boards
You’ll want oak or another durable hardwood for the shelves and internal supports, something strong enough to handle the weight of all those full bottles! Look for boards around 1 inch thick, cut to size for your shelf needs.
Barrel mounts
Grab some metal rings or straps specifically designed to secure barrels. You’ll be attaching these inside the cabinet to ensure everything stays locked in place.
Hinges and hardware
Invest in good quality hinges for the door, handles or pulls that fit your style, and plenty of wood screws. Make sure the hardware you choose matches the rugged, rustic style of the reclaimed oak barrel.
Tools
Standard woodworking tools will do: a good saw, a reliable drill/driver, a sander, clamps, and, of course, proper safety gear.
Sealant (optional)
Applying a sealant to the inside is smart, it protects the wood from small spills or drips and makes cleanup easier. But hey, leaving the wood raw gives it that authentic, natural aged patina over time.
With the right materials and a little dedication, you’ll be enjoying your custom whiskey cabinet in no time. The results will be absolutely worth the effort!
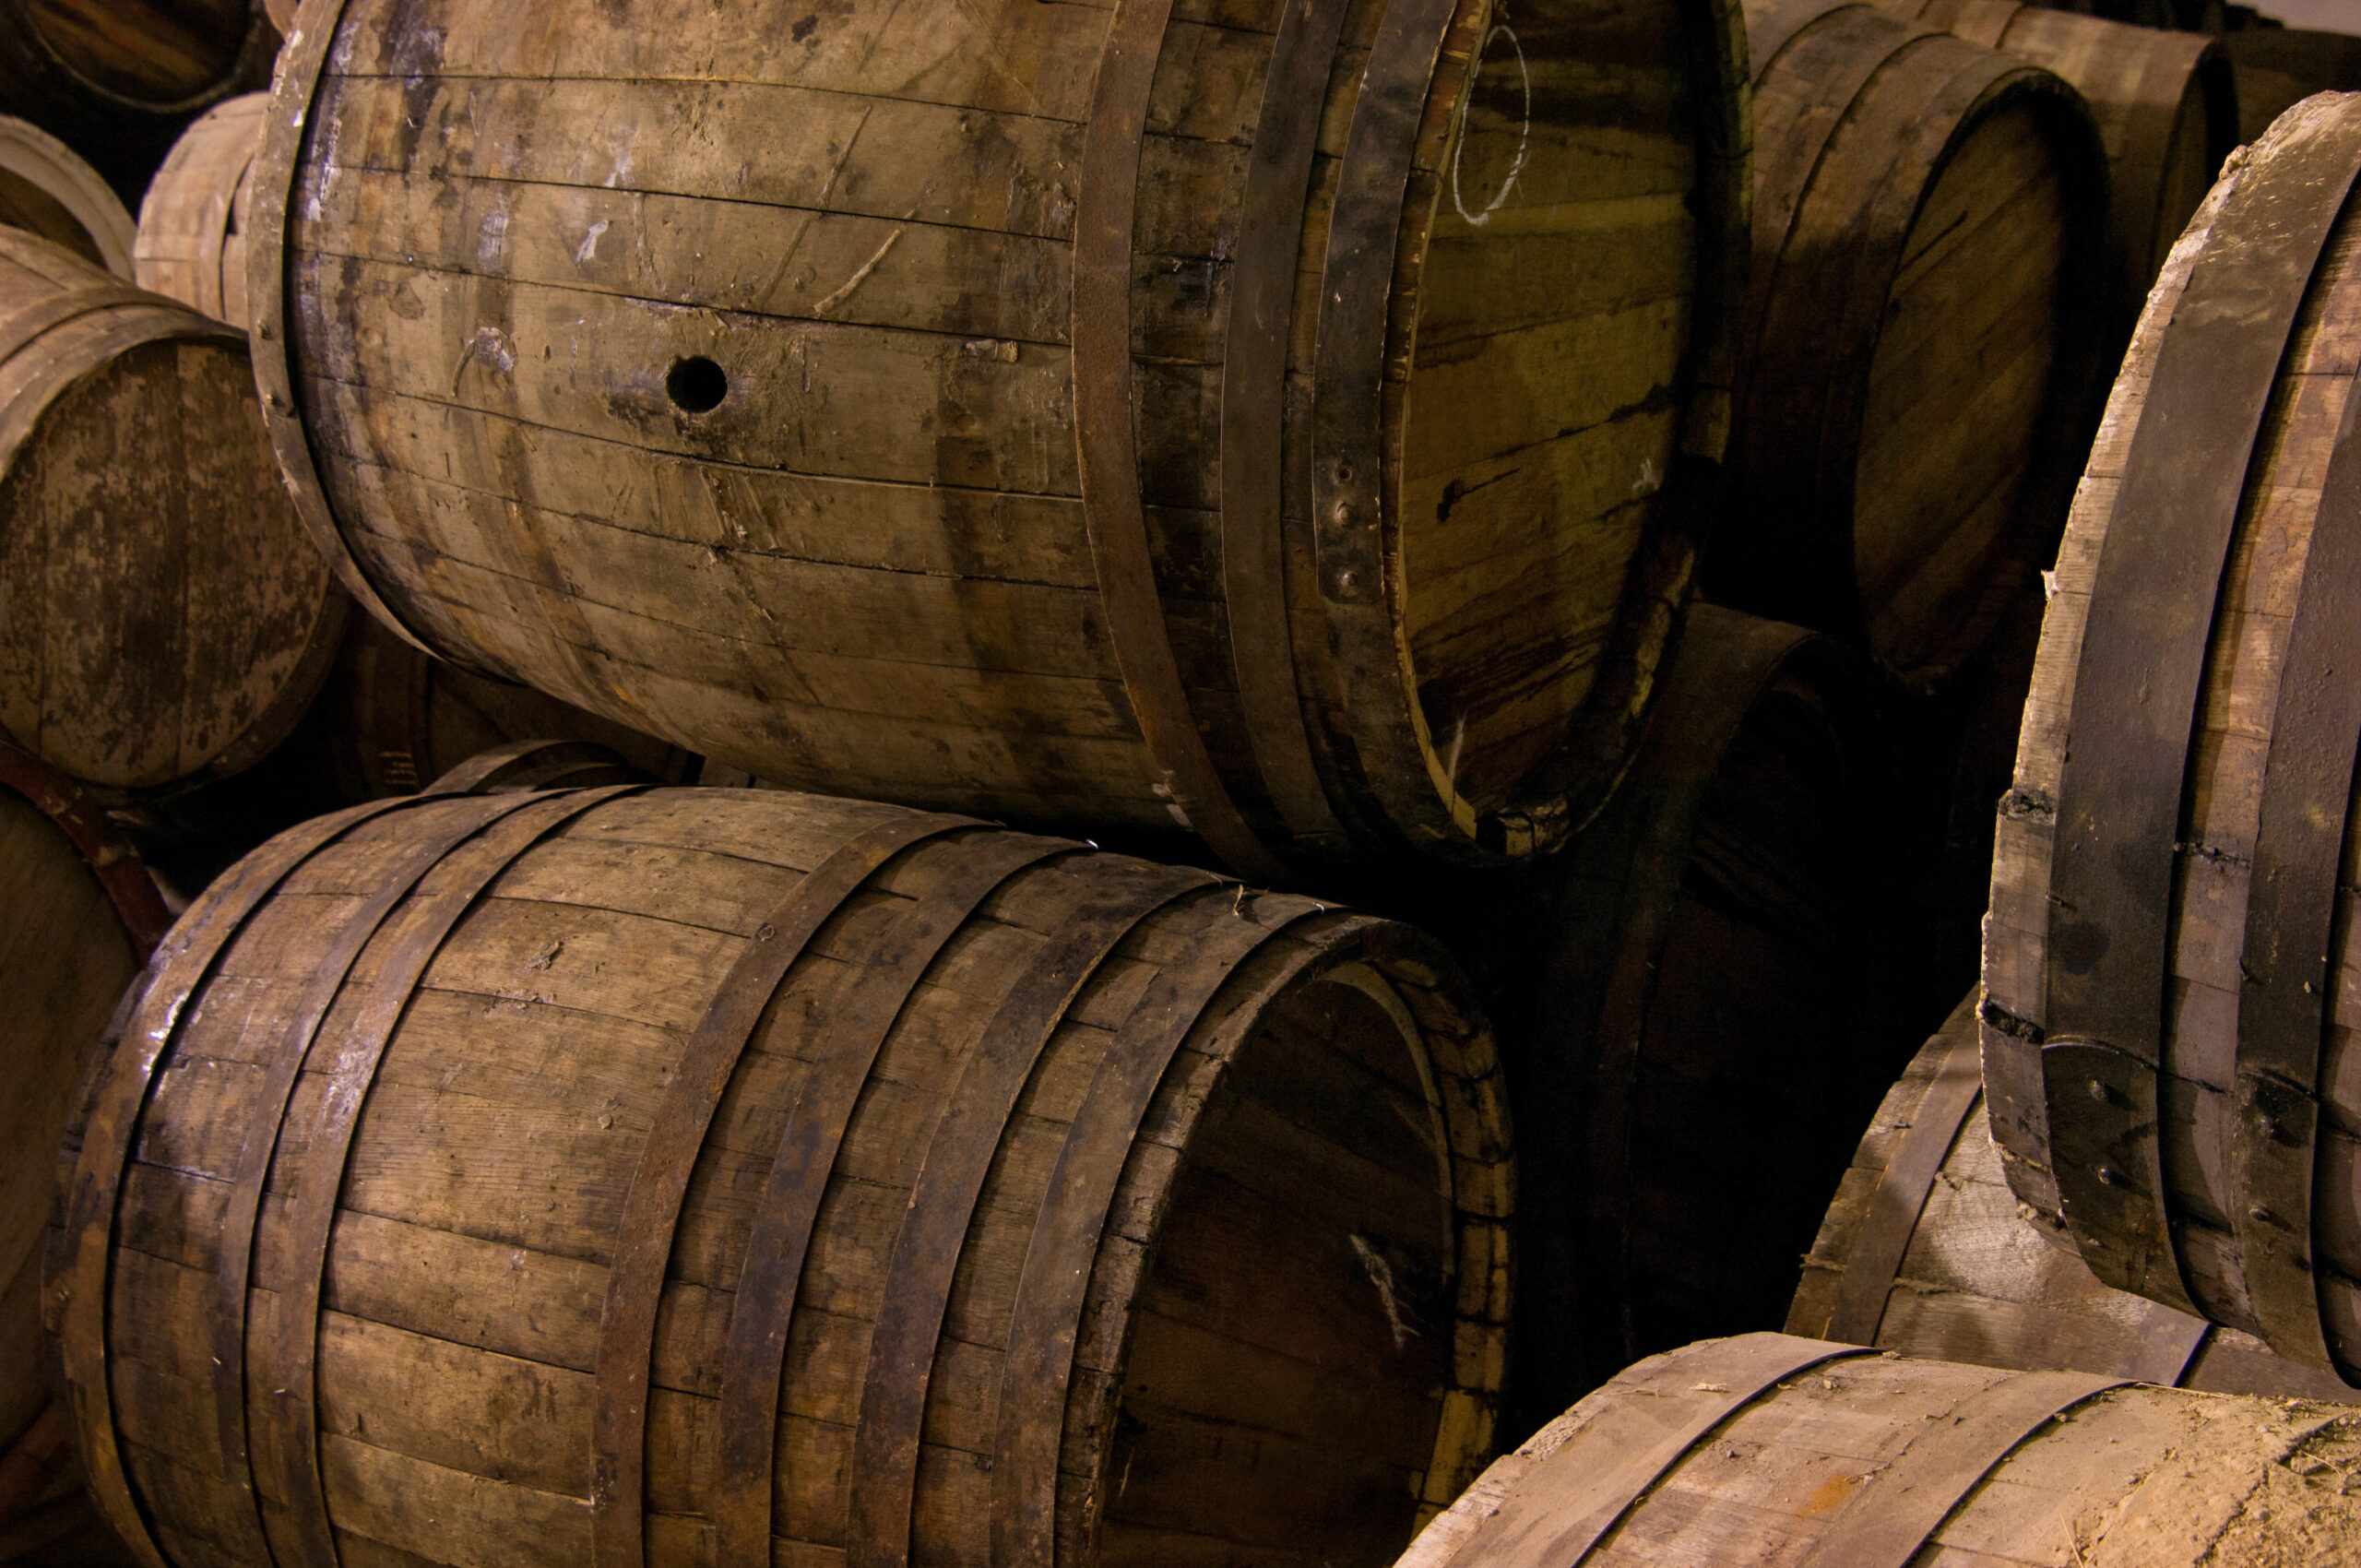
Prepare the Whiskey Barrel for Construction
Before you can turn that whiskey barrel into a functional piece of storage furniture, you have to handle some prep work.
First things first: empty and thoroughly rinse the inside of the barrel. Let it air dry completely to prevent any future mold growth or lingering musty smells.
Next up, you’ll want to smooth down the outside of the barrel. Start with a coarse 80-grit sandpaper and work your way up to a fine 220-grit for a beautiful, smooth finish. Once done, wipe away all that sawdust with a tack cloth.
Then, it’s time to protect the wood. Apply 2-3 coats of a protective sealant, allowing proper drying time between applications. A polyurethane or lacquer sealant works great for whiskey barrels. This seals the wood and often gives it a nice sheen.
Finally, you’ll need to figure out your base. You have a few simple options: attach pre-made furniture legs, build a basic wooden base, or mount casters so you can easily wheel your cabinet around your space.
With some easy cleaning, light sanding, and a few modifications, an old whiskey barrel is perfectly repurposed into a stunning cabinet or side table. The distinctive oak wood and metal hoops add tons of rustic charm, and it’s always a fantastic conversation starter!
Cut the Barrel Head Opening
Time for the delicate part, cutting an opening in the top (or barrel head) so you can easily access the interior. Take your time here!
Carefully mark a circular opening on the oak barrel head. Aim for a diameter of around 12 to 16 inches, large enough for access, small enough to keep the barrel’s structure. Use a jigsaw to slowly and carefully cut along the edge of your marked circle. Seriously, go slow, especially as the blade finishes the cut.
Once the circle is removed, use sandpaper to immediately smooth those edges and remove any splinters. Wipe away the sawdust with a tack cloth.
You now have a clean access point to the interior of your barrel. In the next steps, you’ll continue preparing the inside by sanding, staining, and sealing both the interior and exterior wood to finalize your new custom furniture.
Add Shelves and Supports Inside the Barrel
With the barrel prepped, the fun part begins: adding shelves and internal supports to hold your liquor bottles and glassware.
You need to measure the interior height and diameter of the barrel to plan the shelf spacing. For most standard whiskey barrels, three to four shelves spaced about 10 to 12 inches apart works perfectly.
Cut your wooden boards to the correct size for the shelves. Secure them firmly at the desired heights using wood screws drilled directly into the interior staves of the barrel. Always pre-drill pilot holes to prevent that old wood from cracking.
For rock-solid stability, consider adding wooden support boards that wedge snugly between the interior barrel staves. You can secure these with a combination of wood glue and screws.
With the shelves installed, you’ve basically created a custom whiskey barrel cabinet ready to display your favorite bourbon, rye, or scotch, alongside a sharp set of Glencairn glasses. This DIY barrel cabinet is absolutely going to be the envy of your entire home bar setup.
Sand and Finish the Inside of the Barrel
Once the main structure is built, it’s essential to sand and finish the inside of the barrel. This smooths the surface and prepares it to hold items cleanly.
Sanding
Use 100-grit sandpaper to lightly sand the entire interior surface. Wipe away the dust with a tack cloth. Repeat this with progressively finer grits (150, 220) until the inside is smooth and splinter-free.
Staining (Optional)
If you want to darken the barrel’s color or match it to other home bar furniture, apply a coat of wood stain with a paintbrush. Be quick to wipe away any drips or runs with a rag. Let the stain dry completely as directed.
Sealing
Apply two to three coats of a food-grade sealant, allowing adequate drying time between coats. Polyurethane or lacquer sealants are great for protecting the wood from moisture damage. Make sure you choose a sealant specifically rated for surfaces that might contact food or drinks, just to be safe.
Let the sealant cure for several days before using your barrel cabinet. Once fully cured, the inside will have a durable, protected finish, ready for you to stock with your favorite spirits and bar accessories!
Stain or Paint the Outside of the Barrel
Now that the inside is perfect, it’s time to give the outside of your barrel a killer finish. You have a choice between stain or paint.
Staining the barrel enhances the natural wood grain and keeps that desirable rustic look. Use a quality wood stain, applying 2-3 coats until you hit the color depth you want, drying between coats. Seal the stain with a clear topcoat like polyurethane to protect the finish.
If you prefer a bold, solid color, go with paint. Clean and lightly sand the outside, apply a primer, and let it dry. Then, apply 2-3 coats of paint, drying between each. For the toughest finish, use an enamel or cabinet paint. You should also seal the paint with a clear topcoat for protection.
Whether you stain or paint, using a durable topcoat is non-negotiable. This shields the wood from everyday damage, preventing scratching or peeling over time. Re-apply a topcoat every few years to keep your barrel cabinet looking brand new.
With a fresh finish inside and out, your whiskey barrel cabinet is officially ready for use! Load it up with your glassware, bottles, and bar tools to enjoy that authentic rustic, industrial vibe.
Attach Doors and Hardware to Barrel Front
Now that you have the barrel fully assembled and finished, the final steps are attaching the doors and hardware to complete your custom storage furniture.
Attach Barrel Front
Position the barrel front piece (which you cut out earlier, or a new piece) over the main opening. Center it perfectly and use clamps to hold it tight. Screw the front to the barrel staves, spacing the screws every 6 to 8 inches. Remove the clamps. Give the front a firm push, if it feels solid, you’re good to go.
Add Hinges
Measure the center point of both the barrel front and the area where the door will sit. You’ll want two strong hinges evenly spaced on either side of that center line. You can find large, sturdy barrel hinges at specialty hardware stores.
Attach Doors
With the hinges secured, align your first cabinet door with the hinge. Drill pilot holes through the hinge holes and screw the door in place. Repeat this for the second door. Test that the doors open and close smoothly, adjusting as needed.
Add Latch
Finally, install a latch, lock, or some other closure hardware to securely fasten the cabinet doors when closed. With the doors and hardware attached, your handcrafted whiskey cabinet is complete! Go on, pour yourself a glass of your favorite whiskey and admire your creation.
Seal and Protect Your New Whiskey Barrel Cabinet
With your barrel assembled, the last crucial step is to seal and protect the wood to ensure your whiskey barrel cabinet looks fantastic for years.
Stain or Seal
Apply 2-3 coats of stain, sealant, or a durable wood finish like polyurethane to the outside. This protects the wood from moisture, stains, and scratches. If you choose to leave the wood completely unfinished for a more rugged rustic look, just be aware that it might warp, crack, or stain over time without any protection.
Hardware
Attach casters or wheels to the bottom of the barrel if you want it to be mobile. Flip the barrel over and screw the casters directly into the round bottom edge of the staves.
Felt Pads
Attach small felt pads to the bottom edges of the barrel staves if you aren’t using wheels. This is important, it prevents the barrel from scratching wood or tile floors, and it helps stabilize the cabinet.
Wipe Clean
Dust or wipe down the outside with a damp cloth to remove any debris. Ensure the inside is clean and dry before stocking it. Placing a small dehumidifier pack inside is smart for absorbing excess moisture and preventing musty odors.
Your custom whiskey barrel cabinet is now fully ready to store and display your prized possessions. With just a little bit of occasional maintenance, this genuinely rustic and charming piece of furniture will stand the test of time.
Style and Stock Your Finished Whiskey Barrel Cabinet
Now that your whiskey barrel cabinet is officially built, it’s time to add some personality and fill it with your favorite spirits and accessories.
Glassware
Stock your cabinet with a quality set of whiskey glasses. Look for tumblers, Glencairns, or snifters, glasses designed to enhance the aroma and flavor of your whiskey.
Decanters
A beautiful decanter makes a sophisticated statement. Decanting can also help your whiskey breathe, softening the flavor. Choose a decanter with an airtight stopper to protect the contents.
Bitters and Mixers
For when you’re crafting whiskey cocktails, include essentials like aromatic bitters, sweet and dry vermouth, and other favorite mixers. Bitters add complexity, while mixers let you customize your drink.
Garnishes
Every home bar needs garnishes! Think luxardo cherries, fresh citrus peels, cinnamon sticks, or herbs. Garnishes add that final layer of flavor and aroma.
Openers and Tools
Make sure you have the basics: a corkscrew, bottle opener, jigger measure, muddler, strainer, and cocktail shaker. Good bar tools make mixing drinks seamless.
With your whiskey barrel cabinet beautifully styled and fully stocked, you are all set to craft memorable whiskey cocktails and entertain friends. What’s going to be the first thing you fill it with? The possibilities are endless!
Final Thoughts
So there you have it, a custom whiskey barrel cabinet ready to be the star of your home. By following these straightforward steps, you’ve handcrafted a functional piece of rustic décor that proudly highlights your appreciation for whiskey. Now, when friends visit, you have the perfect spot to stylishly store and display your favorite bottles of bourbon, rye, or scotch. And the best part? Knowing you put your own personal touch on it with that custom stain or those unique handles. Pour yourself a glass of your best whiskey, sit back, and truly admire your own handiwork. You absolutely earned it! Building your own whiskey barrel cabinet is surprisingly easy and incredibly rewarding.