You’ve been eyeing those old whiskey barrels gathering dust in your garage and totally wondering what cool project you could make with them. Well, wonder no more! Those oak staves can become a super stylish side table that will seriously be the highlight of your living room or patio. In this article, I’ll walk you through a simple DIY project using the reclaimed barrel wood to craft an awesome rustic table. You’ll learn exactly how to prep and cut the staves, assemble the table base, attach the barrel head shelves, and finish it off with a cool industrial metal band around the top. With just a few tools, a free weekend, and some good old-fashioned elbow grease, you’ll have a one-of-a-kind table to show off. The rich wood tones and authentic whiskey barrel vibe will give your space a warm, inviting look. So let’s jump right into your next woodworking adventure, turning old whiskey barrels into trendy home decor!
Upcycling Whiskey Barrels Into Rustic Furniture
Sourcing the Barrels
The very first step is tracking down those used whiskey barrels. The best place to start is checking with local distilleries or breweries to see if they have any barrels they’re willing to part with. You can also find them online through specialized barrel brokers and resellers. Look for barrels in solid condition with intact metal bands, these are key for building the sturdiest furniture.
Prepping the Wood
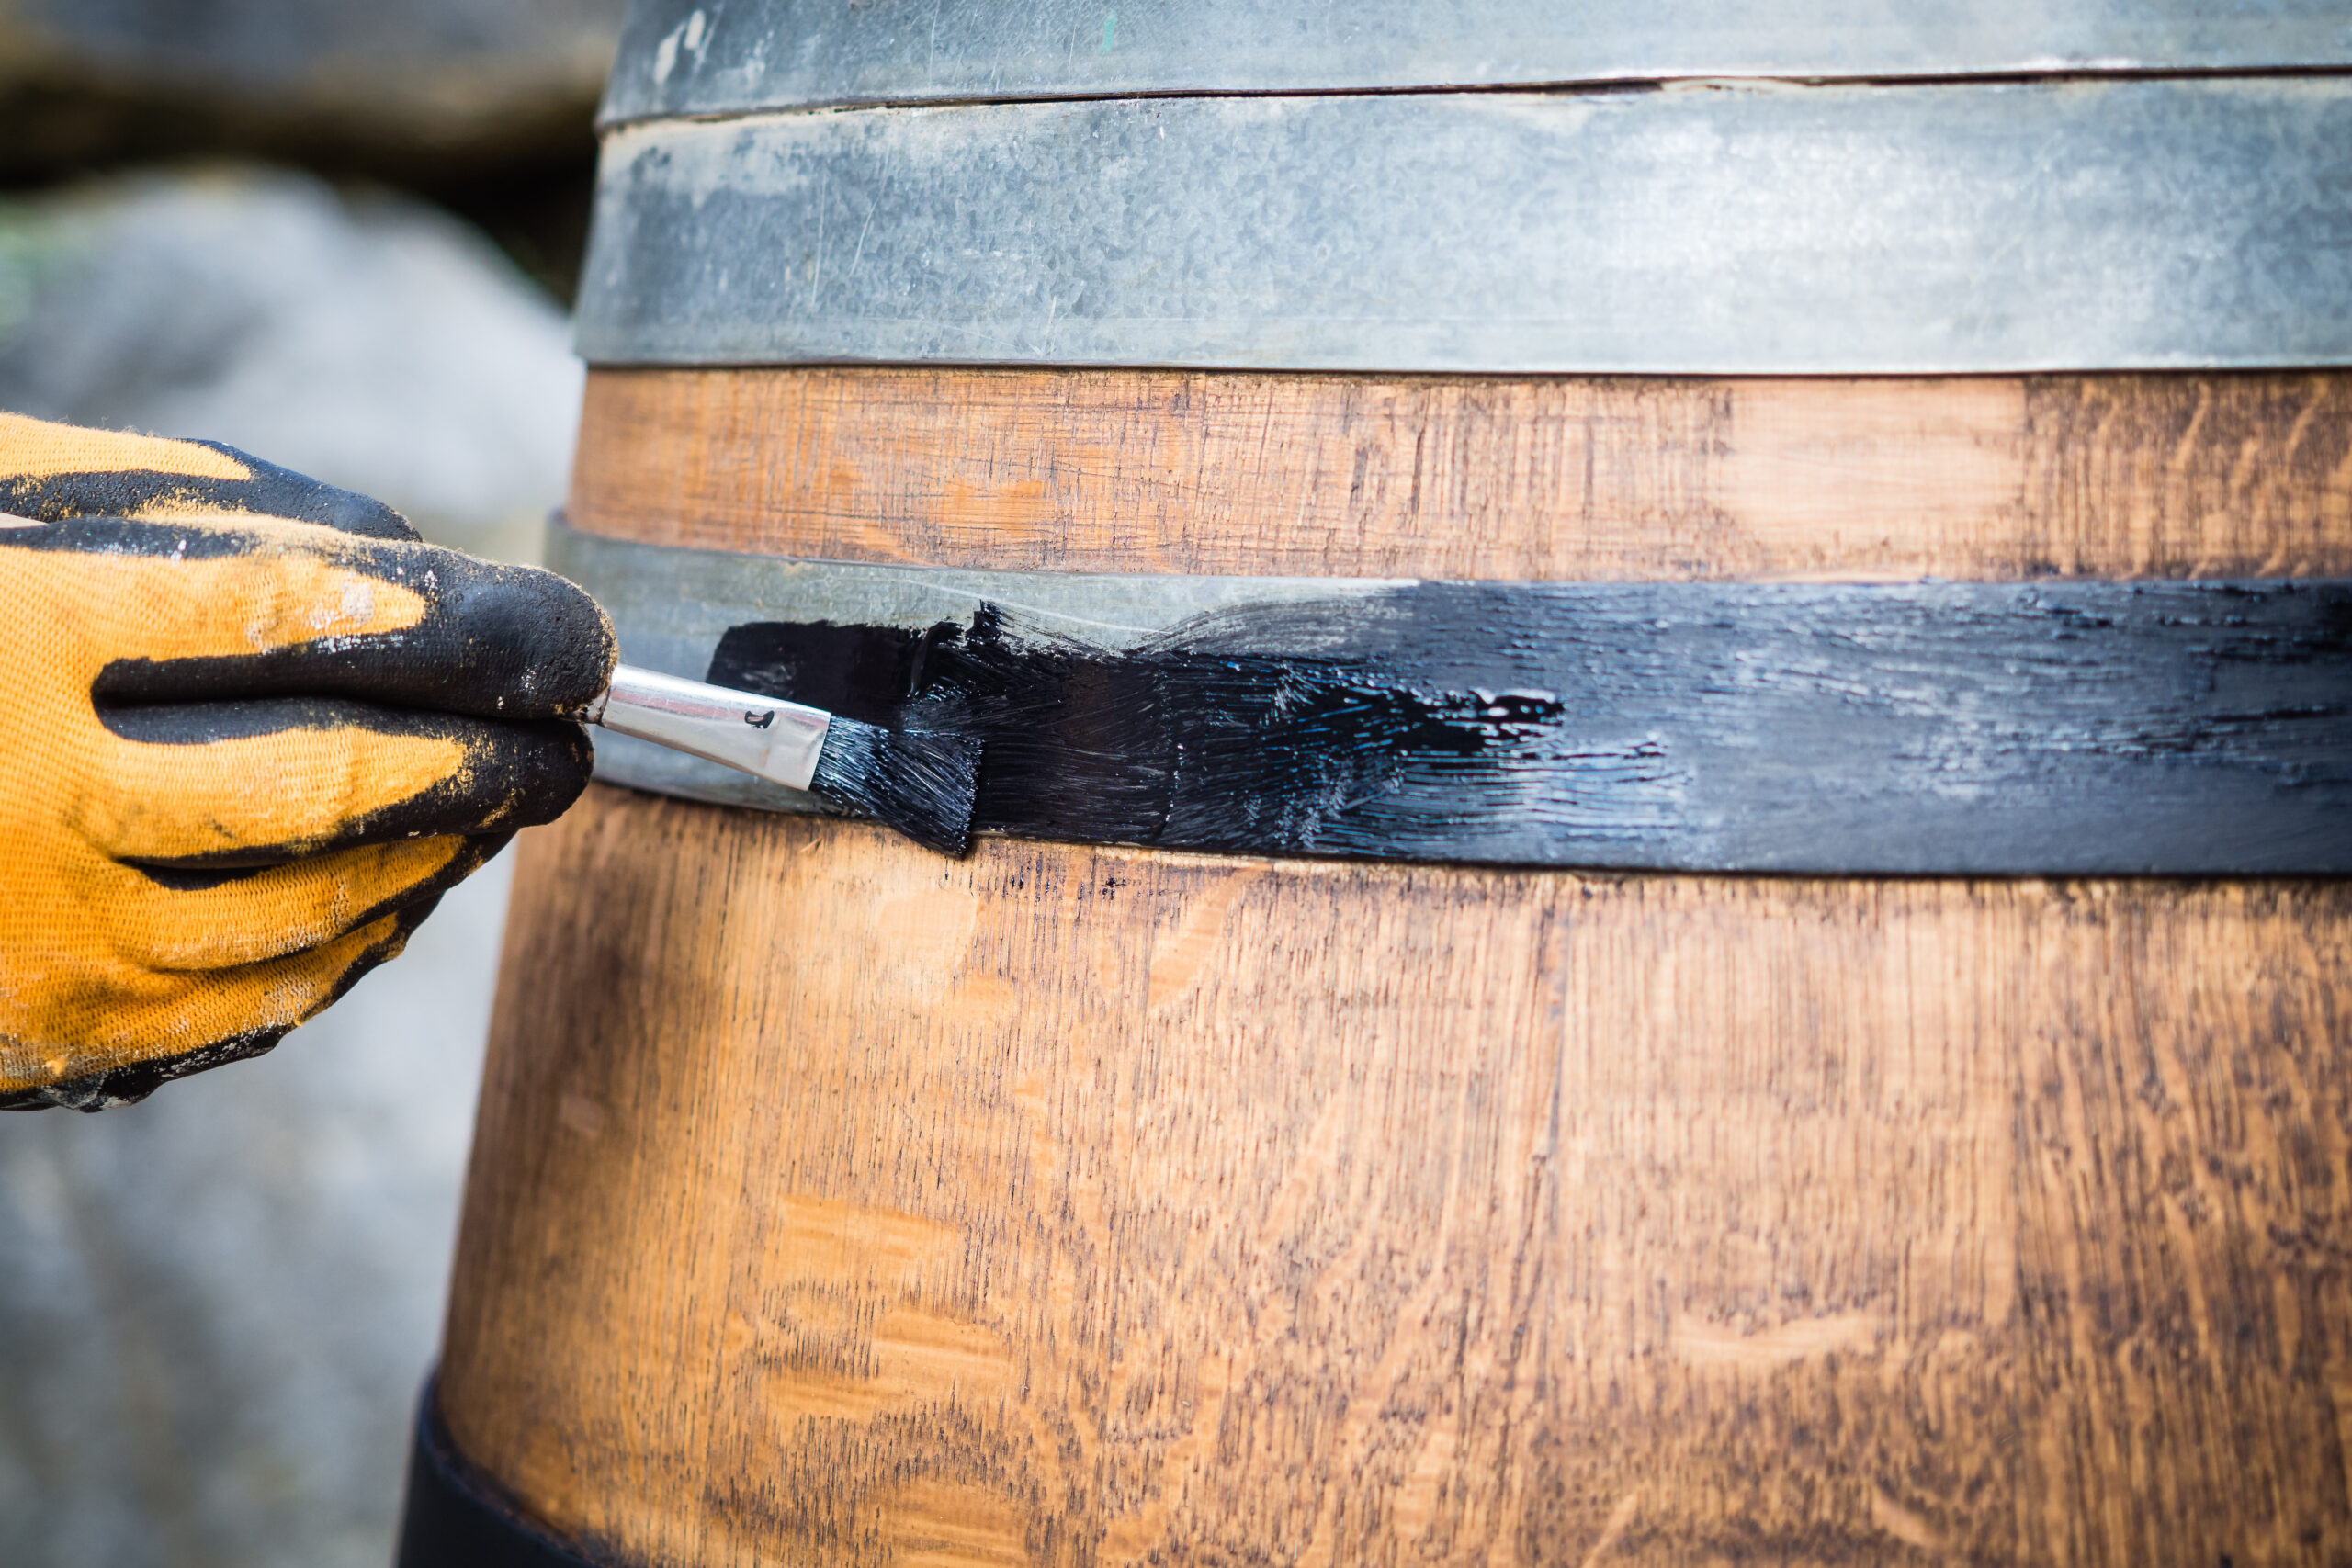
Once you have the barrels, you’ll need to remove the metal hoops and separate the staves. Clean and sand the staves thoroughly to smooth the reclaimed wood and open up the grain. Applying a coat of sealant like tung or linseed oil helps protect the wood. For an extra dark finish, you can lightly char the inside of the staves with a blowtorch before sanding and sealing them.
Assembling the Table
To make your side table, cut three barrel staves to an equal length for the legs. Cut a circle from the barrel head to form the tabletop. Attach the legs to the outer edge of the tabletop, spacing them evenly. Secure those joints using wood glue and sturdy screws or nails.
Adding Decorative Touches
For extra rustic flair, you can reattach one or two of the original metal hoops around the edge of the tabletop. You can also distress the wood further by gently hitting it with chains or rubbing it with wire brushes. The natural markings and patina in the reclaimed wood, combined with the distinctive barrel shape, give this furniture loads of authentic character. With some reclaimed wood and metal parts, you’ve crafted a functional piece of rustic decor. Your whiskey barrel side table is guaranteed to be a conversation starter!
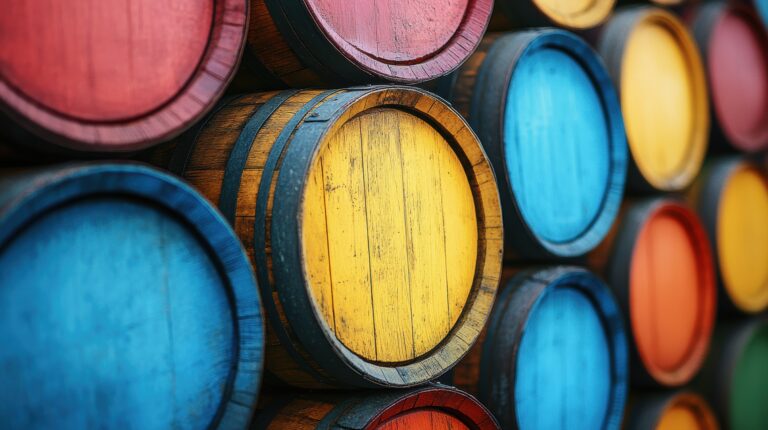
Sourcing Authentic Whiskey Barrels for Your Project
Finding the right barrels is part of the fun!
Finding Used Barrels Locally
One of the best ways to get your hands on used whiskey barrels is to contact local distilleries, breweries, or wineries in your area. They often sell or give away used barrels since they are typically only used once for aging. Contacting them directly is often the way to find barrels for free or very cheap.
Purchasing from Barrel Brokers
If you strike out locally, your next best bet is to buy used whiskey barrels from barrel brokers or resellers. These businesses source barrels from across the country and sell them to individuals. You can often find them on sites like Craigslist or Facebook Marketplace. Be prepared to pay between $100 to $200 for a used barrel in good condition.
Consider Barrel Alternatives
If authentic used whiskey barrels are too hard to find or out of your budget, you have alternatives. You can purchase oak barrel staves (the individual planks) and use them to create the barrel shape. You can also use new oak barrels, they provide the same rustic look but at a slightly lower cost.
Any way you source them, used whiskey barrels add incredible rustic charm and character to any decor project.
Tools and Supplies Needed for Crafting a Whiskey Barrel Side Table
To make this beautiful rustic side table, you’ll need these essential tools and supplies.
Hardware
You’ll want to reuse the original barrel bands, the metal rings that held the staves together. You’ll also need sturdy wood screws or nails, washers, and maybe some casters or glides so you can move the table easily.
Lumber
You need the staves, the curved wooden planks that make up the barrel. Look for used whiskey or wine barrel staves, typically made of oak, that are at least 1 inch thick. You need enough staves for the tabletop and the four legs. You might need to cut some staves down to size.
Safety Equipment
Since you’ll be using power tools, be sure to wear safety goggles, work gloves, and a dust mask. Ear protection like earplugs is also a good idea.
Power Tools
You’ll want tools like an electric sander (or sandpaper), a drill/driver, a circular saw, and possibly a table saw. These will help you cut the staves to length, drill pilot holes, and sand any rough edges.
Finishing Supplies
For the final touches, you’ll need wood filler or putty to fill any imperfections in the staves. You must also apply a sealant like polyurethane or lacquer to protect the reclaimed wood. Stain or paint is optional, depending on the rustic finish you want.
With some elbow grease and the right tools, you’ll be well on your way to crafting a one-of-a-kind whiskey barrel side table that brings rustic charm to your home.
How to Disassemble a Whiskey Barrel for Reuse
Disassembling a whiskey barrel requires some basic tools and patience. Once you break it down into staves, the barrel wood is ready for a variety of rustic DIY projects.
Removing the Hoops
The metal hoops hold the staves together. Use a flathead screwdriver or pry bar to lift one end of a hoop. Work the screwdriver around the circumference, popping the hoop out of the groove in each stave as you go. Repeat with the remaining hoops.
Separating the Staves
With the hoops removed, the staves are still held together with wood glue and their tapered shape. Insert a chisel or pry bar into the gaps between staves and gently work it back and forth to break the glue seal. Be very careful, as the wood edges can be sharp. Once you’ve worked your way around the barrel, the staves should separate easily. Clean off any excess wood glue from the staves.
Salvaging the Barrel Heads (Optional)
The barrel heads, the circular pieces at each end, can also be repurposed. Use a hammer and chisel to break the seal between the barrel head and staves. Then use a pry bar to gently work around the edge to separate it. With some sanding, the barrel heads make great tabletops or decorative wall pieces.
Disassembling a whiskey barrel takes time, but you’ll be rewarded with gorgeous reclaimed wood pieces that have a rich history for your home decor.
Prepping and Sanding the Whiskey Barrel Staves
The staves cut from the whiskey barrel need some serious prep before assembling your side table. Inspect each stave for splinters or cracks. Lightly sand any rough areas.
Cleaning
Use a damp cloth to wipe away any dirt or debris. For stubborn stains, use a paste of water and baking soda and scrub with steel wool. Rinse well and let air dry completely.
Sanding
Start with 80-grit sandpaper and sand in the direction of the grain, using light, even pressure. Work your way up to finer grits like 150 and 220. The goal is to smooth the surface while retaining the rustic character of the wood. Use a sanding block or electric sander to keep surfaces even. Pay extra attention to smoothing the inside of the stave.
Distressing (Optional)
For an aged patina, you can distress the staves further using a wire brush or chisel. Focus on edges where natural wear would occur. Work slowly and check your progress frequently. Wipe away dust with a tack cloth.
Sealing (Optional)
Apply a sealant like tung oil or polyurethane for protection. Wipe on 2-3 coats, letting it dry between applications. A sealant is not required but will help prevent stains and scratches and really accentuates the wood grain.
With some effort, you’ll have those staves prepped and ready to construct your whiskey barrel side table. The marks and patina you create will give your table a unique rustic charm.
Building the Whiskey Barrel Side Table Base
Now that your barrel staves are prepped, it’s time to assemble them into a sturdy base for your side table. You’ll use wood glue and metal reinforcement to join the pieces.
Legs
Select four barrel staves of equal length for the legs. Glue two staves together at 90-degree angles to form an “L” shape. Clamp them until the wood glue dries. Once dry, attach metal brackets to the inner corners for reinforcement. Repeat to make four legs total.
Aprons
Take two more staves and cut them to fit between the legs, parallel to the ground. These will be your front and back aprons. Glue the aprons in place between the legs, clamping until dry. Add metal brackets for extra support.
Side Rails
Measure the distance between the front and back leg on one side. Cut two barrel staves to this length for your side rails. Glue and clamp the side rails between the front and back legs, perpendicular to the aprons. Again, use metal brackets to strengthen the joints.
Center Supports
For larger tables, include center supports for stability. Cut two more staves to fit across the middle of the base, parallel to the aprons. Glue, clamp, and bracket these center supports in place.
Once the wood glue has dried, your whiskey barrel side table base is ready for a top. The metal brackets provide strength and enhance the industrial look of the table. Your DIY whiskey barrel furniture is sure to become a beloved accent piece.
Attaching the Table Top Made From Half Barrel Heads
Now it’s time to attach the tabletop, which we’re making from half barrel heads, to the base.
Securing the First Half Barrel Head
Carefully place one half barrel head onto the top of your assembled base. Center it so it overhangs evenly on all sides. To secure it, drill pilot holes through the top support staves of the base into the edge of the barrel head. Space the holes about 6 to 8 inches apart. Then drive wood screws through the holes to firmly attach the barrel head to the base.
Attaching the Second Half Barrel Head
If you’re making a tiered shelf, gently flip the table over so the bottom is facing up. Place the second half barrel head onto the bottom of the base, aligning it with the top head. Secure it using pilot holes and wood screws in the same manner.
Finishing Touches
Carefully flip the table right-side up. You now have a rustic tabletop made of repurposed barrel wood. For a smooth surface, you can sand down the edges and any rough areas. Then apply two or three coats of polyurethane or lacquer, drying completely between coats. This protects the wood and gives it a durable finish.
Your whiskey barrel side table is now complete! This handcrafted piece adds warmth and texture to any space.
Finishing and Sealing the Whiskey Barrel Side Table
The final step is finishing and sealing your rustic side table to protect the wood and enhance its natural beauty. You want a sealant suitable for wood and that provides good UV protection if it’s going outside. Oil-based polyurethane is a great choice.
First, thoroughly clean and sand the entire barrel stave side table. Wipe away all dust with a tack cloth. Apply 2-3 coats of polyurethane, waiting about 24 hours between coats. Use a brush for the smaller areas and a foam applicator for large, flat surfaces. The polyurethane will really bring out the rich wood tones and grain of the oak wood.
- For a matte look, use satin polyurethane.
- If you prefer more shine, choose a glossy polyurethane.
Make sure to seal the underside of the tabletop and inside the joints to prevent moisture damage.
Once the final coat is dry, you can buff the surface with ultra-fine steel wool (grade 0000) for a supersmooth finish. Protect the table by avoiding placing potted plants directly on the wooden top.
Your homemade whiskey barrel side table is now complete and ready to use! The polyurethane sealant will protect it while allowing the wood to patina naturally over time.
Side Table With Half Barrel Heads for Shelves & Top Metal Band FAQ
You’ve got questions, we’ve got answers! Here are the most common questions about building a rustic side table from whiskey barrel staves.
What tools will I need?
The basic tools for this project include a drill/driver, jigsaw or circular saw, sandpaper, wood glue, clamps, and possibly a metal cutting blade. Plus, your safety gear!
How do I cut the barrel heads?
Carefully cut the barrel heads in half using a jigsaw, circular saw, or reciprocating saw. Clamp the head securely before cutting, wear protective equipment, and go slowly. Sand down any rough edges.
Can I stain or seal the wood?
Yes, staining or sealing is optional but highly recommended to protect the table and enhance its rustic look. An oil-based stain penetrates the wood grain, and a polyurethane sealant protects the surface.
How do I attach the barrel heads?
Center one barrel head on your base. Apply wood glue to the rim of the base supports. Place the barrel head on top and clamp in place. For extra security, use wood screws around the perimeter.
Will the table be stable?
Attaching the barrel heads securely to the base provides stability. The table might still be slightly uneven due to the barrel shape, that just adds to its rustic appeal!
Does it need a finish?
A finish is optional but will protect the wood and enhance the rustic look. We recommend an oil-based finish or a polyurethane sealant. A finish helps prevent stains and makes the table easier to clean.
Final Thoughts
So there you have it, your very own rustic side table made from whiskey barrel staves. Honestly, it’s really not that hard; it just requires patience and some elbow grease. And you’ll feel so incredibly proud every time you look at that beautiful thing, knowing you made it yourself. The end result is a truly unique piece of furniture with tons of character that fits perfectly into your cozy home decor. Your guests will absolutely get a kick out of it when you tell them the story behind those whiskey barrel staves.
Now, grab your favorite drink, put your feet up on that newly crafted table of yours, and toast to your handiness. This is just the beginning, a whole world of DIY barrel projects awaits you!