Ever stumble upon an old whiskey barrel and wonder if you could turn it into something cool? You’re not alone. Those oak barrels are sturdy, full of character, and still have that amazing scent of aged spirits soaked into the wood. Why let them go to waste? With a few basic tools and a little hard work, you can transform a used whiskey barrel into a stylish piece of decor for your home or garden.
All it takes is some sanding, sealing, and maybe a splash of color to bring out the natural wood grain. Before you know it, you’ll have a custom barrel planter, a unique bar cart, an outdoor table, or whatever else your DIY heart desires. So if you’ve got an old barrel just sitting around, why not give it a second life? With the tricks we’re about to share, you’ll be raising a glass to your own handiwork in no time.
Assessing the Condition of Your Whiskey Barrel
First things first, check for any visible cracks or holes in the wood. Give the barrel a good wipe-down and inspect every surface for damage. If you only find minor cracks, you can often fix them with wood glue and clamps. For larger holes or splits, you might need to patch and reinforce the wood.
Next, see if the barrel holds liquid by filling it about a quarter full with water. Let it sit for a few hours, then check for leaks. If it’s watertight, just dump and rinse the water, and you’re good to go. If not, you’ll need to find and seal any leaks before you use the barrel.
Also, make sure the barrel sits level. Over time, the wood can warp or the metal rings can get misshapen. Place the barrel on a flat surface and see if it wobbles or spins. If it’s not level, you can try to correct it with wood shims, but an uneven barrel might need a professional’s touch to avoid structural issues down the road.
Finally, check the inside of the barrel for any musty smells or visible mold or mildew. If you find any, scrub the barrel with a bleach solution to sanitize it before its first use. An old barrel that’s been stored improperly could have some nasty bacteria, so if you have any doubts about its safety, it’s best to avoid using it for food items or drinks.
With a little TLC, an old whiskey barrel can last you for years. But make sure to give it a thorough checkup first to ensure it’s safe and ready for its intended use. Your barrel—and your health—will thank you!
Cleaning the Inside of the Barrel Thoroughly
To get your barrel in tip-top shape, you’ll need to scrub away any leftover residue.
Fill the barrel about a quarter full with a mixture of hot water and distilled white vinegar or a commercial barrel cleaner. Let it soak for at least two to three days so all the stuck-on bits can loosen up.
Once it’s had a good soak, scrub the inside with a stiff barrel brush. For tough stains, use an abrasive sponge. Rinse it several times with hot water to get rid of any remaining debris.
After scrubbing, give it one more rinse with a bleach solution to sanitize it, then rinse again with water. Let the barrel air dry completely to prevent any mold from growing before you fill it again.
With some elbow grease, your whiskey barrel will be sparkling clean and ready for its new purpose. A thorough cleaning is key to ensuring it’s ready for whatever you have in mind and will last for years to come.
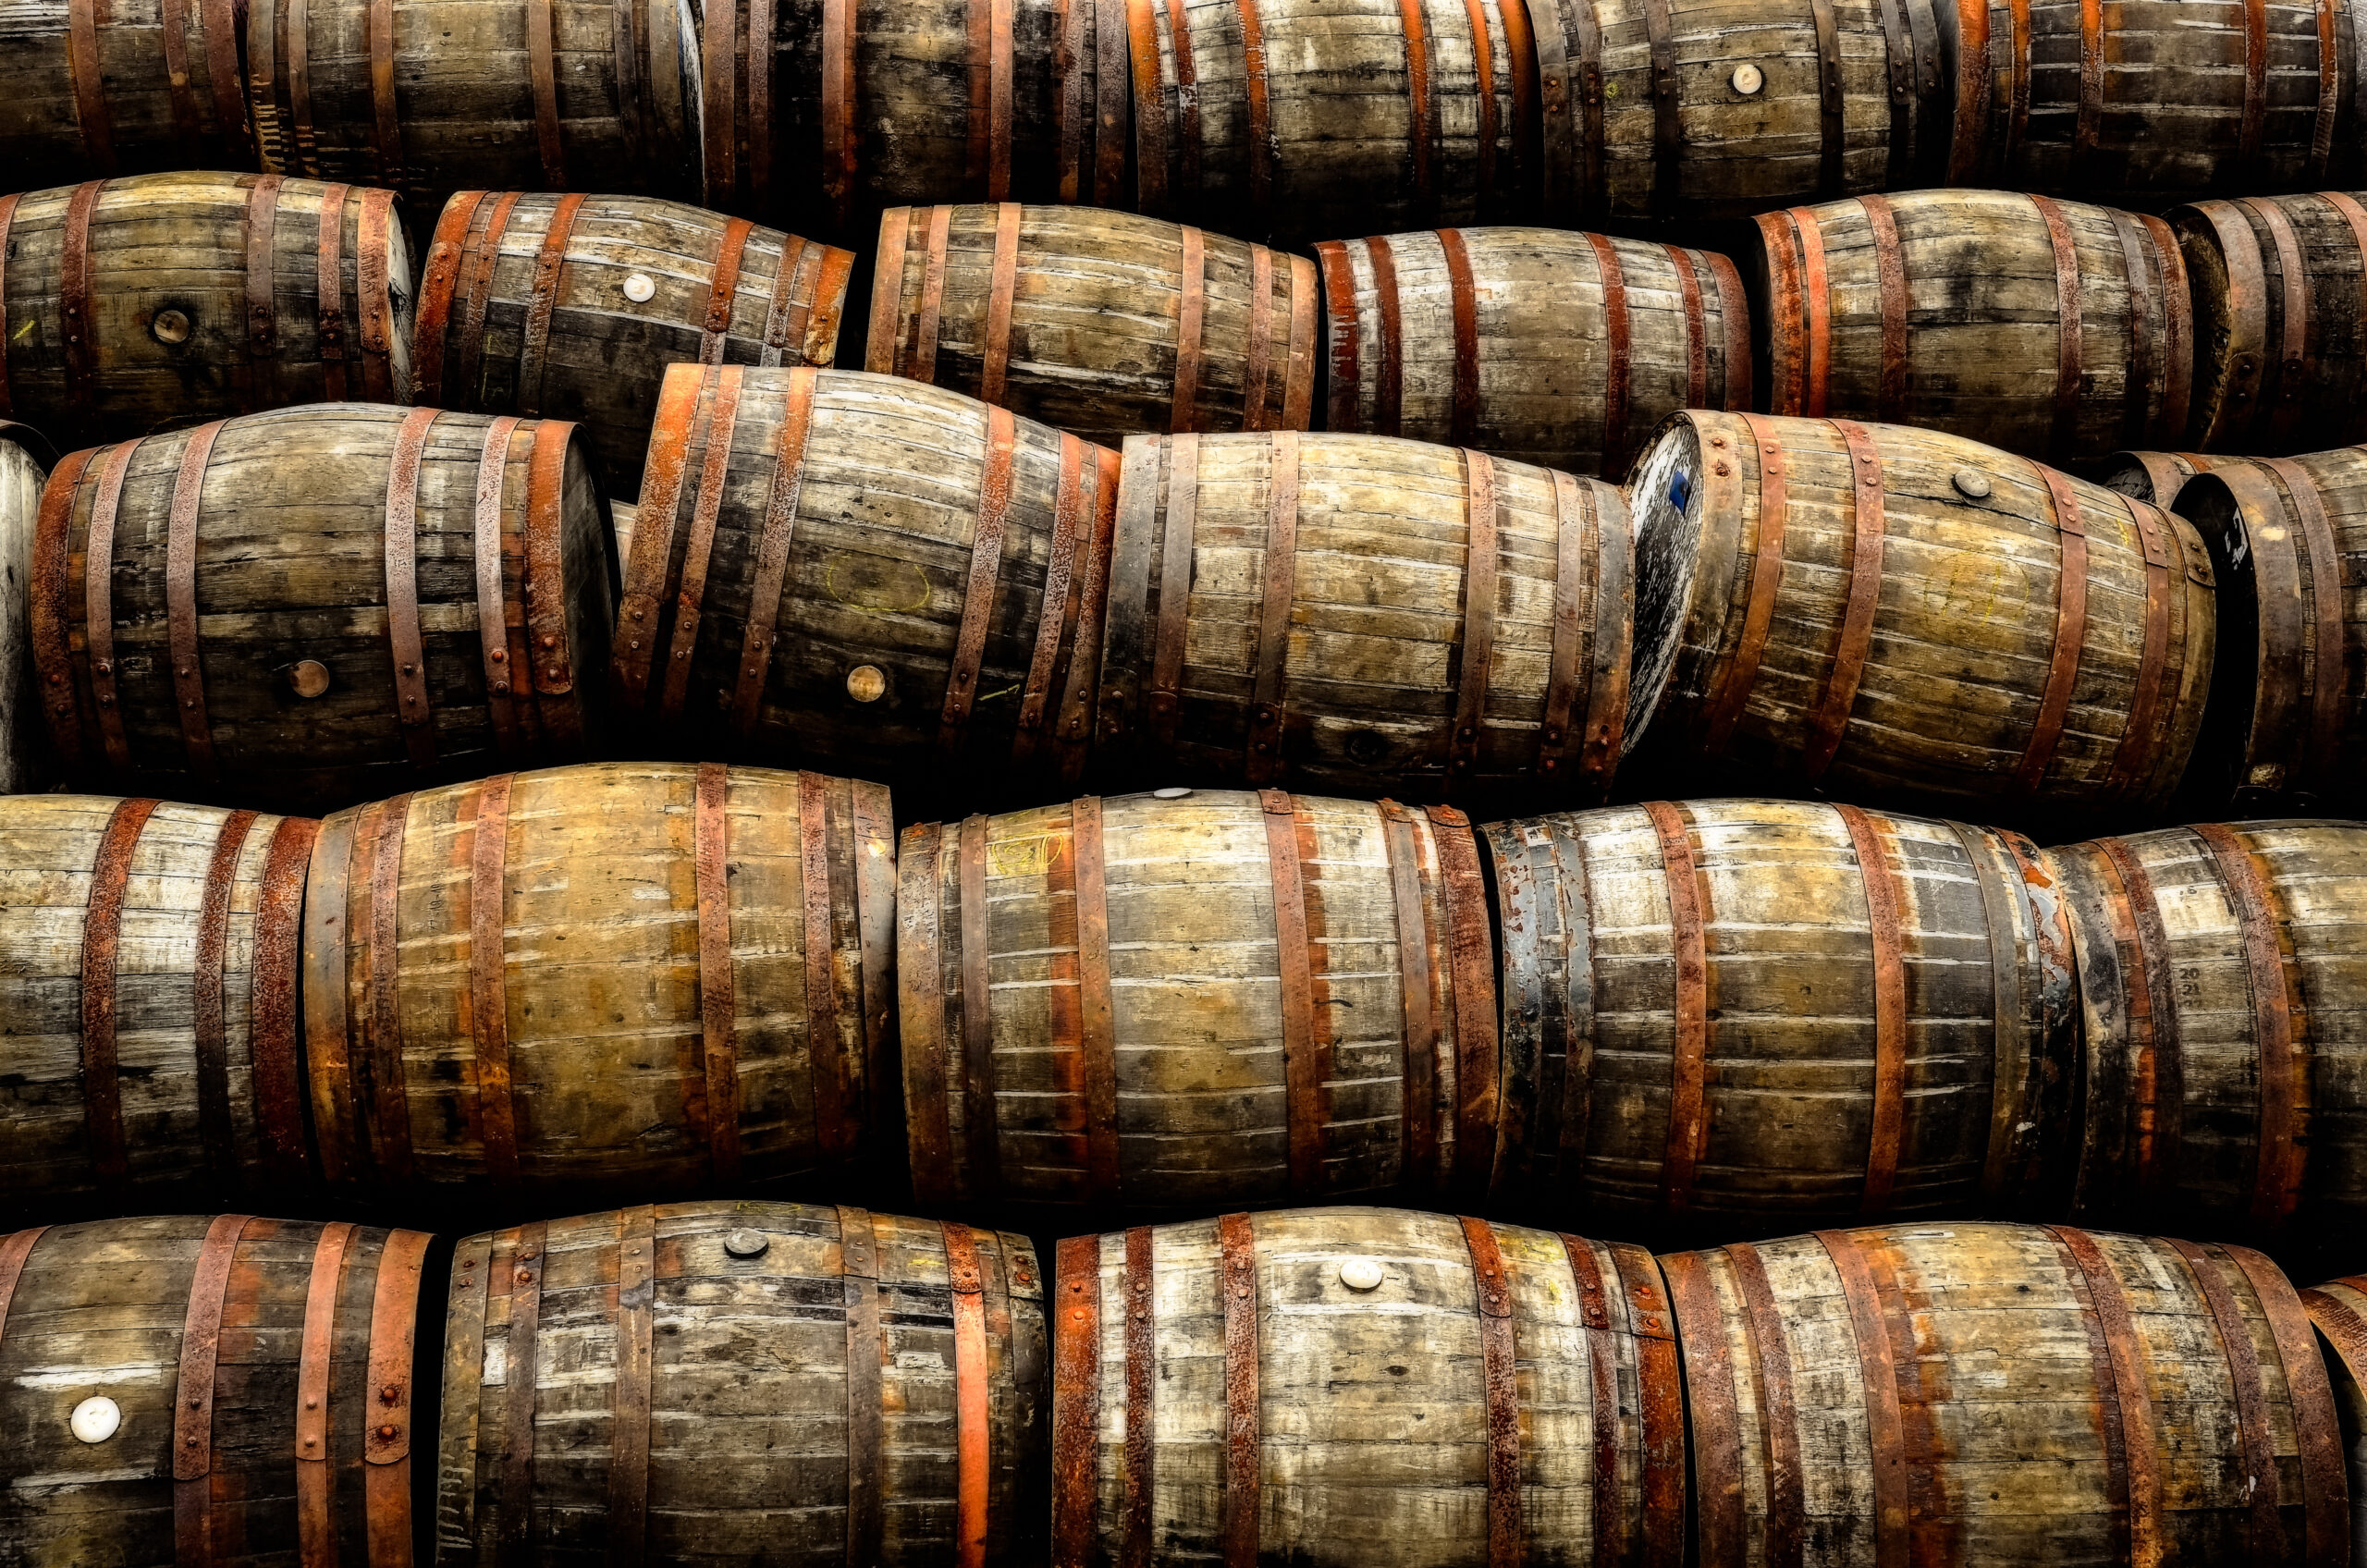
Tightening and Replacing Any Loose or Damaged Staves
If your whiskey barrel is leaking or some of the staves have come loose, it’s time for some repairs. Tightening the metal hoops and replacing any damaged staves will ensure your barrel stays watertight.
Checking the Hoops
The metal hoops are what hold the staves together. Use a rubber mallet to gently tap around the circumference of each hoop. Any loose spots will make a dull, hollow sound. Tighten loose hoops by lightly hammering them back into place.
Replacing Staves
Inspect the staves—the wooden planks that make up the barrel body. Look for any that are visibly damaged, rotted, or leaking. You might need to remove a few hoops to get to the problem staves. Use a chisel and mallet to carefully pry out the damaged ones. Take the pieces to a lumberyard and have them cut new, matching replacement staves.
Sand or plane the edges of the new staves so they fit snugly. Apply wood glue to the edges of the surrounding staves and the new pieces. Fit the new staves into the empty spots and hold them in place with clamps as the glue dries.
Once the glue is set, put the hoops back on. Start with the bottom hoop and work your way up, tightening each one as you go using the rubber mallet. Add water to check for any leaks before filling your barrel. With some wood glue, new staves, and tight hoops, your whiskey barrel will be ready for many more years of use.
Sanding Down the Outside of the Barrel
To give your barrel a smooth finish, you’ll need to sand down the outside. Start with a coarse grit sandpaper, like 80 to 120 grit, to get rid of any loose wood fibers and smooth over imperfections.
Work slowly in small sections, always sanding with the grain of the wood. Wipe away the dust with a tack cloth as you go. Once the entire barrel has been sanded with the coarse grit, repeat the process with progressively finer sandpaper, like 150, 220, and 400 grit.
The finer the grit, the smoother the surface will get. Take your time—sanding thoroughly with multiple grits of sandpaper is the key to getting a glass-like finish. When you’re done, wipe the entire barrel down one more time to remove any leftover dust before you move on to staining and sealing.
Applying a Food-Safe Sealant to the Inside
After cleaning and drying the barrel, it’s time to apply a sealant to the inside. This will help waterproof the wood and prevent leaks. You’ll want to use a sealant that’s specifically made for surfaces that will touch food or drink, such as butcher block oil or beeswax.
Apply two to three coats of the sealant, waiting at least 30 minutes between coats. Use a paintbrush to coat the entire inside of the barrel, including the lid. Make sure you get into all the cracks and crevices. Let the final coat dry completely, which should take at least 24 hours.
Once dry, rinse the barrel with water to remove any remaining dust. Your barrel is now ready to use for fermenting or aging spirits, or even as a decorative planter. The sealant will need to be reapplied every six to twelve months to keep it protected. With proper care and maintenance, a used whiskey barrel can last for years in your home.
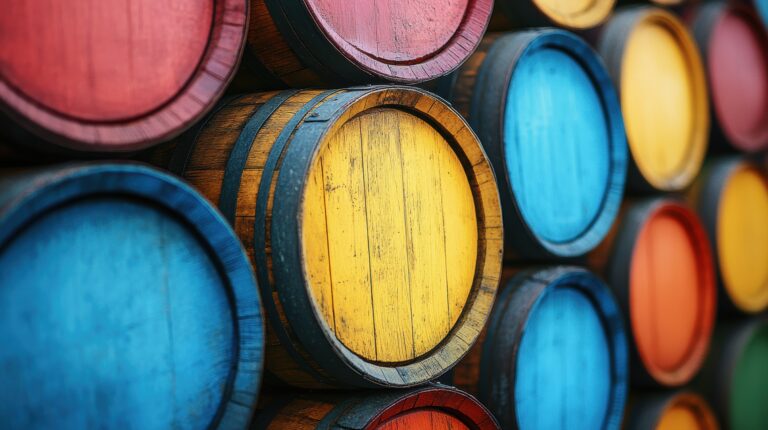
Staining or Painting the Exterior as Desired
If your whiskey barrel is looking a little worn and weathered, staining or painting the exterior can give it a fresh new look. You have a few options to choose from:
Stain
A wood stain will enhance the natural wood grain and give your barrel a rustic look. Apply a stain, like a gel stain or penetrating stain, with a brush. Let it soak in as directed, then apply a sealant like polyurethane to protect the finish. For a darker, richer tone, just add more coats.
Paint
For a crisp, solid color, use exterior paint. Clean and lightly sand the barrel, then apply a primer. Let it dry, then paint on two coats of your chosen color, waiting for each coat to dry in between. A satin or semi-gloss paint works well for barrels. Seal the paint with a clear topcoat sealer to protect it from scratches and weather.
Distress
If you prefer a rustic, timeworn look, you can distress the paint by lightly sanding the edges and surfaces after the final coat has dried. Use a sanding sponge or fine-grit sandpaper, and buff away small amounts of paint at a time. Wipe away dust with a tack cloth and seal the finish with a matte sealer. The distressed areas will show through, giving your barrel an authentic aged patina.
Whichever option you choose, properly preparing and sealing the barrel will help ensure a long-lasting finish and protect the wood from weather damage. With some TLC, an old whiskey barrel can become a stunning decorative piece for your home or garden.
Installing New Hoops if Needed
If your whiskey barrel needs some serious repair, replacing the hoops is often a must. The hoops are the metal bands that hold the staves together. Over time, they can get loose or damaged, causing the barrel to leak.
Removing the Old Hoops
Start by emptying and cleaning out your barrel. Use a hammer and chisel to carefully pry off the hoops. Take your time and be careful not to crack the staves.
Measuring for New Hoops
Measure the circumference of your barrel at the top, middle, and bottom. Buy hoops that most closely match the middle measurement. Hoops that are too small won’t fit, while hoops that are too big won’t hold the staves tight enough.
Installing the New Hoops
Place the bottom hoop over one end of the barrel. Use a rubber mallet to pound it evenly into place. Work your way around the barrel, tapping the hoop to slide it on. Once the bottom hoop is in place, repeat with the middle and top hoops.
Tightening and Sealing
Use a wrench or pliers to tighten the hoops. Tap them with a mallet to get them even tighter against the staves. Apply a sealant, like melted beeswax or waterproof wood glue, around the inside and outside of the hoops. This helps create an airtight seal and prevents leaks.
Let the sealant dry completely. Your barrel should now be watertight and ready to use again! Just be sure to re-seal the barrel every few years to keep it in good shape. Proper care and maintenance will allow a whiskey barrel to last for generations.
Drilling a Drain Hole if Using for a Planter
To let excess water drain from your whiskey barrel planter, you’ll need to drill a hole in the bottom. This prevents root rot by making sure the soil doesn’t stay soggy.
Choose a drill bit slightly larger than half an inch in diameter. This size allows for proper drainage without letting too much soil fall through. You want a clean hole, so choose a spade bit or hole saw instead of a basic drill bit.
Carefully drill a hole in the center of the bottom of the barrel. Place the barrel on its side so you can get to the bottom, and either clamp it in place or have someone hold it steady. Apply firm, even pressure, drilling slowly through the wood.
Once you’re through, use 100-grit sandpaper to smooth the edges of the hole, both inside and out. This prevents damage to your plants’ roots and your hands.
And just like that, you have a whiskey barrel planter ready for potting soil and your favorite plants or flowers! The drainage hole, combined with a good, well-draining soil, will help your plants thrive while giving your patio or garden an attractive decorative container.
How to Fix a Whiskey Barrel FAQs
Have an old whiskey barrel that’s seen better days? Don’t worry, with some TLC you can get it back in working order.
Do you need to re-season the barrel?
If the barrel was used for aging whiskey, you’ll want to re-season it before using it to age more whiskey or for decoration. Scrub the inside with hot water to remove any residue. Let it air dry completely, then burn a sulfur wick inside to sterilize it.
How do you patch holes or cracks?
For small cracks and holes, apply waterproof wood glue and clamp until dry. Larger damage requires wood plugs—cut plugs to size, glue them in place, and sand them flush when dry. You can also try barrel hoop repair bands for cracks.
Should you replace the barrel hoops?
If hoops are damaged or missing, you should replace them. Hoops hold the staves together and maintain the barrel’s shape. You can have a cooper or woodworker install steel or wood hoops and tighten them properly.
How do you prevent leaks?
Check that all staves and hoops are secure and tight. For small leaks, apply waterproof wood glue or sealant over the leak on both the inside and outside of the barrel. For larger leaks, you may need to replace damaged or loose staves.
Does the barrel need to be re-charred?
Re-charring the inside of the barrel will improve the aroma and flavor for aging whiskey. You can have a cooper re-char the barrel by burning wood chips inside. They can also re-toast the barrel to a lighter char if needed.
With some repairs and maintenance, an old whiskey barrel can serve you well for years to come. Don’t hesitate to call a professional cooper if the work seems too difficult—they have the proper tools, skills, and experience to get the job done right.
Final Thoughts
That’s the rundown on how to fix up an old whiskey barrel and turn it into a fun piece of décor or a useful container. Now that you know what supplies you’ll need and the steps to take, you’re ready to head to your local hardware store and get started on your barrel restoration project. Once you’ve sanded, stained, and sealed that barrel, you’ll have a rustic and versatile item that can serve many purposes in your home. Happy barrel fixing and be sure to share photos of your finished barrel on social media—your friends and family will surely be impressed with your handiwork!