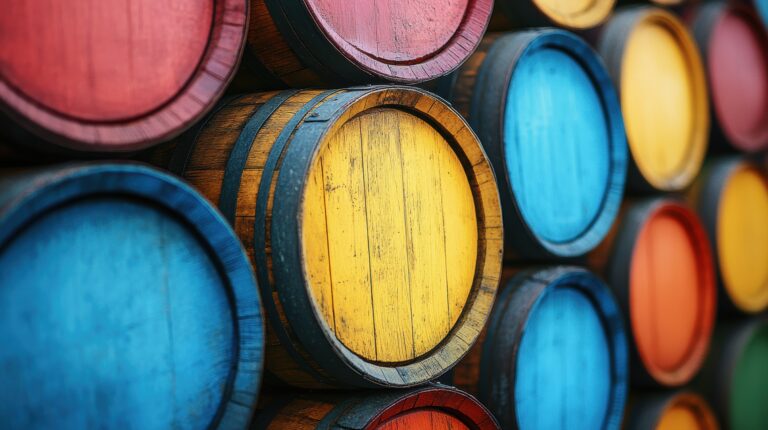
So you’ve got that amazing old whiskey barrel and you’re ready to transform it into a stunning reclaimed wood décor piece for your space. Good call! Chopping a barrel in half isn’t actually rocket science if you have the right gear and follow a few simple steps. All you really need is a trusty jigsaw or reciprocating saw, some strong clamps, wood glue, sandpaper, and a bit of elbow grease. Stick with me, and in a few quick steps, you’ll be on your way to a fantastic rustic accent piece that brings a genuine touch of bourbon country straight into your home or business.
Gather the Proper Tools to Cut the Barrel
To safely and effectively split your whiskey barrel right down the middle, you absolutely must have the proper tools for this DIY project.
Essential Equipment
First off, grab your protective gear: work gloves, safety goggles, and sturdy footwear. For the actual cut, use a jigsaw with a good woodcutting blade, a reciprocating saw, or even a circular saw if you’re comfortable. You’ll need reliable clamps or a vise to lock the barrel down firmly. And don’t forget the essentials for finishing: wood glue and waterproof wood filler to seal and smooth that fresh cut edge.
Use a tape measure to pinpoint and mark exactly where you want to cut the barrel in half. Then, clamp the barrel securely to your workbench, you don’t want it rocking around on you. Now, start cutting along your line, ideally starting in the center and moving outwards. Take this part slow; cutting through the curved barrel staves can be tough, and you need a clean, even cut.
Once you’ve successfully cut it, inspect the edges and use the wood glue and filler to smooth out any small cracks or gaps. Then, sand down the edges to remove any roughness. Voila! Your halved barrel is prepped for its new life as home décor. With the right tools and a little patience, you’ve created a genuinely unique rustic accent.
Prepare the Barrel for Cutting
To transform that thick, rustic whiskey barrel into two perfect halves, you’ve got to start with some important prep work.
First things first: empty and clean the barrel thoroughly. Use a powerful blast of hot water and a stiff brush to scrub the inside of the oak wood. Let it dry completely, this prevents the wood from warping after the cut.
Next, it’s time to mark the cut line. Find the natural seam in the middle and use a pencil to mark it all the way around the barrel’s circumference. Use a tape measure to make sure your line is perfectly even all the way around. For the very best result, aim for a spot where the barrel staves (those curved wood pieces) meet evenly.
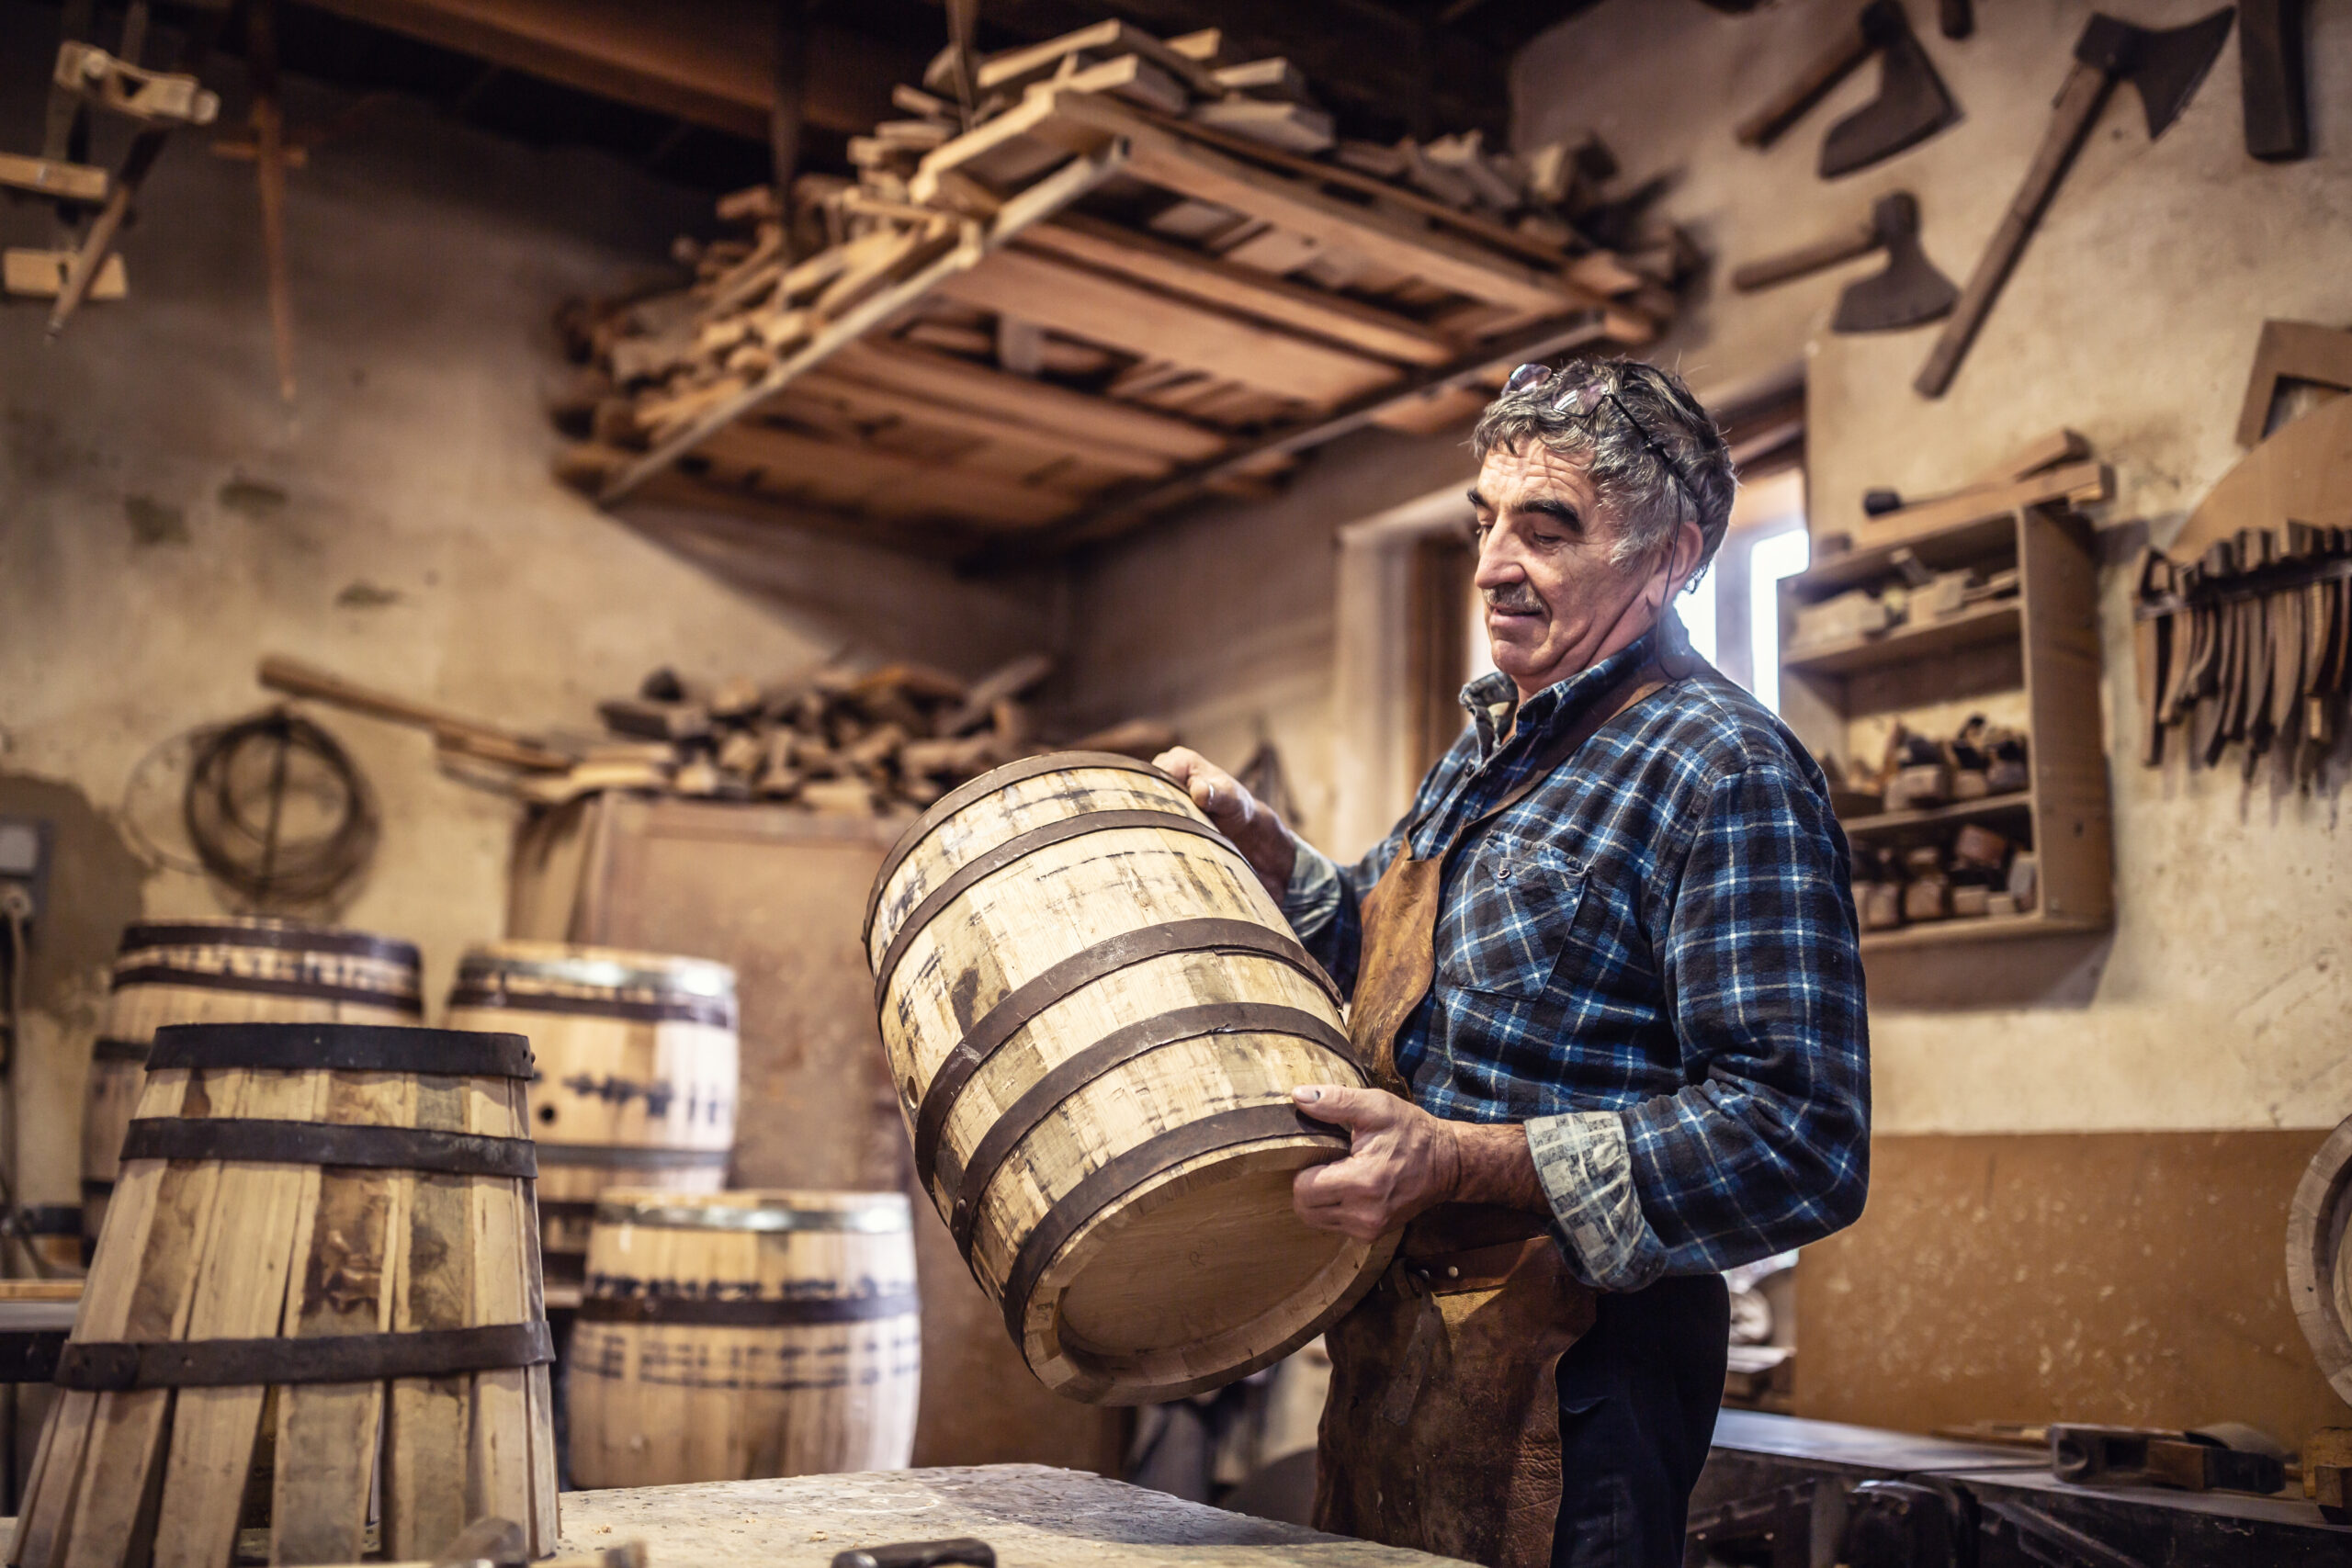
Now for the main event, cutting through that thick oak wood. You need a strong saw designed for wood, like a jigsaw or reciprocating saw. Place the barrel on its side on a stable surface. If possible, have someone hold it steady as you slowly cut along the pencil line, keeping firm, even pressure. This can take a good 10–15 minutes of solid effort, so don’t be afraid to take a few breaks!
Once you’ve got two half-barrels, sand down any rough edges. Wipe away the sawdust, and now you have two gorgeous rustic planters or décor pieces ready for action. With a little care, your repurposed whiskey barrel halves will last for years. Trust me, the effort is worth the incredibly distinctive rustic charm!
Measure and Mark the Cut Line
Now that your whiskey barrel is all cleaned out, it’s time to mark it up for the cut. This step is crucial for getting those two perfect halves that you plan to use as garden planters or unique indoor décor.
To ensure you cut the barrel evenly in half, you need to measure and mark a precise cut line. Start by measuring the full height of your barrel. Take your tape measure, find the exact midpoint, and clearly mark it with a pencil, chalk, or even painter’s tape. Next, use a level to draw a straight line across the barrel at that midpoint mark. This line is your guide, it’s what you’ll be following with the saw.
Double check your work! Measure the distance from the top and bottom of the barrel to your cut line. Those measurements must be identical all the way around. If they’re not, adjust the line until they are. Spending extra time measuring and marking now will absolutely guarantee a clean, even cut later.
With your cut line marked, you are ready to split the barrel. Be extremely careful when cutting, as the thick wood and metal barrel hoops are tough to get through. You’ll definitely want a powerful tool like a reciprocating saw, jigsaw, or circular saw. Secure the barrel tightly in a vise or onto a workbench to keep it secure as you cut. Go slowly, following that guide line precisely.
Once cut in half, you’ll have two beautiful barrel planters ready for your garden or patio. A final quick sanding of the cut edges will give you a smoother finish. Half barrels are fantastic for flowers, herbs, or small shrubs. And honestly, the rustic look of the reclaimed whiskey barrel instantly gives any space a charming, homey feel.
Make Relief Cuts Along the Barrel Staves
If you want to split a whiskey barrel perfectly in half without the wood cracking or flying apart, you need a smart technique: making relief cuts along the barrel staves. Grab a jigsaw, circular saw, or even a handsaw and carefully cut through the outer metal hoops that are holding the barrel together at your cut line. Remove those hoops so you have clear access to the staves.
Next, mark a line right down the center of the barrel, parallel to the staves. Make several shallow cuts, maybe about 1/4-inch deep, into the wood along this line, spaced every 4 to 6 inches. These relief cuts are your preventative measure, they stop the wood from splitting unexpectedly as you saw through the thick material.
With the relief cuts in place, you can now use your saw to cut the barrel exactly in half. Saw slowly and deliberately, especially as you get towards the end of the cut. Have a partner support and stabilize the barrel from the other side as you cut to stop it from rolling or shifting suddenly.
Once the cut is finished, you’ll have two barrel planters ready for decorating or plants. Sand down any rough edges, and consider staining or sealing the wood to protect it from the weather. The relief cuts you made will be barely noticeable, leaving you with a beautifully clean, custom-cut barrel half.
Slowly Cut Along the Mark With a Saw
Okay, here’s the most exciting part, cutting the barrel in half! Seriously, take this slow and be extra careful. Place the barrel on its side and clamp it securely in place so it absolutely won’t roll around. Use a jigsaw, reciprocating saw, or circular saw to slowly cut along the precise line you marked earlier. If you can, have someone help support and stabilize the barrel as you saw.
Safety first! Wear the proper protective gear like safety glasses, a dust mask, work gloves, and sturdy shoes. Sawing through the thick oak staves is going to take some time and muscle. Apply firm, steady pressure, letting the saw blade do the hard work for you. Don’t force the blade. Take short breaks whenever you need to prevent fatigue, and always recheck that you’re following your cut line.
Once the barrel is finally separated, use sandpaper to immediately smooth the edges. Wipe away all the sawdust before moving to the next steps. Cutting the barrel is the most physically demanding part, so go ahead and pat yourself on the back, you’ve made it halfway! Now the real fun starts: customizing your incredible whiskey barrel décor.
Smooth and Sand the Cut Edges
After the tough work of cutting your whiskey barrel is done, you absolutely need to smooth and sand the cut edges. This prevents nasty splinters and gives your finished piece a clean, professional look.
Sanding the Edges
Grab an electric sander and work with progressively finer grits of sandpaper. Start coarse, maybe 80 to 100 grit, and gradually move up to a fine 220 grit for that silky smooth finish. Wipe away the sawdust with a tack cloth as you go, this lets you check your progress. Pay extra attention to the sharp rim, sanding until the edge is nicely rounded and smooth to the touch.
Sanding the curved inside of the barrel can be tricky. Move the sander slowly and carefully, checking your work often. An orbital sander often works well for following that unique barrel curve. For those tight, hard-to-reach spots, finish the job by hand using a sanding block or folded sandpaper.
Once fully sanded, your barrel half is completely splinter-free and ready for finishing, whether that’s a clear sealant, a stain, or a bold coat of paint. Your sanded edges now have a refined look, ready to become a gorgeous decorative furniture piece or storage solution in your home. Seriously, take pride in knowing you’ve saved a piece of history and given it a whole new life!
Apply a Protective Sealant
Now that your halved whiskey barrel is cut and sanded, it’s critical to apply a protective sealant. This will protect the reclaimed wood and, if you’re making a planter, help prevent leaks. You have a few great options for sealants that work well for this kind of DIY décor project.
Polyurethane
A highly popular choice for wood projects. Apply 2–3 coats of polyurethane sealant, allowing each coat to dry completely. Polyurethane provides excellent protection against water damage and stains, and it gives your barrel a durable, glossy finish.
Tung oil
This is a fantastic natural sealant that soaks deep into the oak wood. It helps to waterproof and protect the wood while allowing it to “breathe.” Tung oil slightly darkens the wood and leaves a beautiful matte finish. You will need to apply several coats, allowing for drying time in between.
Beeswax
For a purely natural sealant, try beeswax. Rub the melted beeswax into the wood and buff it until it’s smooth. Beeswax is water resistant and gives the barrel a soft, matte finish. You’ll need to re-apply this every few months to maintain protection.
No matter which protective sealant you choose, be sure to apply it evenly to all surfaces of the barrel, inside and out. Apply at least 2–3 coats, waiting for each coat to dry according to the directions. Sealing your barrel is the final step to ensure it remains a beautiful, functional decorative piece for years.
Decorate and Display Your Barrel Halves
Alright, the heavy lifting is done! Now that you have your whiskey barrel halves, it’s time for the fun part: decorating and displaying them. Here are a few ideas to get your creative juices flowing:
Stain or Paint
You can stain or paint the inside of the barrel halves to enhance the wood grain and amplify that rustic look. Use a wood stain, paint, or chalk paint in a color that fits your room. Apply 2–3 coats, allowing for drying time.
Line with Fabric
For a softer touch, line the inside of the barrel with fabric like burlap, canvas, or some patterned upholstery material. Glue the fabric in place and trim the excess. This is also a nice way to completely prevent splinters.
Create a Table
One of the most common ways to repurpose whiskey barrel halves is by turning them into tables or whiskey barrel furniture. Simply attach some decorative legs to the bottom of each half to elevate them. You’ve instantly got a pair of unique barrel end tables or a cool coffee table. Adding a glass top is always a stylish option!
Use as Planters
Whiskey barrel halves are perfect garden planters for small trees, shrubs, or container gardens. Drill drainage holes in the bottom, fill them with potting soil, and add your plants. The aged wood brings an instant, natural rustic touch to any outdoor space.
Display Decoratively
If you want to keep the whiskey barrel halves intact without any major changes, you can simply use them as eye-catching accents. Place one on either side of an entryway, on a porch, in a home bar or in your garden. Fill them with decorative accents like lanterns, candles, seasonal items, or vibrant greenery. The possibilities of genuine whiskey barrels for rustic décor are endless!
FAQ – How to Cut a Whiskey Barrel in Half
To successfully cut an oak whiskey barrel in half, you need the right tools and a careful technique.
First, drain and thoroughly rinse out the barrel. Let it dry completely to prevent the wood from warping after the cut.
Next, use a jigsaw or circular saw to cut the barrel in half across its circumference. Place the barrel on its side, secure it well, and carefully cut around the entire thing. Be patient, oak barrels have very thick staves, and the cutting requires time and steady hands.
Use a wood rasp or sandpaper to quickly smooth the cut edges. Wipe away any lingering sawdust with a tack cloth.
Now you have two half-barrels ready to use as planters, whiskey barrel table or rustic décor. If you plan to use them as planters, definitely consider waterproofing the inside of each half. Otherwise, leave them as-is for that authentic, reclaimed wood look.
Display your half-barrels proudly! vintage barrels make a fantastic conversation piece and their natural wood tones and original metal hoops add instant warmth to any space. For extra stability when they’re outdoors or on uneven ground, you can mount the half-barrels to a sturdy wooden base.
With the proper tools and technique, cutting a whiskey barrel in half is completely achievable as a DIY project. Take your time and be extremely careful, but don’t be intimidated, you’ve got this! The result will be a unique, handcrafted piece you can enjoy for years.
Final Thoughts
So now that you’ve got that barrel cut and sanded, you’ve got yourself an incredible piece of rustic decoration ready to display. Whether you transform it into a unique end table, a beautiful plant stand, or just an eye-catching accent piece, a halved whiskey barrel is the perfect way to bring warmth and genuine character into your home. The gorgeous wood tones and natural imperfections give it a charm that you simply can’t buy at a big box store. And honestly, every time you walk by it, you might even get a faint whiff of that delicious oak and bourbon aroma! Not a bad deal for recycling something that would have otherwise gone to waste, right? Now all that’s left is to kick back, pour yourself a glass of whiskey, and enjoy your amazing handiwork.