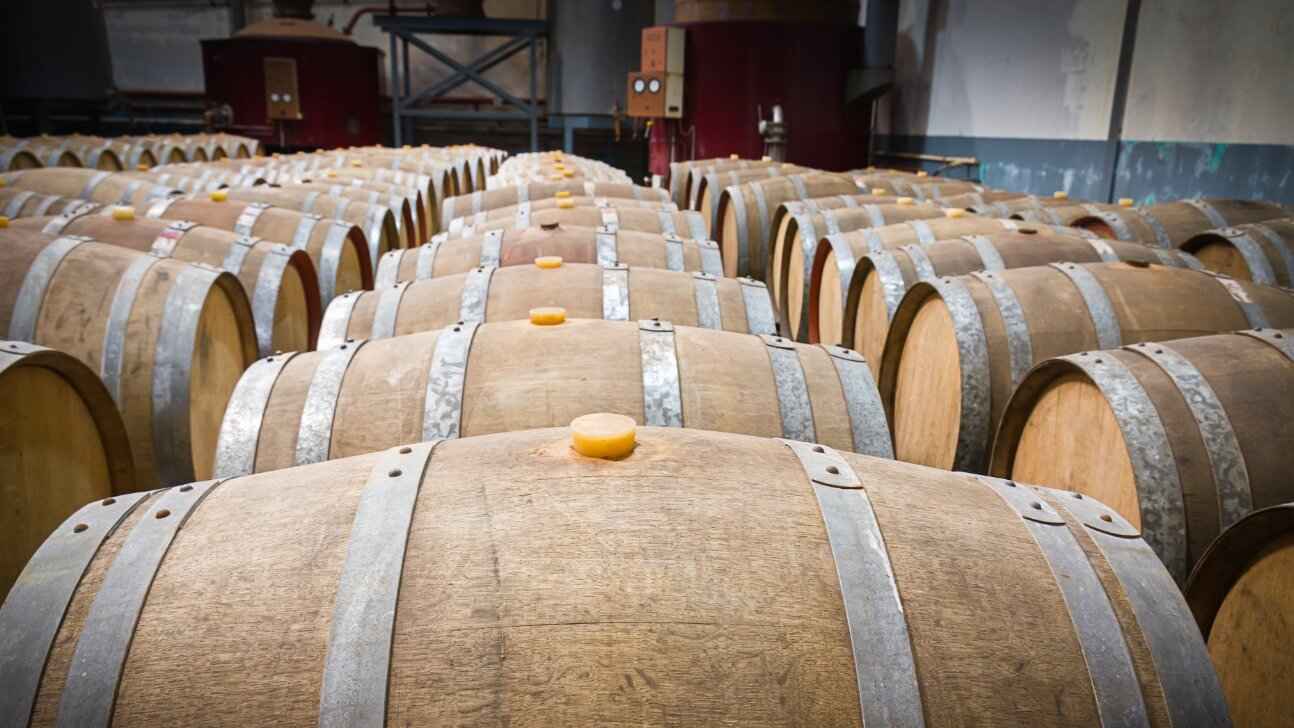
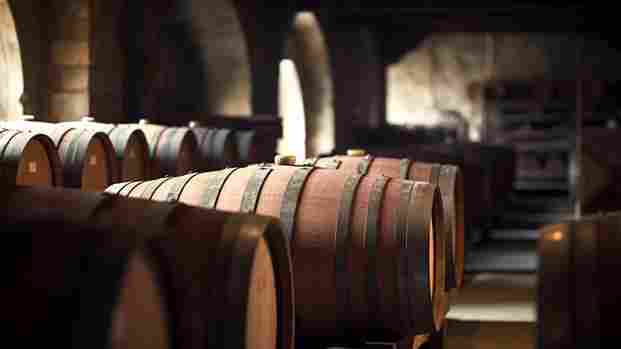
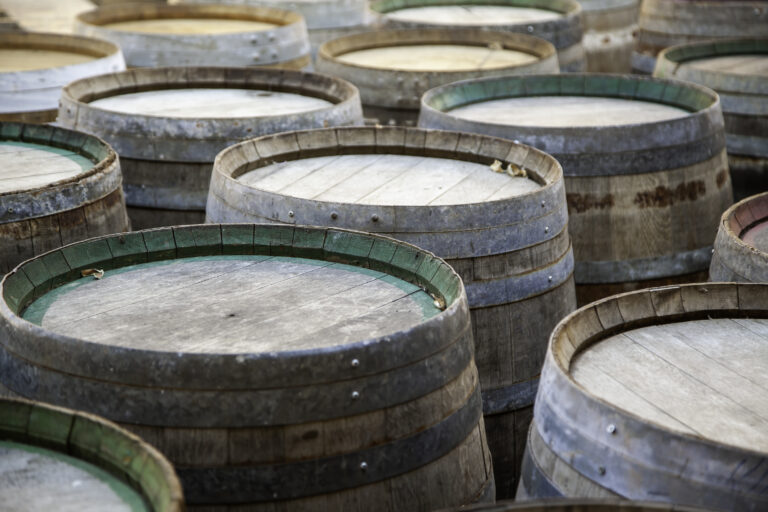
Alright, so you finally got yourself a whiskey barrel to age your favorite spirit. Maybe you’ve had dreams of being a master distiller, or just really like the idea of custom aging your own hooch. Either way, congratulations! You’re about to embark on a fun journey of patience and experimentation.
But after a few months of waiting for that magical transformation to happen, you notice something – there’s a funky smell coming from your barrel. Uh oh, has something gone wrong? Don’t worry, it’s probably just the bung (that’s the stopper in the barrel hole) that needs replacing. Bungs can dry out or crack over time, allowing extra oxygen into the barrel. And oxygen means oxidation and stinky smells.
Replacing a bung is usually an easy fix, but it does require a few special tools and techniques to do properly without disturbing your aging whiskey. Follow these steps and you’ll be back to patiently waiting for barrel-aged perfection in no time.
What Is a Bung and Why Remove It?
A bung is simply the cork or stopper used to seal a barrel. Removing the bung allows air to interact with the liquid inside the barrel, enabling the aging process.
As your whiskey ages, chemicals break down and combine to create new flavor compounds that give aged spirits their distinctive taste. For this to happen, oxygen needs to enter the barrel. When you remove the bung, air comes into contact with the liquid, and the aging magic begins.
Over time, the bung hole may shrink, so removing an older bung can be tricky. You’ll need bung puller pliers, and possibly a wooden mallet. Grasp the bung with the pliers and rock it back and forth as you pull up. Be very careful, as built up pressure can cause the bung to shoot out quickly once loosened.
Removing the bung allows you to sample your whiskey to determine if additional aging is needed. It also enables topping off the barrel if some liquid has evaporated, and cleaning out the bung hole of any debris before resealing.
Replacing the bung stops the aging process, so remove and replace the bung only when needed to ensure your whiskey develops maximum flavor. With the bung out, your whiskey’s color and aroma will become more complex over weeks and months. Patience pays off!
Necessary Tools and Supplies for Bung Removal
To get that bung out, you’re going to need a few essential tools.
Supplies
First up, grab a bung wrench or large adjustable wrench to fit the bung. You’ll also want a mallet or small sledgehammer, protective gloves, and maybe some lubricating oil.
Lubricate
If that bung is stuck tight, lubricate around the edges with oil. Let it soak in for a few minutes. The oil will help loosen any dried out wood and make removal way easier.
Positioning
Stand the barrel on its end so the bung faces up. This gives you the best access and leverage. Have someone spot you so the barrel remains stable.
Grip and Turn
Grasp the bung wrench firmly over the bung. Place your other hand on the barrel for support. Tap the wrench with the mallet to help break the bung loose if needed. Then turn counterclockwise, applying firm and consistent pressure.
Alternatives
If the bung still won’t budge, you may need to drill small holes around the edge to break the seal. As a last resort, you can drill into the center of the bung to remove it in pieces. But take care not to splinter the wood.
With the right tools, technique, and a little elbow grease, that stubborn bung doesn’t stand a chance. Stay patient and keep at it—you’ll get that barrel open in no time!
Preparing the Barrel for Bung Removal
To get that bung out of your whiskey barrel, you’ll need to prepare the barrel properly.
First, empty and rinse out the barrel thoroughly. Flush it with water to remove any remaining whiskey residue or sediment. Let it dry completely so you have a clean, empty barrel to work with.
Next, inspect the bunghole – the opening where the bung is inserted – and the area around it for any cracks or damage. You want to make sure the wood is solid enough to withstand the force needed to pry out the bung. If there are any issues, it’s best to not attempt removal and instead consult a professional cooper.
Finally, secure the barrel so it can’t roll around. You’ll need to apply firm pressure to wiggle the bung loose, so brace the barrel against a wall or table edge. You can also have an assistant hold the barrel in place while you work the bung free.
With the barrel prepped and braced, you’re ready to start wiggling and prying at that bung to work it out of the hole. Be patient through this process – a firmly lodged bung can take muscle and persistence. But with some elbow grease, you’ll get that bung out and be ready to refill your barrel or reuse it for another purpose.
Loosening the Bung – Tips and Tricks
To get that stubborn bung out of your whiskey barrel, try warming it up first. The heat will cause the metal to expand, loosening its grip. You can use a blow dryer, heat gun, or soak some rags in hot water and wrap them around the bung for 10-15 minutes. The warmer the bung, the more it will swell and the easier it will be to remove.
Once heated, give the bung a few sharp raps around the edge with a mallet to help break the seal. Then use pliers or a bung wrench to start turning it counterclockwise. If it’s still stuck, don’t force it – you could damage the threads or crack the barrel. Apply more heat and give the bung more time to swell before trying again.
As a last resort, you may need to drill a pilot hole into the bung so you can insert a screw. Turn the screw into the bung using pliers, then use the screw as a handle to turn and pry out the bung. Replace the bung once empty to keep your barrel airtight.
With some patience and the right techniques, you’ll get that bung out and be enjoying your whiskey in no time. Let the good times roll!
Safely Removing the Bung From the Barrel
To get that bung out of your whiskey barrel, you’ll need a few basic tools. Gather a mallet, chisel, and maybe some lubricating oil.
Start by inspecting the bunghole (opening) and bung (stopper) to check for any damage. Give the bung a few solid taps with your mallet to loosen it. If it’s stuck tight, you may need to gently pry around the edges with your chisel. Apply firm and steady pressure, being careful not to crack the wood.
Once you’ve loosened the bung, you may need to lubricate around the edges. Vegetable or mineral oil both work well. Let it soak in for at least 30 minutes. This will help slide that bung right out.
When you’re ready to remove the bung, place one hand over the bunghole to prevent the bung from falling inside. Tap the bung with your mallet in a clockwise direction while applying firm upward pressure. Keep working your way around the edges of the bung with your chisel as you go.
With some patience and persistence, that bung will eventually release. Remove it fully and set aside. Your barrel is now open and ready for filling, cleaning, or barrel aging your favorite beverage. Take proper safety precautions and never leave an open barrel unattended.
Congrats, you did it! Enjoy that first sip of whiskey from your very own barrel. You’ve earned it.
Cleaning and Storing the Bung Properly
Once you’ve emptied and rinsed your whiskey barrel, it’s time to clean and properly store the bung. The bung is the wooden plug used to seal the barrel. Keeping it in good shape will ensure an airtight seal for your next batch.
Give the bung a quick rinse to remove any debris. Then sand down any rough edges or splinters with fine-grit sandpaper. Wipe away dust with a clean, damp cloth. Apply a coat of food-grade mineral or tung oil to the bung. Let it soak in for 15-20 minutes, then wipe away any excess with a cloth. The oil will help protect and seal the wood.
When the bung is dry, place it in an airtight plastic bag or container. This prevents exposure to air and moisture which can cause warping, mold, or rot. Label and date the container so you know which bung fits your barrel.
Store the bung in a cool area away from direct heat or sunlight. Temperatures of 55 to 65 F are ideal. Higher heat and humidity can speed up deterioration.
Before reusing your barrel, inspect the bung to ensure it’s still in good, airtight condition. Lightly sand and re-oil the bung if needed. An improperly sealed bung will affect the quality and maturation of your next batch.
With proper cleaning and storage, a bung can last many years and be reused for several whiskey batches. But if it shows signs of damage or no longer fits snugly in the barrel, it’s best to replace it. A new bung is an inexpensive part that will keep your barrel in working order.
Checking the Barrel Interior After Bung Removal
Checking the interior of your barrel after removing the bung is an important step. You want to make sure there are no issues before filling it up again.
Examine the Barrel Staves
Look at the wooden staves that make up the barrel for any cracks or leaks. Run your hands along the inside of the barrel to feel for damage. Minor cracks can be repaired, but major damage means it’s time for a new barrel.
Check for Mold or Bacteria
Inspect the barrel for any spots of mold, mildew or bacteria. If there are only a few spots, scrub them out with a solution of water and distilled white vinegar or barrel cleaner. For heavy growth, it’s best to dispose of the barrel. An infected barrel will taint the flavor of your whiskey.
Rinse and Dry
Rinse the barrel with several changes of hot water to remove any residue. Once rinsed, invert the barrel over a drain to dry completely. This prevents the growth of mold or bacteria before refilling.
Taste Test (Optional)
If any whiskey was left in the barrel, you may want to do a small taste test. The whiskey should taste fresh and oaky with no off flavors. If it tastes stale, musty or unpleasant, do not refill the barrel. It’s best to start with a properly cleaned barrel for your new batch of whiskey.
Prep for Refill
Once inspected, cleaned, and dried, your barrel is ready to be refilled. Place the bung back in the barrel bunghole to keep it airtight until you’re ready to add your next batch of whiskey. With proper care and maintenance, a whiskey barrel can last for several years and continue improving your whiskey’s flavor over time.
Replacing the Bung After Accessing the Barrel
Now that you’ve accessed your whiskey barrel, it’s time to replace the bung. The bung is the round stopper you removed from the barrel opening.
Finding a Replacement Bung
If your original bung is still intact, clean it, then reinsert it into the barrel opening. If it cracked or broke during removal, you’ll need a replacement. Purchase a new bung at a homebrewing supply store that specifically sells equipment for making spirits. The bung size will depend on your barrel size, typically a #9 or #10 bung for a standard 53-gallon barrel.
Preparing the Barrel Opening
Before inserting a new bung, thoroughly clean the inside rim of the barrel opening to remove any residue. Check that the barrel staves around the opening are secure and not warped or cracked. Sand down any splinters or rough areas around the edge of the opening.
Sealing the Barrel Properly
Tap your bung into place using a rubber mallet. Ensure it’s evenly and securely inserted into the barrel opening. For the best seal, the bung should sit slightly recessed into the barrel by about 1/4 inch. Check that the bung is not protruding at an angle, which could lead to leaks.
Once inserted, the bung will create an airtight seal to protect your maturing whiskey. Check on your barrel in a month to ensure the bung is still secure and that no leaks have developed. Enjoy watching your whiskey age and develop in its barrel over the coming months and years!
FAQ – Common Questions About Removing Bunged Barrel Bungs
Removing the bung from a whiskey barrel can be tricky if you’ve never done it before. Here are some of the most frequently asked questions to help you get that bung out.
How do I remove a bung? Use a bung wrench, also called a bung extractor. This specialized tool fits over the bung and allows you to get enough leverage to pry it out. If you don’t have a bung wrench, you can try using a large set of pliers or a hammer and chisel.
Which way do I turn the bung? Turn the bung counter-clockwise to unscrew it. The bung is threaded into the barrel, so turning counter-clockwise will loosen it.
What if the bung is stuck? Applying heat around the bung can help expand the wood and loosen the seal. You can also try tapping around the edges of the bung with a hammer and chisel to help break it free. As a last resort, you may need to drill small holes in the bung to relieve pressure before extracting it.
Will removing the bung damage the barrel? Removing the bung should not damage the barrel if done properly using the correct tools and techniques. However, prying too hard or at an incorrect angle could potentially crack the barrel staves. Work slowly and be very careful when removing a stuck bung.
What do I do if the bung breaks? If part of the bung breaks off or falls into the barrel, do not attempt to retrieve it yourself. Contact a professional cooper to have the bung properly removed and replaced. They have the proper tools and experience to remove bung fragments without contaminating the barrel contents.
Final Thoughts
So there you have it, a few simple steps to get that stubborn bung out of your whiskey barrel. With some patience, the right tools, and a little elbow grease, you’ll be enjoying the fruits of your labor in no time. Once you get that bung out and sample the whiskey, you’ll realize all that hard work was worth it. Savor the flavor of your homemade hooch and start planning your next batch. Home distilling isn’t for the faint of heart, but for the determined DIYer, the rewards are sweet. Keep at it and you’ll be hosting tasting parties in no time! What are you waiting for? Get to it!


