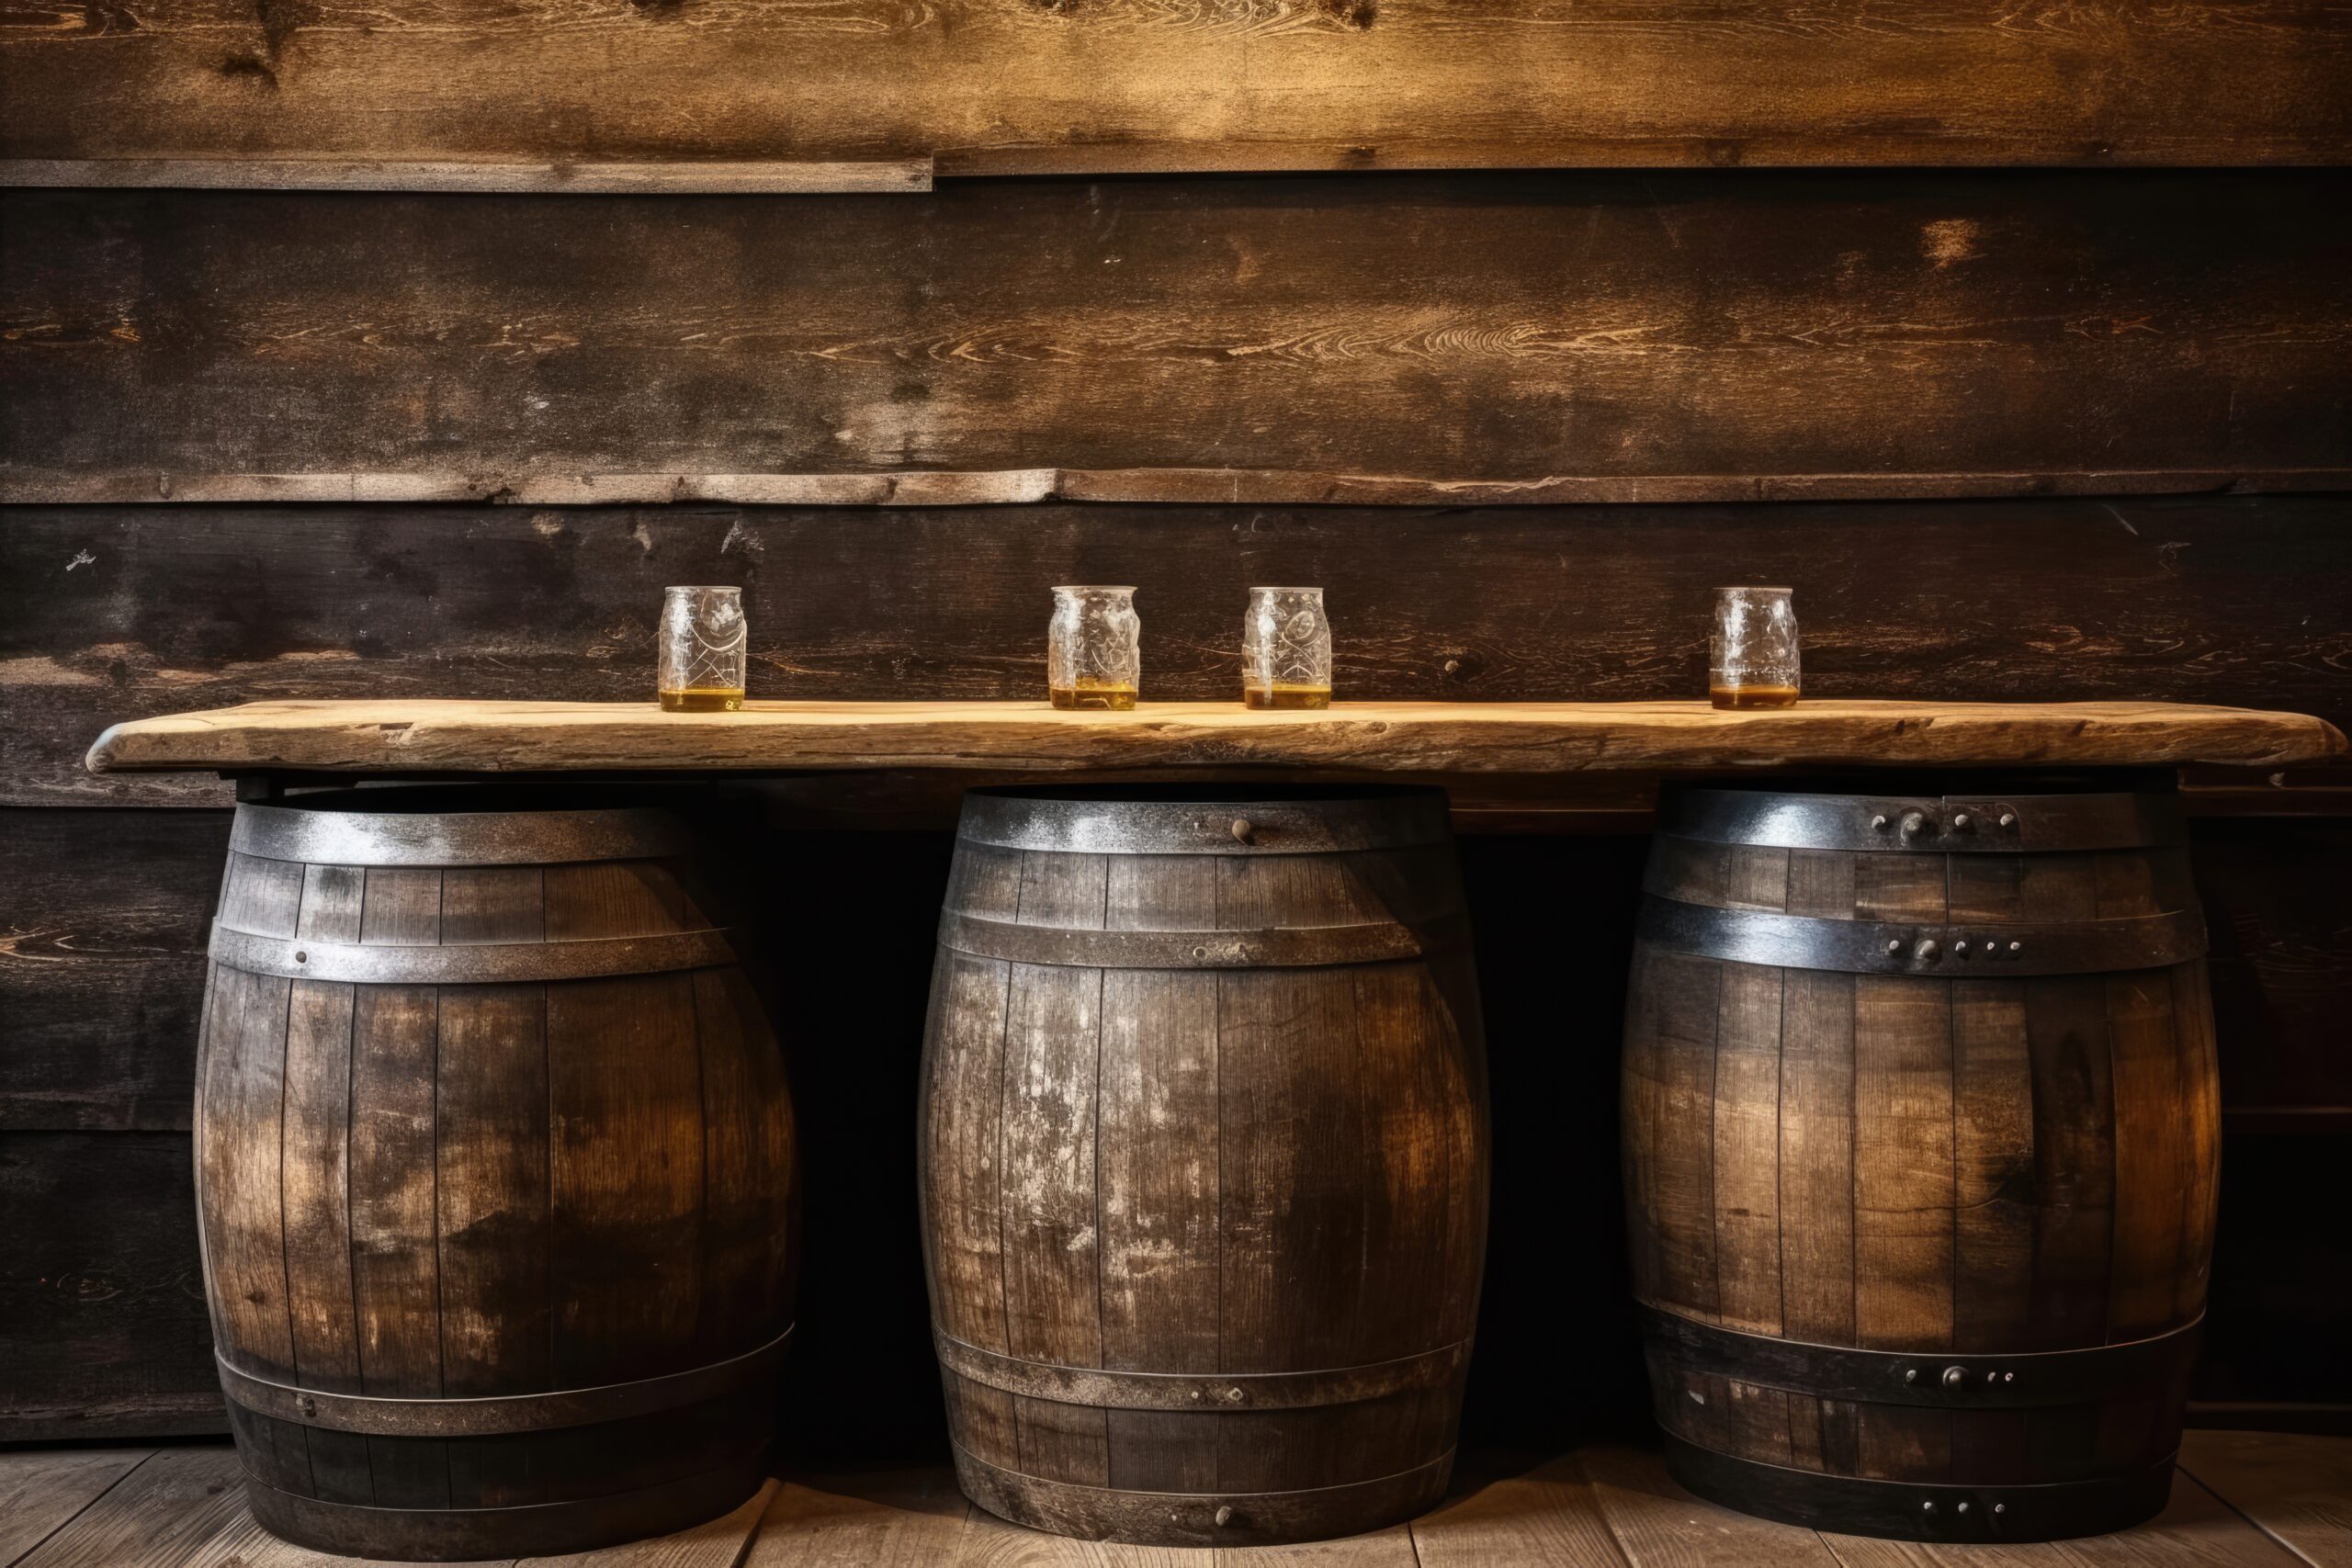
Hey there! Have you ever wanted to try your hand at woodworking and build something awesome from scratch, but most projects seem way too complicated or require a bunch of expensive tools you just don’t have? Well, get ready, because I have a fun DIY project that’s perfect for beginners and only needs some basic supplies and a free weekend: building your very own whiskey barrel table.
You’ve probably seen these cool, rustic tables with their distinct barrel shape and metal hoops in bars and restaurants and thought, “Wow, I wish I had one of those.” Now you can—and for a fraction of the cost of buying one pre-made. All it takes is a little elbow grease, some wood glue, and a few metal brackets. Before you know it, you’ll have a sturdy and stylish table that’s a total showstopper. So, grab your gear, crank up your favorite tunes, and get ready to unleash your inner woodworker. By the end of the weekend, you’ll have a fantastic new table that you built yourself and can enjoy for years to come.
What You’ll Need to Make a Whiskey Barrel Table
To get started on your DIY whiskey barrel table, you’ll need a few key supplies.
- The Barrel: First and foremost, you need an actual whiskey barrel. You can often find these at liquor stores, craft stores, or online marketplaces. Look for a barrel in good shape without any major dents or damage. A bourbon barrel or wine barrel also works great!
- Wood Boards: You’ll also need some wooden boards for your tabletop. Try to match the wood of your barrel, like oak or pine. To make things easier, you can have the lumberyard cut the boards to the right size so they’re ready to use at home.
- Wood Glue and Nails: To secure your boards together, use strong wood glue and some nails. The glue provides a powerful bond, while the nails help clamp the boards in place as the glue dries.
- Sandpaper: Don’t forget the sandpaper! You’ll need a variety of grits—from coarse to fine—to smooth out any rough edges and give your tabletop a flawless finish.
- Sealant (Optional): For extra protection, apply a wood sealant like polyurethane to the tabletop. A couple of coats will waterproof the wood and protect your beautiful new table for years. This is key for a durable finish.
- Felt Pads (Optional): Add some felt pads to the bottom of the barrel to prevent any scratches on your floors. The self-stick pads are super easy to attach and will let your table slide smoothly when you need to move it.
With these supplies and a little hard work, you’ll be enjoying drinks around your very own DIY bar table in no time!
Prepping the Whiskey Barrel for Table Conversion
Before you can turn your barrel into a table, you’ll need to do some prep work.
- Sealing the Barrel: The barrel staves are naturally porous, so the first step is to seal the inside. Apply 2-3 coats of a good wood sealer, letting each coat dry completely. This prevents leaks and locks in that classic whiskey aroma.
- Sanding the Rim: The rim of the barrel opening is often uneven and jagged from when the head was removed. Use a coarse-grit sandpaper and work your way up to a very fine grit to create a smooth, level surface. Wipe away any dust with a tack cloth before moving on.
- Attaching Table Legs: If you’re making a table from a half barrel, mark the spots for four legs around the bottom edge. Drill pilot holes at the marks, then attach the legs with wood screws. For even more stability, you can add a wooden support ring inside the barrel that the legs attach to.
With these simple steps, your whiskey barrel furniture is prepped and ready to go. The natural wood grain and metal hoops will make it a true showstopper, and your friends will be begging you to make one for them!
Reassembling the Barrel into a Tabletop
Once you have your barrel halves separated, it’s time to reassemble them into a tabletop.
- Sanding Down the Wood: Take some time to lightly sand the inside of the barrel halves to get a smooth surface. Use medium-grit sandpaper and always sand with the grain of the wood. A tack cloth will help you wipe away the dust.
- Sealing the Wood: Apply a sealant like polyurethane or lacquer to the sanded wood. This will protect your tabletop from stains and scratches. Apply 2-3 coats, letting each one dry as directed. The sealant will also make the natural wood grain pop!
- Attaching the Barrel Halves: When the sealant is dry, place the barrel halves together with the open side facing up. Secure them from the inside using wood glue and screws or nails. Space the fasteners every 6-8 inches, and be sure to pre-drill pilot holes to prevent the wood from splitting.
- Adding Legs: To make your new table freestanding, you’ll need to attach legs to the underside. You can use pre-made furniture legs, or you can get creative and build your own. Secure the legs with wood glue and brackets for a sturdy build.
Your DIY whiskey barrel tabletop is now complete! Take it to your patio, deck, or game room and enjoy your new creation. This beautiful, rustic table will last for years.
Staining and Sealing Your Whiskey Barrel Table
Now that your tabletop is attached and your barrel is stabilized, it’s time for the final touches: staining and sealing your barrel table to protect the wood and give it a beautiful finish.
Staining the Barrel
Apply 2-3 coats of wood stain, waiting 24 hours between coats. An oil-based stain works really well for whiskey barrels. For a classic rustic look, go for a walnut or ebony shade. Lighter oak or maple stains will give you a more natural wood tone. A staining pad or a high-quality brush will give you the best results.
-
- Lightly sand with fine-grit sandpaper (220 or higher) between coats for better adhesion.
- Wipe away any excess stain with a tack cloth before it dries.
Sealing the Barrel
Once the final coat of stain is dry, apply 2-3 coats of sealant. A polyurethane or lacquer sealant will protect your barrel from water marks and scratches. A satin or matte finish will look the most natural.
-
- Use a high-quality sealant and a good brush for application.
- Lightly sand between coats with fine-grit sandpaper.
- The more coats you apply, the more durable the finish will be.
Once the sealant is dry, your barrel table is officially ready to use and will be a timeless centerpiece in your home for many years to come. Enjoy your handcrafted furniture!
FAQ – Frequently Asked Questions About Building a Whiskey Barrel Table
Got questions about how to build your own whiskey barrel table? Here are some of the most common ones we hear from fellow DIYers.
Where can I find a whiskey barrel?
You can get authentic, used whiskey barrels from barrel brokers, distilleries, or places that refurbish barrels. You can also find new, unused barrels online. No matter where you get it, just make sure it’s food-grade and hasn’t been treated with any harsh chemicals.
Do I need any special tools?
For the most basic project, you’ll need a drill/driver, a jigsaw, sandpaper, wood glue, clamps, and a level. A sander can make things easier, and chisels can be fun if you want to distress the edges.
How do I cut the barrel in half?
Use a spade bit to drill pilot holes around the circumference of the barrel. Then, carefully use a jigsaw to cut between the holes. Once you’ve sanded down the rough edges, you’ll have two perfect half-barrels to use as tabletops!
How do I attach the legs?
There are a few different ways. You can drill holes in the sides of the barrels and insert wooden legs secured with wood glue and screws. You can also cut notches in the rim of the barrel and rest wooden boards in the notches to form legs. Another option is to use metal brackets or barrel hoops on the outside of the barrel and bolt your legs onto those.
What kind of finish should I use?
A sealant like polyurethane or beeswax will protect the wood while letting its natural beauty shine through. For a glossy finish, go with lacquer or bar top epoxy resin. Don’t forget to stain the barrel first if you want to change the wood’s color. Apply 2-3 coats of your chosen finish, letting it dry in between.
And there you have it—your very own unique whiskey barrel table! If you have any other questions, just ask.
Final Thoughts
So there you have it, a step-by-step guide for crafting your very own whiskey barrel table. It might seem like a lot, but if you take it slow and are patient with the process, you’ll end up with a handcrafted table that you’ll love for years. Your friends will be so impressed that you made it yourself. Every time you look at it or run your hands across the wood, you’ll be reminded of the work you put in to create something truly unique.
Cheers to you and your new whiskey barrel table—may you share many lively conversations and laughs around it!


