Ever wanted to try your hand at aging your own whiskey? You’re definitely not alone. With a surge of interest in craft spirits, more and more whiskey lovers are getting hands-on, crafting their own unique, small-batch whiskeys at home. But how do you even begin?
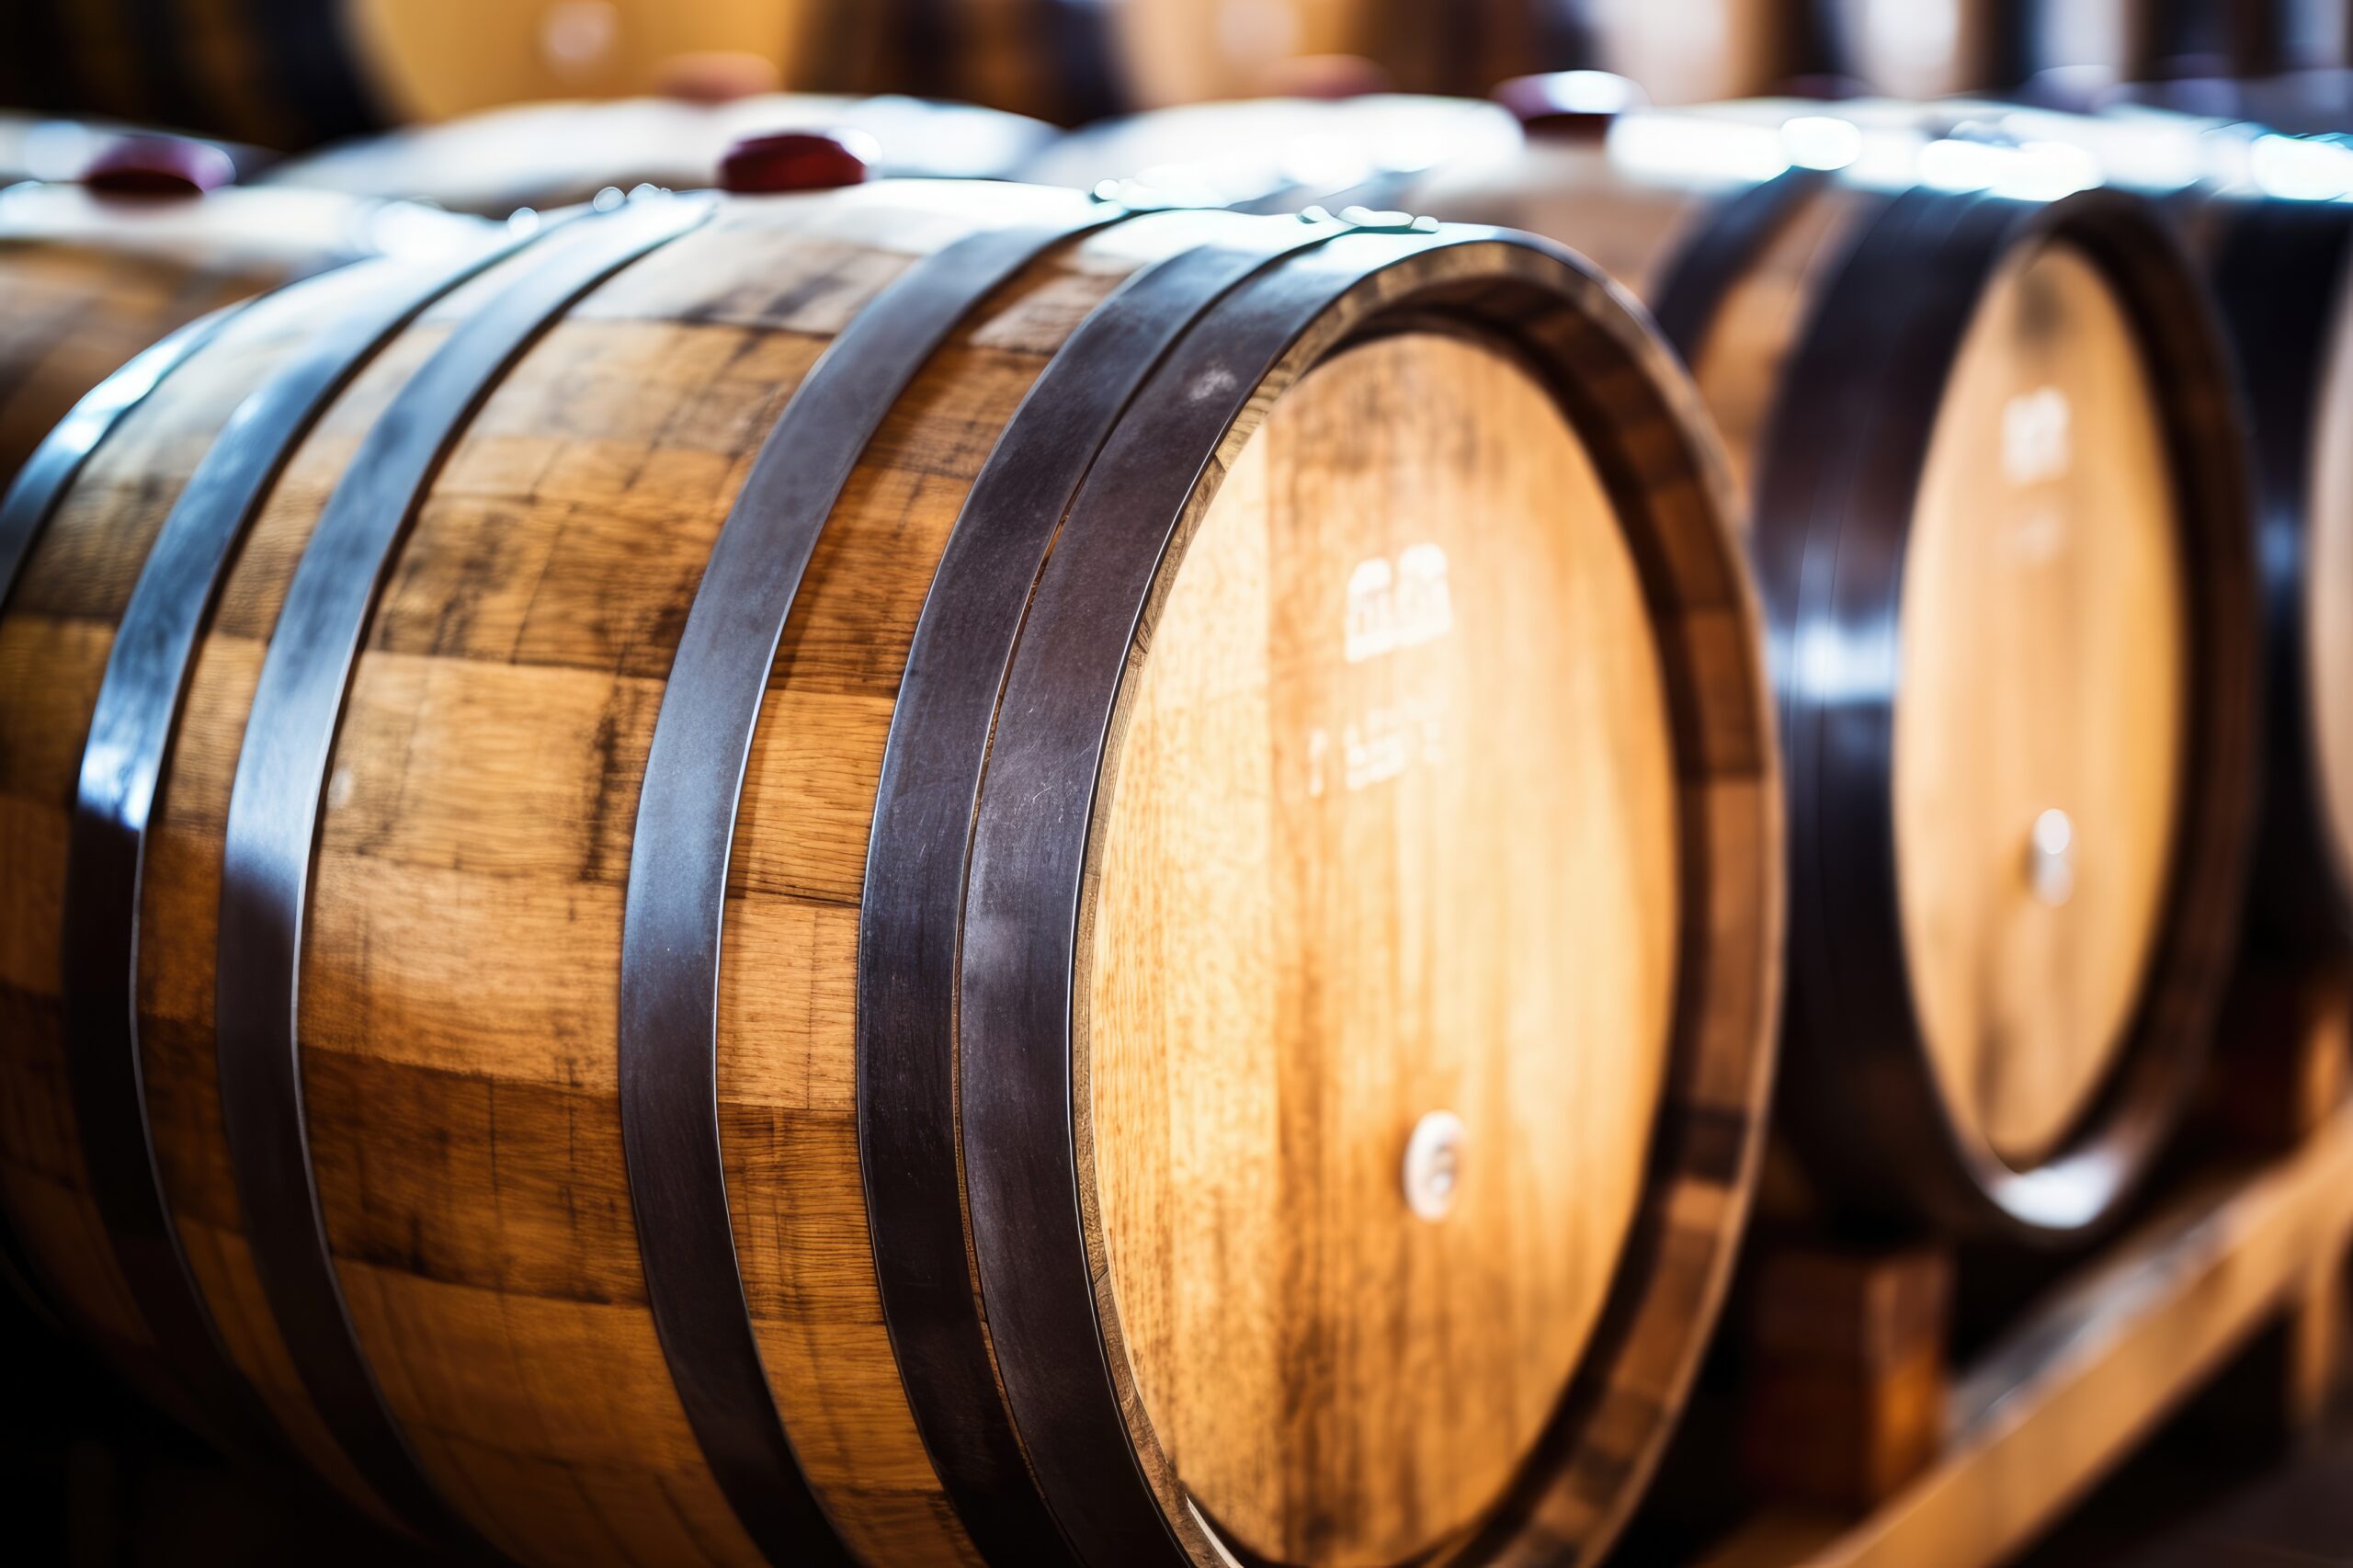
First things first: you need a whiskey barrel. A charred new oak barrel is the ideal choice for imparting flavor and color to your spirit. Aim for one that holds at least 5 gallons. Next, you need the whiskey itself. You can either buy pre-distilled whiskey from a craft distiller or, if you’re feeling extra ambitious, distill your own from scratch. Either way, start with a high-proof spirit, around 125 proof or 62.5% ABV.
Once you have your barrel and your spirit, it’s time for the real magic: aging. Fill the barrel, seal it up tight, and let time do its thing. Be sure to sample your whiskey regularly to keep an eye on how the flavor is developing. The longer it ages, the smoother and more complex it will become. After at least two years—though many people prefer at least three—you’ll have your very own aged whiskey, ready to bottle and share.
Opening your own whiskey barrel is a fun, hands-on hobby that lets you create a spirit customized to your exact tastes. With a little patience and the right tools and ingredients, you’ll be sipping your homemade barrel-aged whiskey in no time.
Selecting the Right Whiskey Barrel
Choosing the right whiskey barrel is crucial for a great end product. You’ll want a barrel made of charred white oak, typically American or French. Oak barrels are what give whiskey its classic color and flavor as it ages. Charring the inside of the barrel adds a smoky depth to the spirit.
When it comes to size, barrels for aging whiskey usually range from 5 to 50 gallons. Smaller barrels have more surface area relative to the volume of liquid, which means the whiskey ages faster. Larger barrels produce a smoother, more gradual change. The size you choose depends on how long you want to age your whiskey and how much you want to make.
The toast level—how deeply the wood is charred—also plays a big role in flavor. A light toast gives you subtle flavors, a medium toast provides balanced oak and vanilla notes, and a heavy toast imparts bold, smoky, and spicy characteristics.
Finally, make sure you’re only using barrels specifically intended for aging spirits. Wine or sherry barrels won’t give you the same results and might even ruin your whiskey. With the right barrel, your homemade hooch will become liquid gold. Just remember that good whiskey takes time. Keep your barrel in a cool, dark place and let it sit for at least two years for the magic to happen.
Necessary Tools for Opening a Whiskey Barrel
To get that delicious whiskey out of the barrel, you’ll need a few key tools.
- Crowbar: A sturdy crowbar at least 24 inches long will give you the leverage you need to pry open the lid.
- Hammer: Use a hammer to gently tap around the edges of the lid to help loosen it before you start prying. A few firm taps will do the trick.
- Work Gloves: Thick, rugged work gloves are a must to protect your hands from splinters when you’re handling the barrel. Safety first!
- Eye Protection: Wear safety goggles. As you pry the lid open, wood splinters and droplets of whiskey can fly up. Better safe than sorry.
- Patience: This is the most important tool of all. The lid is in there tight, so slowly and carefully pry around the edges, working your way around the whole circumference. Don’t try to force it. With some gentle persuasion, the lid will eventually give way.
Take your time and be careful. Once that lid pops open, the sweet aroma of your aged whiskey will make all your hard work worth it. Now, grab some glasses and enjoy the fruits of your labor!
Preparing the Barrel Before Opening
Before you can finally sample your whiskey, you need to properly prepare the barrel.
- Cleaning: Give the barrel a good wipe-down with a clean, damp cloth to remove any dirt or debris. Pay extra attention to the rim and lid, where grime is most likely to build up and could potentially affect the taste of your whiskey.
- Removing the Bung: The bung is the stopper that seals the barrel. Carefully remove it using a bung wrench. Gently twist counter-clockwise to loosen, then pull the bung out. Have some towels handy, as a little whiskey might drip out.
- Testing the Seal: Once the bung is out, check that the barrel is still watertight by adding a little distilled water. If it doesn’t leak, you’re good to go. If it’s not sealed properly, your whiskey can evaporate and oxidize, ruining the flavor. You may need to re-swell or replace the barrel.
- Letting it Breathe: Before bottling or drinking, let the whiskey breathe for at least a week. This allows volatile compounds to mellow and the flavor to develop further. Sample a small glass after a week to decide if it needs more time. The whiskey can continue to improve for months. Patience is a virtue!
When the barrel is prepped and the whiskey has had time to develop, you’re ready to start bottling and savoring. Take your time—a good barrel-aged whiskey should be slowly enjoyed. Happy tasting!
Removing the Barrel Head
To get into your whiskey barrel, you’ll need to remove the barrel head—the round wooden top.
Carefully flip the barrel over so the head is facing up. You may need an extra set of hands for this, as barrels can be pretty heavy. Place the barrel on a sturdy surface like concrete or a wood block.
Using a hammer and chisel, carefully pry off the metal hoop that encircles the barrel head. Gently work the chisel under the edge of the hoop and tap with the hammer to loosen it. Once it’s loose, use pliers to fully remove the hoop.
With the hoop off, the barrel staves (the wooden planks) should start to fall away from the head. You might need to use the chisel and hammer to gently pry them off. Be very careful, as the wood can splinter.
The barrel head should now be loose enough to lift off. Have someone help you lift it straight up and off the barrel.
Congratulations! Your whiskey barrel is now open and ready for aging spirits, plants, or whatever else you have in mind! Just be very careful around the open barrel, as the interior edges of the staves can be sharp.
Checking the Barrel Interior
Once the barrel has been opened, it’s time to inspect the inside. This is a critical step to ensure your barrel is properly conditioned and ready to hold whiskey.
- Checking for Leaks: Carefully examine the entire inner surface of the barrel for any cracks or holes. Even small leaks can allow oxygen to seep in, which can damage the whiskey. Don’t forget to check where the barrel head meets the rim. If you find any issues, do not fill the barrel.
- Smelling for Off Odors: Take a good whiff inside the barrel. You should smell oak and maybe a faint aroma from the barrel’s previous contents. Any strange or unpleasant smells could transfer to your whiskey, so it’s best to avoid using that barrel.
- Looking for Discoloration or Residue: The barrel wood should have a consistent brown color with no dark stains, rings, or residue left from prior use. Check especially around the rim and seams. Any leftover material could taint your whiskey with off-flavors. For the best results, always start with a properly re-coopered barrel.
- Feeling for Smoothness: Run your hand along the inside of the barrel. The wood should feel uniformly smooth to the touch. Rough, splintery areas can physically damage the whiskey and impart undesirable wood tannins. Lightly sand down any problem spots before filling and aging your whiskey.
With a clean, odor-free barrel free of cracks, leaks, or imperfections, you’re ready to fill it up and start the aging process. Taking the time to thoroughly check your barrel’s interior will help ensure you end up with a smooth, flavorful finished product. That patience will definitely pay off!
Common Issues When Opening Barrels
Even with careful preparation, a few common issues can pop up when you’re opening and preparing your whiskey barrel. Being ready to handle them properly will prevent you from ruining your precious whiskey.
- Leaks: Before you fill the barrel, check thoroughly for any leaks around the rim or staves (the wooden planks). Even small leaks will let oxygen in, speeding up oxidation and evaporation. Seal any leaks with food-grade wax or a silicone sealant.
- Swelling: As the barrel is filled, the wood will swell, and the metal hoops may need to be tightened. Tighten the hoops in small increments to avoid cracking the barrel. It’s a good idea to fill the barrel and let it sit for a few days so the wood can stabilize before fully tightening the hoops.
- Infection: If you’re using a used barrel, it’s important to sterilize it to kill any bacteria or wild yeasts that could spoil your whiskey. You can rinse a used barrel with a sulfur dioxide solution or ozone water. For new barrels, scorching the inside with a wood burner helps to sterilize the wood.
- Over-extraction: Don’t age the whiskey for too long, especially in used barrels where the wood has already imparted a lot of its characteristics. Sample regularly to avoid over-oaking your whiskey, which can lead to unpleasant bitter and astringent flavors.
With the right preparation and care, barrel aging can be a very rewarding experience. Keep a close eye on your whiskey as it ages and make any necessary adjustments to ensure the best possible results. The rewards of your patience and hard work will be a whiskey to savor for years to come!
Rinsing Out the Barrel
Once you’ve opened your whiskey barrel, it’s super important to rinse it out thoroughly before you start aging spirits. Since barrels are made of wood, they can impart flavors to the spirits aged in them. Rinsing removes any residues from the manufacturing process, which helps produce a clean flavor profile.
To rinse out your barrel:
- Fill the barrel about three-quarters of the way with hot water. Let it sit for at least two hours so the water can soak into the wood.
- Drain the water and refill the barrel. Repeat this process two or three times until the water runs clear.
- For an extra clean barrel, make a cleaning solution with two tablespoons of baking soda or distiller’s detergent per gallon of hot water. Fill the barrel with the solution and let it sit overnight.
- Rinse the barrel with plain hot water until all traces of the cleaning solution are gone.
Once rinsed, your barrel is ready to be seasoned before you start aging spirits. Letting the barrel sit open for a week allows it to dry completely.
An optional step is to burnish the inside of the barrel with barrel char or a barrel seasoning product to help impart more oak flavor to the aging spirits.
Properly rinsing and seasoning your whiskey barrel is key to producing spirits with complex flavors. Taking the time to thoroughly clean and prepare your barrel will allow the true character of the oak to shine through in your aged creations. The rewards of your patience will be evident with the first sip of spirits from a well-seasoned barrel.
Optional: Charring or Toasting the Barrel
Charring the inside of the barrel is a great way to add a subtle smoky flavor to your whiskey as it ages. The charring process caramelizes the natural wood sugars and opens up the pores of the wood, allowing the whiskey to penetrate deeper into the barrel.
- Light Char: For a lighter char, you’ll burn the inside of the barrel for just a few seconds per square inch using a propane torch. The wood will darken but still show visible wood grain. This level of char is perfect for lighter, fruitier whiskeys.
- Medium Char: Increase the burn time to about 15-30 seconds per square inch. The wood will become quite dark but still have a bit of grain visible. Medium char barrels are versatile and work well for a variety of whiskey styles. This is a great level of char for American whiskeys like bourbon or rye.
- Heavy Char: Burn the inside of the barrel for 30-60 seconds per square inch. The wood will become nearly black with no visible wood grain. A heavy char imparts strong smoky, spicy flavors and is often used for bolder whiskeys like Islay single malts. However, the heavy char can easily overpower lighter, more delicate whiskeys.
The level of char is a matter of personal taste and depends on the specific whiskey you want to age. Start with a lighter char, then increase with subsequent barrels until you find your preferred flavor intensity. The charring process allows you to truly put your own signature on the whiskey.
Storing an Opened Whiskey Barrel
Once you’ve opened your whiskey barrel, it’s important to store it properly to maintain the quality and flavor of the remaining spirit. Here are a few tips for keeping your opened barrel in great shape:
- Keep it upright: Always store your barrel upright to prevent leakage. Lying it on its side can cause the whiskey to seep out of the bunghole or leak from the seams.
- Keep it covered: Seal the bunghole with a cork or plug when you’re not using it. This prevents oxygen exposure and evaporation. For longer-term storage, you might want to cover the entire barrel with a lid or tarp.
- Keep it cool: Whiskey barrels should be stored in a cool area away from direct sunlight. A temperature-controlled room around 65°F is ideal. Heat and UV light can speed up oxidation and negatively impact the flavor.
- Limit empty space: The more empty space you leave in the barrel, the more surface area is exposed to oxygen. For the best quality, try not to leave more than one-third of the barrel empty. You can top it off with more whiskey from the same batch or a compatible blend.
- Taste regularly: Even with proper storage, whiskey in an opened barrel will start to change in flavor over time due to oxidation and evaporation. Taste your whiskey regularly and bottle it when the flavor is at its peak for your liking. An opened barrel may last 6 to 24 months before the whiskey needs to be bottled.
With these simple tips, you can keep your opened whiskey barrel in great shape for months. But remember, there’s no stopping oxidation completely, so enjoy that barrel-aged goodness before the flavor starts to fade!
Final Thoughts
So there you have it—all the basics you need to get started with barrel aging your own whiskey. While it definitely takes a good dose of patience, the rewards of creating a custom-aged spirit can be well worth the wait. In a few years, you’ll be able to pop open that barrel, sample your creation, and share it with friends. Who knows, you might just discover a new passion and be on your way to becoming a master distiller. If aging whiskey isn’t for you, consider aging other spirits like rum, brandy, or wine. The possibilities are endless once you get the hang of it. Here’s to you and your new adventures in barrel aging—may your creations be sipped and savored for years to come!


