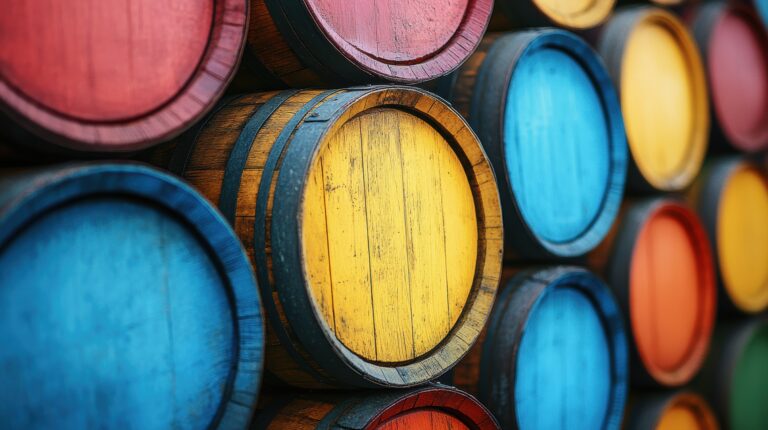
You woke up this morning to find your prized whiskey barrel leaking precious amber liquid onto the floor of your garage. After years of aging, your investment is seeping away before your eyes. Don’t panic—there are a few quick fixes you can try to salvage your barrel and the remaining whiskey still inside. Grab your tools and let’s get to work. With some wood glue, wax, and a few clamps, we’ll have that barrel sealed up in no time. Once the leaks have been plugged, you can rest easy again knowing your whiskey is safe for continued aging. Work fast though, before too much of the good stuff ends up on the floor! By the end of this, your barrel will be leak-free and ready to keep your whiskey right where it belongs.
Assessing the Damage – Check Where the Leak Is Coming From
First things first, locate the source of the leak. Is it coming from a crack in the wood, the spigot, or one of the metal bands around the barrel? Once you spot the issue, you can determine the best way to remedy it.
If it’s a small crack in the wood, you may be able to seal it from the inside using waterproof wood glue and clamps. Wipe away any excess glue that seeps through. Let it dry completely. This quick fix should do the trick until you have time for a more permanent solution.
For larger cracks or holes, you’ll need to patch from the outside. Clean and sand the area, then apply a waterproof wood filler or sealant, smoothing it out as you go. Let it harden, then sand it down so it’s even with the barrel surface.
If the spigot or barrel bands are leaking, you may need to tighten or replace them. Tighten the spigot by turning it clockwise with pliers. For barrel bands, unscrew the bands, apply a fresh bead of waterproof sealant to the underside, then re-screw them in place.
With a few basic tools and supplies, you can get your leaky whiskey barrel sealed up in no time. Keep a close eye on any patched or treated areas to ensure the fix is working and you’ll be raising a glass in celebration of your DIY repair skills in no time!
Prepping the Barrel – Clean and Sand the Area Around the Leak
The first thing you’ll want to do is clean the area around the leak thoroughly. Use steel wool or fine-grit sandpaper to rough up the wood around the leak – this will give the sealant something to adhere to.
Next, wipe away any dirt or debris with a clean, damp cloth. Make sure the area is completely dry before moving on to the next step.
You’ll also want to inspect the inside of the barrel for any cracks or holes and seal them up. For small cracks, apply a sealant or wood filler. Larger holes may need a wood patch – just cut a piece of wood to size, apply sealant around the edge of the hole, place the patch over it and clamp until dry.
Once prepped, you’re ready to apply the sealant. For small leaks, a waterproof wood glue, caulk, or epoxy should do the trick. Use a putty knife or caulk gun to apply in thin, even beads, then smooth out with a damp cloth. Clamp the area for at least 30 minutes as it dries.
For more serious leaks, you may need to use a polyurethane or epoxy sealant. Apply 2-3 coats, waiting for each to dry completely between applications. These provide a durable, waterproof seal that can stand up to the demands of a whiskey barrel.
With some elbow grease and the right sealant, you’ll have your leaky whiskey barrel patched up and ready to get back to aging spirits in no time. The effort will be well worth it for many more years of use from your barrel.
Applying the Sealant – Use a Food-Safe Sealant Made for Barrels
To fix a leaky whiskey barrel, you’ll want to use a food-safe sealant made specifically for barrels. These sealants are non-toxic, odorless, and tasteless once cured.
Applying the Sealant
Apply the sealant generously around the entire rim of the barrel, especially in areas where the wood has shrunk or split. You may need to sand down the area first to rough up the surface and provide “tooth” for the sealant to grip onto. Wipe away any dust with a tack cloth.
- Use a putty knife, spatula, or your fingers to spread the sealant over the rim of the barrel. Press firmly so it adheres well.
- Let the first coat dry as directed, usually 3 to 12 hours.
- Lightly sand any drips or imperfections, then apply a second coat.
- Once cured, test your barrel by filling it with a few inches of water. Let it sit overnight to ensure there are no leaks before using.
Re-seal your barrel every few years or if you notice leaks starting again. Don’t let your precious whiskey or wine go to waste due to a faulty barrel! With regular maintenance and care, a good whiskey barrel can last many, many years.
Letting It Cure – Give the Sealant Time to Fully Dry
After applying the sealant to your leaky whiskey barrel, the most important step is letting it cure completely. This means avoiding handling or moving the barrel for at least 24 to 48 hours.Resist the urge to peek at your handiwork, as this can disrupt the sealant before it has fully dried.
- Keep the barrel in a dry, well-ventilated area away from direct sunlight. Exposure to heat and UV light can cause the sealant to cure too quickly, affecting its strength and adhesion.
- Check on your barrel after 2 days. If the sealant is still tacky, continue waiting. Many sealants can take up to 4 or 5 days to fully cure. Patience is key!
Once cured, do a visual inspection. The sealant should be evenly spread, free of cracks, and firmly adhered with no soft or tacky spots. Give the barrel a light shake—there should be no sloshing liquid sounds indicating a leak. If everything looks and sounds sealed tight, you can now fill ‘er up and get back to enjoying your whiskey! However, continue to monitor the barrel for any new leaks or drips over the next few weeks, just to be safe.
With the proper sealant and adequate curing time, your leaky whiskey barrel should be as good as new. Take your time—when it comes to fixing things, slow and steady wins the race!
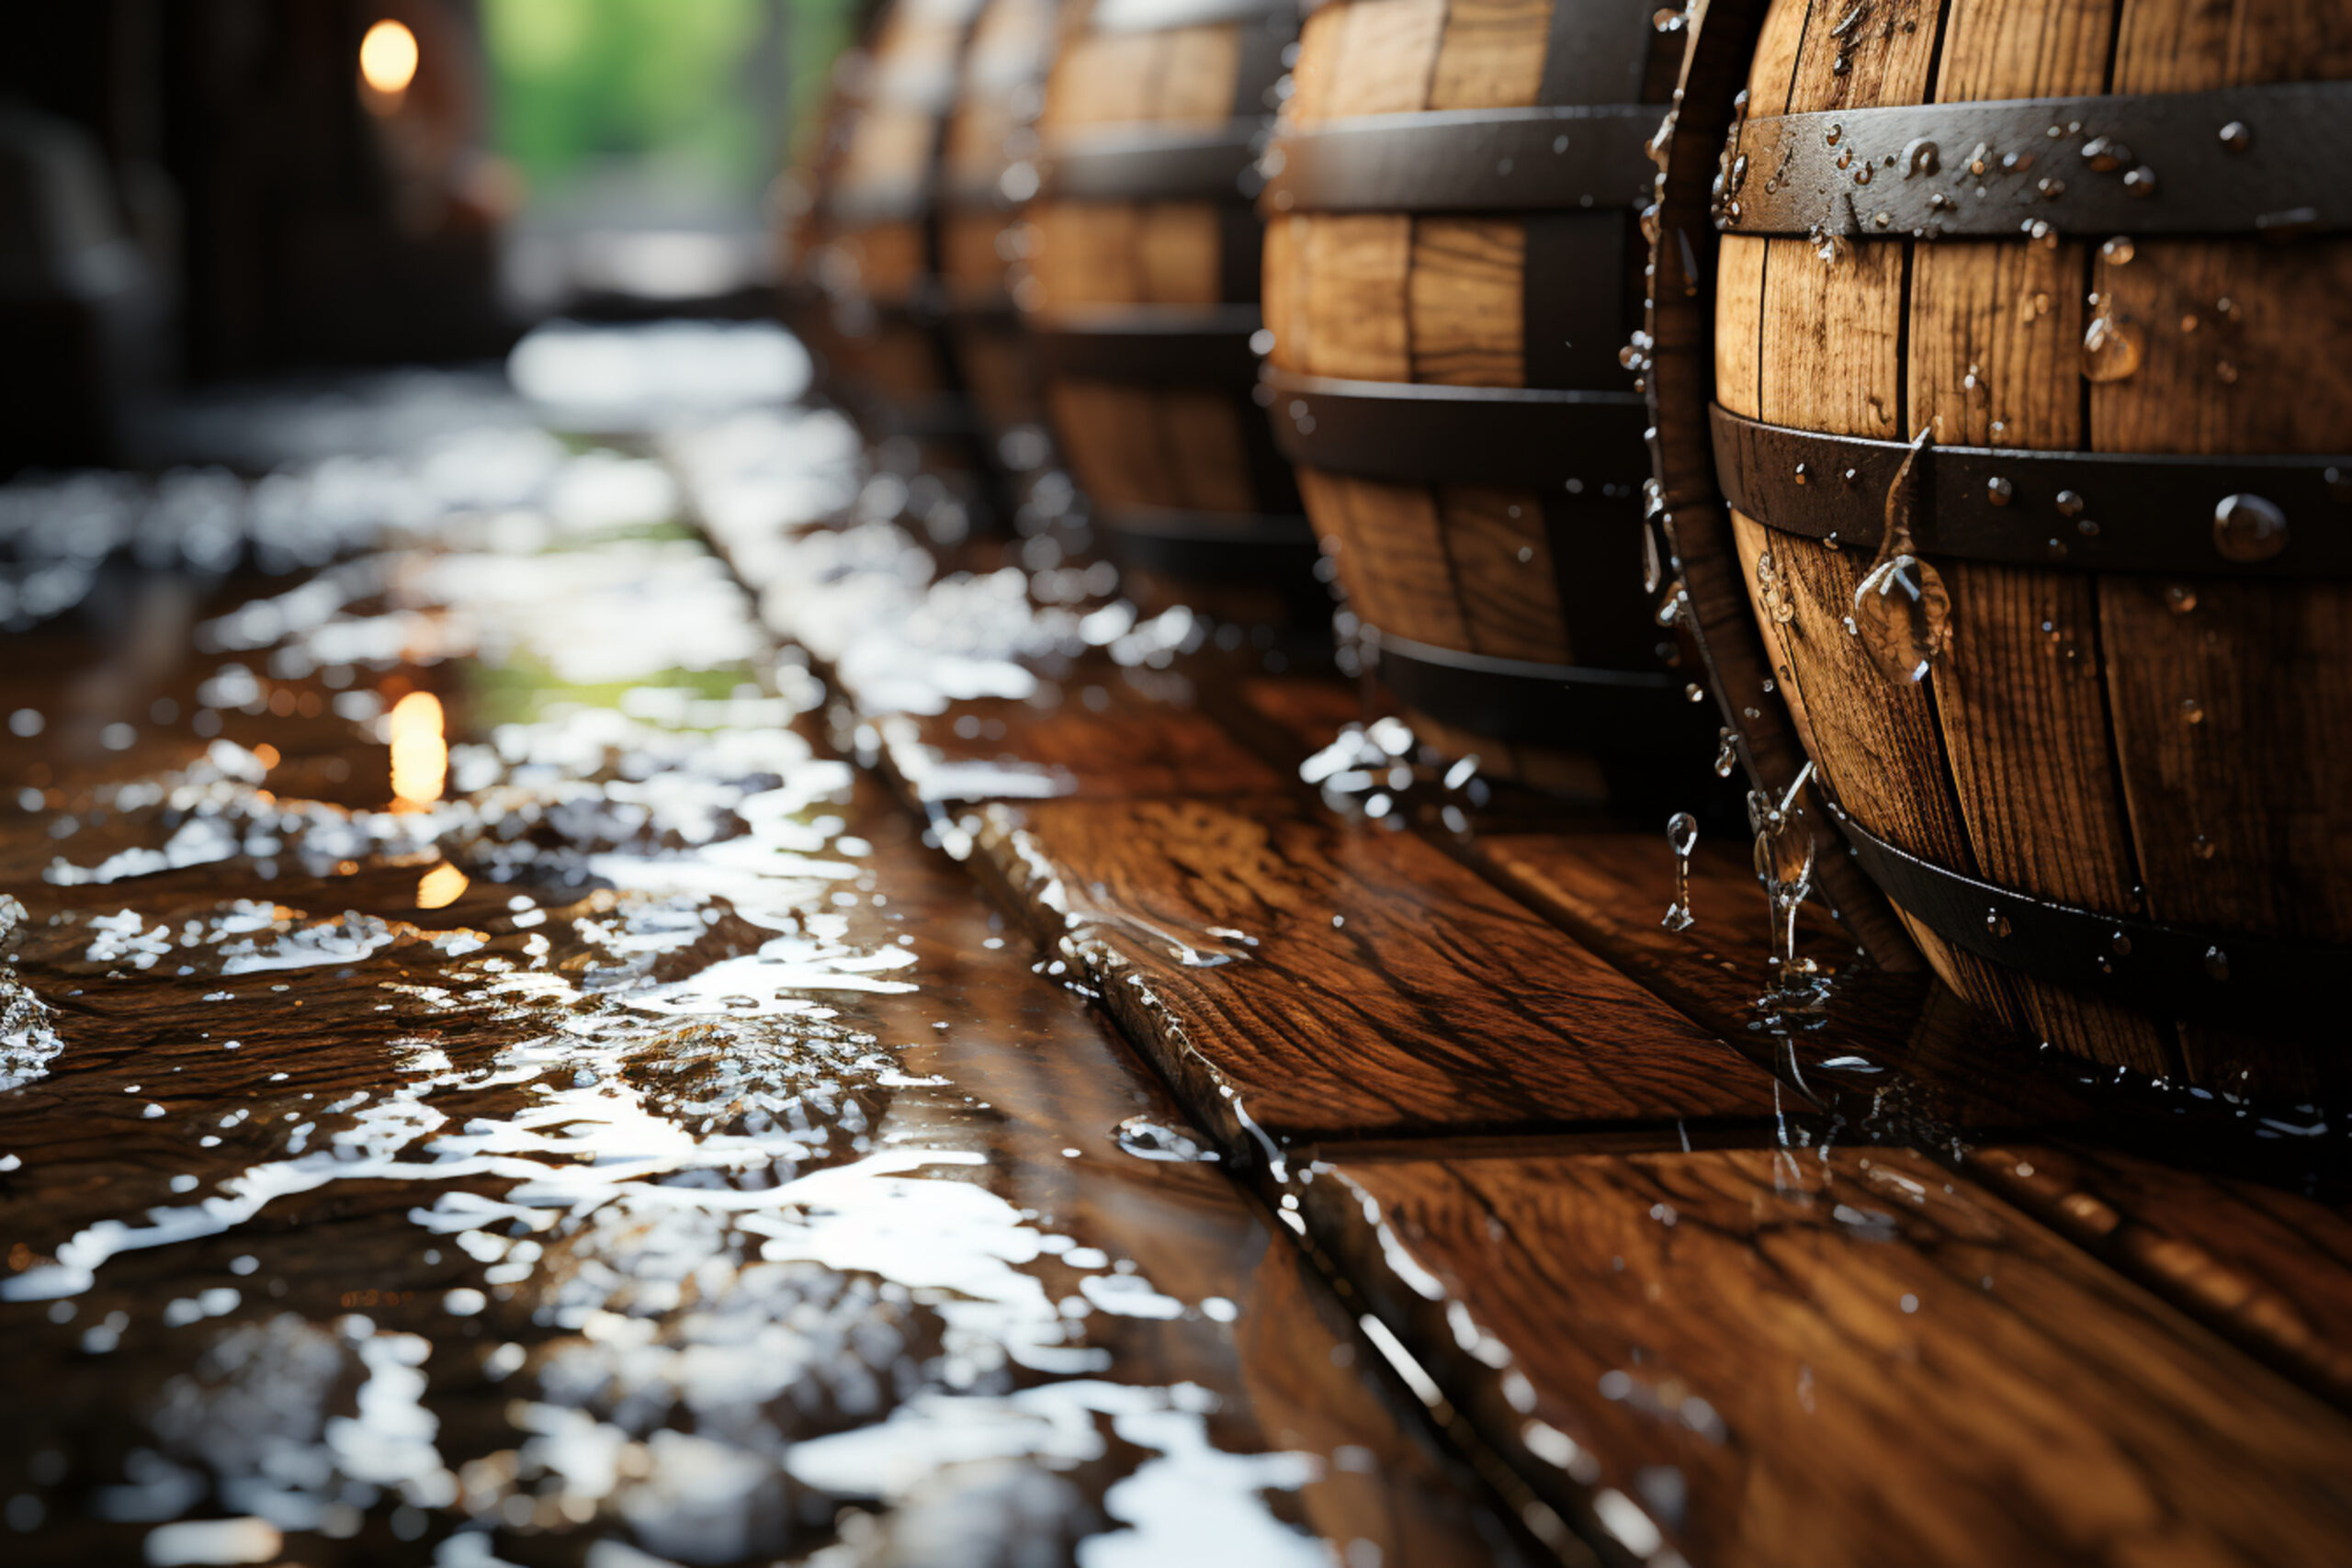
Re-Testing for Leaks – Fill the Barrel With Water to Check for Leaks
Once the barrel repair is complete, it’s time to test for any remaining leaks. Fill the barrel with water and let it sit for at least 30 minutes. Check all seams, cracks and the spigot area for drips or streams of water.
Look for drips around the rim
- Examine the top rim of the barrel, especially where staves meet. Even small drips here can lead to big leaks over time. Apply more sealant or waterproof wood glue as needed.
Check the spigot
The spigot is a common source of leaks. – Tighten any loose fittings and apply plumber’s putty, pipe sealant, or waterproof epoxy around the base to prevent drips.
Re-seal any cracks
Inspect the entire barrel surface for hairline cracks or splits in the wood. – Use a waterproof wood filler, epoxy, or sealant to patch these, then re-test the area to ensure it’s watertight.
Once all leaks have been addressed, drain and rinse out the barrel thoroughly. Let it dry completely before refilling and putting back into use. Performing regular leak tests and maintenance will help keep your whiskey barrel in good working order for years to come.
Refinishing the Barrel – Sand and Re-Stain or Char as Needed
To refinish and repair a leaky whiskey barrel, you’ll need to do some light sanding and re-staining.
Check for Cracks
Inspect the barrel for any cracks or holes, especially around the rim, metal bands, and staves (the curved wooden planks that make up the sides of the barrel). Use wood glue, caulk, or waterproof wood filler to seal up any cracks before sanding and re-finishing.
Lightly sand the entire barrel with fine-grit sandpaper (around 220 grit) to rough up the surface and provide “tooth” for the new finish to adhere to. Wipe away dust with a tack cloth.
For a rustic look, you can re-char the inside of the barrel using a propane torch. Carefully and evenly pass the flame over the inner surface until evenly charred. The heat and flame will swell and seal the wood.
Apply two coats of food-grade sealant, like a beeswax or mineral oil finish, to the inside of the barrel. Let it soak in, then wipe away any excess after 30 minutes. This will protect the wood and prevent future leaks.
On the outside, you can re-stain the barrel to match or change the color. Apply 2-3 coats of wood stain, waiting for each coat to dry as directed. Follow up with 2-3 coats of sealant for protection from weather and spills.
With some TLC – tightening, light sanding, charring and a fresh coat of sealant – your leaky whiskey barrel will be fixed up fast and ready for another round! Let the barrel cure for at least 3-4 weeks before filling to allow the wood and sealants to harden.
Filling With Whiskey – Once Fully Cured, Fill ‘Er Up!
Once your barrel has cured for at least 30 days, it’s time to fill ‘er up! Make sure any leaks have been fully repaired before adding your whiskey.
Cleaning
Give the inside of the barrel a quick rinse with water to remove any dust or debris. Let it air dry completely.
Filling
Carefully pour your whiskey through a funnel into the bunghole of the barrel. For a standard 53-gallon barrel, that’s about 195 bottles of whiskey! Fill the barrel about 70-80% full to allow for expansion as the whiskey breathes and absorbs flavors from the wood.
Sealing
Replace the bung (stopper) in the bunghole opening and seal around the rim with food-grade silicone or wax to create an airtight seal. This allows pressure to build up, which helps the whiskey penetrate the wood.
Aging
Place the barrel in a cool area away from direct sunlight. A garage, shed or basement is ideal. The whiskey should age for at least 3 to 5 years for good flavor. Sample it regularly through the bunghole to determine when it reaches your desired smoothness and aroma. Once aged, you’ll have a barrel of delicious homemade whiskey to enjoy!
The most important things are ensuring your barrel is fully cured, cleaning it well, filling it with quality whiskey, sealing it properly and aging it in a suitable environment. Follow these steps and you’ll be enjoying the fruits of your labor in no time! Let the good times roll.
Monitoring and Upkeep – Keep an Eye Out for Any New Leaks
Check your barrel regularly, especially for the first few days after fixing a leak. New leaks could potentially spring up, so monitor the area you patched closely. Look for any dripping, moisture or wine stains on the outside of the barrel. Run your hand along the entire surface, feeling for damp or softened wood. If you detect a new leak, you’ll need to drain the barrel again and reseal that area. It’s a pain, but catching a new leak quickly will prevent losing more wine and further barrel damage.
Inspect the bung or spigot area for drips or seepage as well. Sometimes fixing one leak in the barrel can put more pressure on other parts, causing new leaks to form. Don’t forget to check where the hoops connect to the staves. Hoop tightness is critical to preventing leaks, so ensure the hoops feel securely fastened all around the barrel.
Monitor your barrel for a few weeks to ensure no other leaks develop before refilling it. An ounce of prevention is worth a gallon of wine. Staying on top of potential leaks will give you peace of mind that your barrel is secure and your wine is safe inside. Keep enjoying your whiskey and check back regularly so your barrel stays leak-free.
Whiskey Barrel FAQs – Answering Common Troubleshooting Questions
Whiskey barrels are meant to hold liquid, so leaks can happen. Here are some common questions and quick fixes to try:
What causes leaks?
The wood in barrels expands and contracts with temperature changes, loosening joints and seams. As the barrel ages, the wood becomes more porous.
How do I spot a leak?
Check where the staves meet at the bilge (the barrel’s widest point) and the head (the barrel’s end). Look for drips or stains. Tap along joints with a rubber mallet—a dull sound means there’s a gap.
Can I repair a leak myself?
For small leaks, yes. Clean the area, then sand rough spots. Apply waterproof wood glue to gaps and cracks. Clamp pieces together as the glue dries. Once dry, add waterproof sealant. For larger leaks or damage, it’s best to have a cooper (barrel maker) evaluate and repair the barrel.
Do I need to empty the barrel to fix a leak?
Not always. For minor surface leaks, you can make repairs with the barrel full. For leaks along joints or seams, it’s best to empty the barrel so you can access and properly seal the leak from the inside. Patch kits can also seal leaks from inside a full barrel in a pinch.
When should I give up and replace the barrel?
If leaks are extensive, repairs unsuccessful, or if the barrel no longer holds liquid, it’s time for replacement. A barrel that’s been used for several years will need replacing eventually. It’s not worth risking loss of your whisky! Buy a new barrel and transfer the contents.
Final Thoughts
So there you have it, a few quick fixes to get that leaky whiskey barrel sealed up tight. Now you can get back to aging and enjoying your whiskey without worrying about losing any of that precious amber liquid. Try out a few of these methods and see which works best for your barrel. And remember, if all else fails, you can always use waterproof caulk or wood filler as a last resort to patch up any stubborn leaks. Your whiskey barrel and your taste buds will thank you! Keep calm and drink on, friends.